Cutting.curves, Stacked.cuts, Ope r atio ns – Woodstock W1770 User Manual
Page 42
-40-
W1770 21" Bandsaw w/Foot Brake
O
PE
R
ATIO
NS
Cutting.Curves
When cutting curves, simultaneously feed and turn the
stock carefully so the blade follows the layout line with-
out twisting. If a curve is so abrupt that it is necessary to
repeatedly back up and cut a new kerf, use a narrower
blade (refer to
FIgure.58), a blade with more TPI (teeth
per inch), or make more relief cuts.
Relief cuts are made through the waste portion of the
workpiece and stop at the layout line. Relief cuts reduce
the chance that the blade will be pinched or twisted dur-
ing the cut.
The.list.below.shows.the.minimum.
radius.that.can.be.cut.by.common.
blade.widths.
Width.
Radius
1
⁄
8
" .....................
1
⁄
8
"
3
⁄
16
" ....................
3
⁄
8
"
1
⁄
4
'' .....................
5
⁄
8
''
3
⁄
8
'' .................... 1
1
⁄
4
''
1
⁄
2
'' .................... 2
1
⁄
2
''
5
⁄
8
'' .................... 3
3
⁄
4
''
3
⁄
4
'' .................... 5
1
⁄
2
''
Figure.58. Blade width cutting radii.
Stacked.Cuts
One of the benefits of a bandsaw is its ability to cut mul-
tiple copies of a particular shape by stacking workpieces
together and cutting them as one. Before making stacked
cuts, ensure that both the table and the blade are prop-
erly adjusted to 90°; otherwise, any error will be com-
pounded.
To.complete.a.stacked.cut,.do.these.steps:
1. Align your pieces from top-to-bottom to ensure that
each piece has adequate scrap to provide a clean,
unhampered cut.
2. Secure all the pieces together in a manner that will
not interfere with the cutting. Hot glue on the edges
works well, as do brad nails through the waste por-
tion. (Be careful not to cut into the brads or you
may break the blade!)
3. On the face of the top piece, mark the shape you
intend to cut.
4. Make relief cuts perpendicular to the outline of your
intended shape in areas where changes in blade
direction could cause the blade to bind.
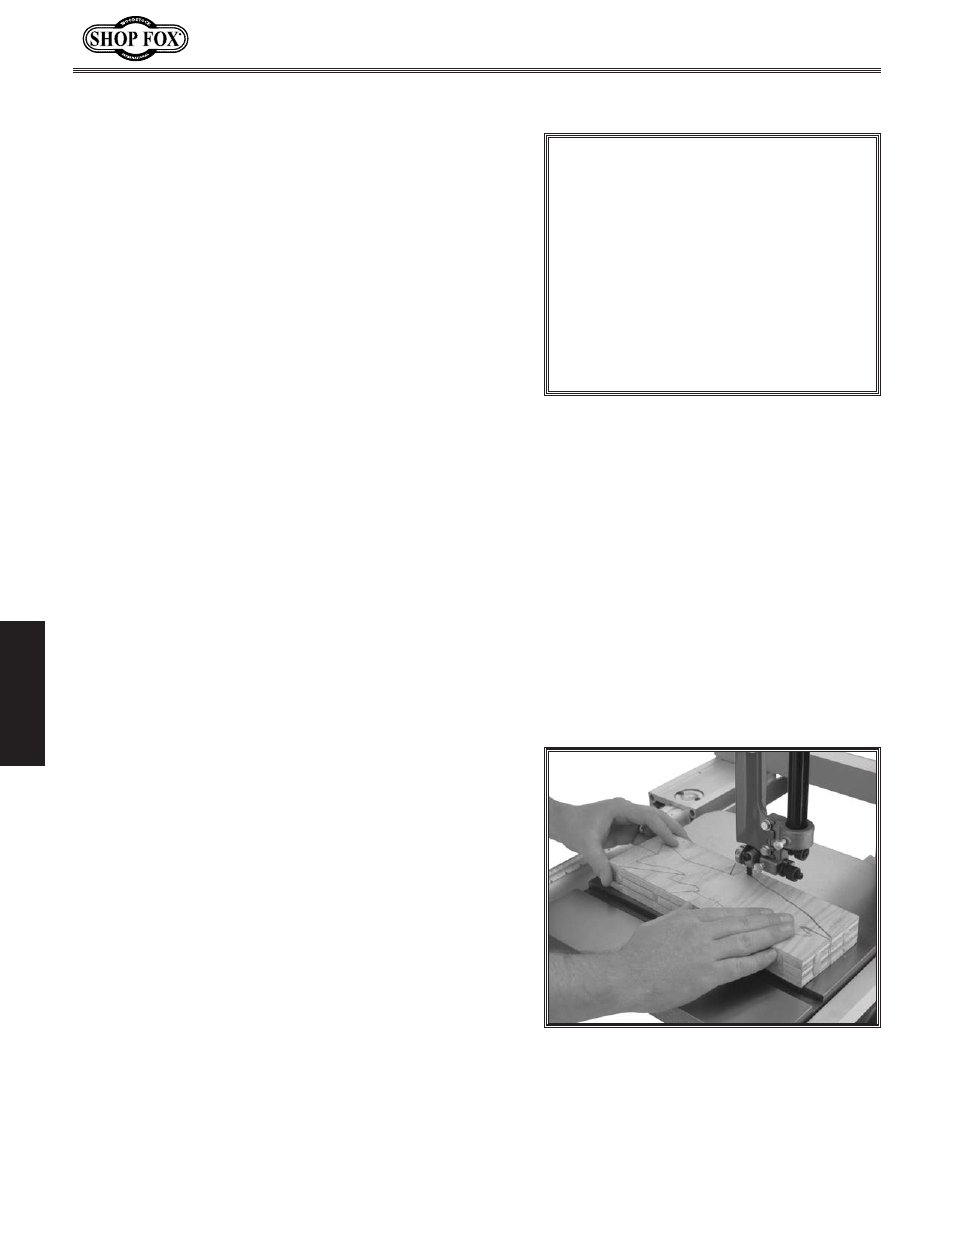
5. Cut the stack of pieces as though you were cut-
ting a single piece. Follow your layout line with the
blade kerf on the waste side of your line as shown in
Figure.59.
Figure.59. Typical stacked cut.