Sony RM-VL1000 User Manual
Page 12
12
2
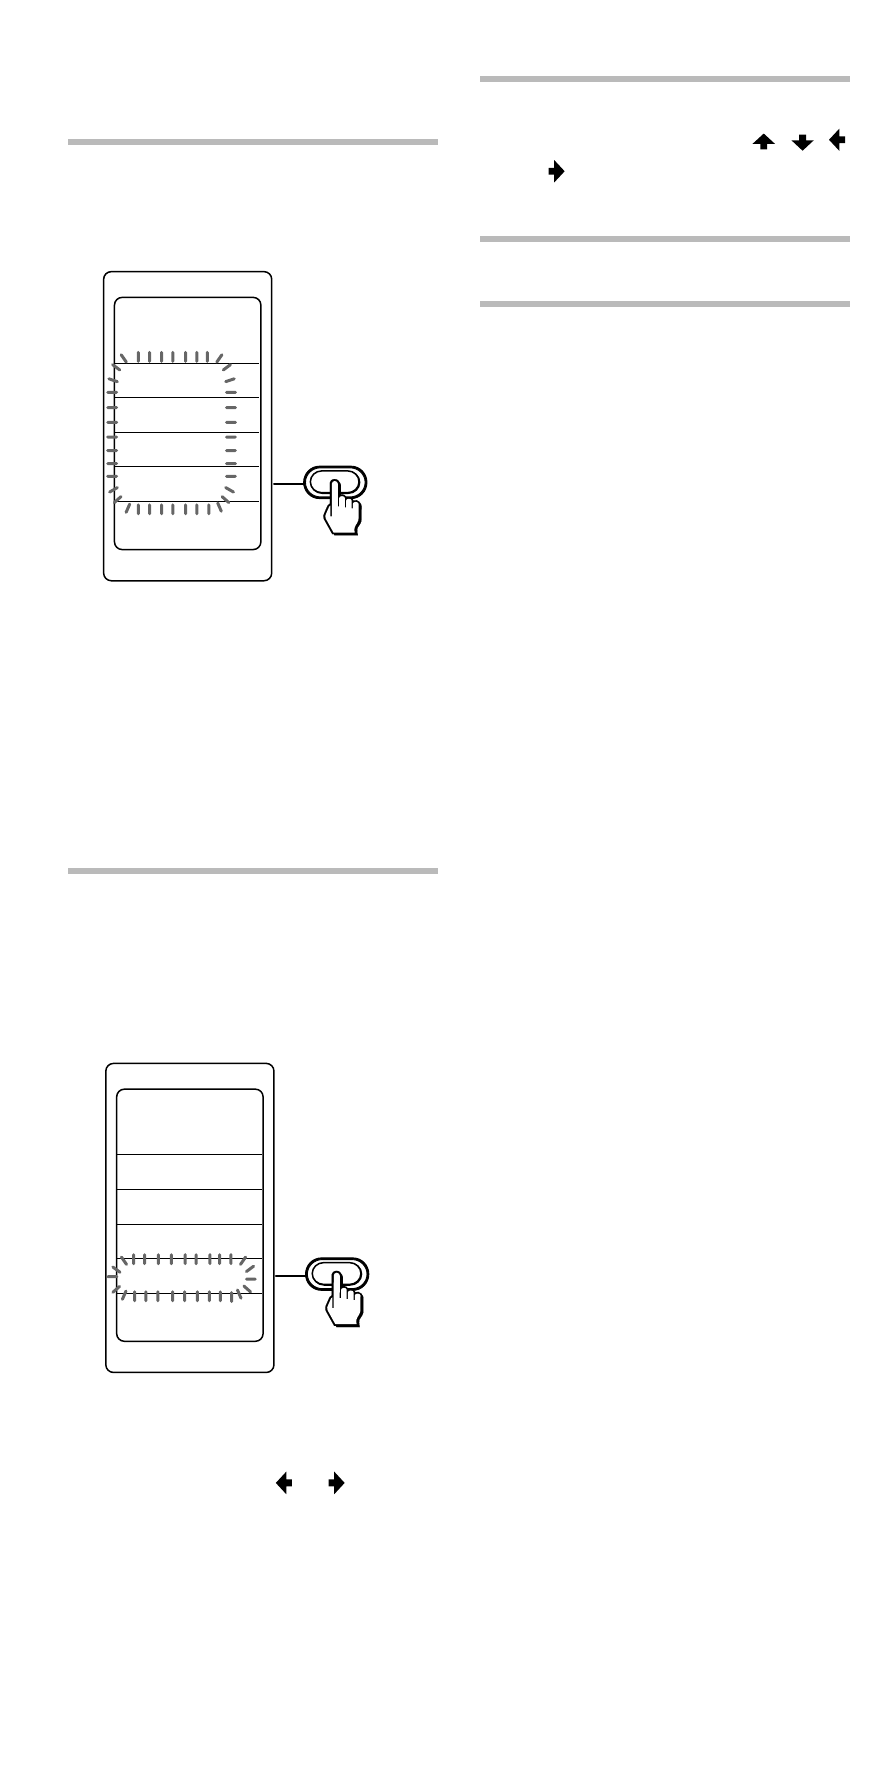
Select “CLOCK” by
pressing the Label Select
button.
The Commander enters clock
setting mode.
“CLOCK” and the current time
setting is displayed on the LCD
display.
The time mode (STD TIME or
DS TIME) currently set stays
lit, and the other flashes.
3
To change the time mode,
select the time mode which
flashes (STD TIME or DS
TIME) by pressing the
Label Select button.
If it is not necessary to change
the time mode, press the
Joystick toward or , and go
to Step 4.
SET
PRESET
LEARN
LABEL
CLOCK
Setting the Clock (continued)
4
Set the clock by pressing
the Joystick toward , ,
or . Follow Steps 4 - 6 on
pages 9-10.
5
Press the SET button.
SET
CLOCK
WED
10:00 AM
STD TIME
DS TIME
10:00 AM
See also other documents in the category Sony Remote control:
- RM-AV2100B (76 pages)
- RM-V210 (2 pages)
- RM-NX7000 (252 pages)
- RM-NX7000 (12 pages)
- RM-NX7000 (117 pages)
- RM-VL600 (52 pages)
- RM-AX1400 (32 pages)
- 3-097-863-13 (2 pages)
- REMOTE COMMANDER RM-V210 (2 pages)
- Installation Guide KV-32FX65U (2 pages)
- RM-PP506L (16 pages)
- AIR-RM10 (2 pages)
- RM-AX4000A (96 pages)
- RM-AX4000A (2 pages)
- RM-AX4000 (118 pages)
- RM-AX4000 (2 pages)
- RM-AX4000A (96 pages)
- RM-EZ2 (2 pages)
- RM-AV2500T (140 pages)
- Remote Control Panel RCP-D50/D51 (62 pages)
- SCPH-97042 (170 pages)
- RM-LP211 (24 pages)
- RM-AV2500 (76 pages)
- RM-AX5000 (52 pages)
- RM-VL600T (36 pages)
- RM-BR300 (80 pages)
- RM-VL900 (56 pages)
- RM-PP505 (16 pages)
- RMN-U1 (2 pages)
- RMN-U1 (2 pages)
- RM-MC35ELK (2 pages)
- KV-21FV1U (2 pages)
- RM-AV3100 (112 pages)
- RM-AV3000T (100 pages)
- RM-U401 (16 pages)
- RM-MC60 (2 pages)
- RM-AV2000T (88 pages)
- Card Remote Commander RM-X302 (2 pages)
- RM-VL1400T (180 pages)
- RM-VL610 (52 pages)
- RM-VLZ620 (52 pages)
- RM-VLZ620 (2 pages)
- RM-DC2 (2 pages)
- RM-LG112 (16 pages)