Navigating the menus – Swann ADVANCED-SERIES H.264 User Manual
Page 11
11
Navigating the Menus
IMPORTANT - Remembering to Apply Your Changes
When you’re using the menus to change settings or values, none of your changes will be saved until
you choose the “Apply” option, which is usually located in the lower right-hand corner of the screen.
Always select the APPLY button before leaving a menu
if you want to save the changes that you have made.
There are two reasons why the “Apply” button needs to be expressly selected. For one, it helps prevent
accidental modification of the DVR’s settings while you’re navigating other menus or similar. Secondly,
the DVR only checks and loads the settings you’ve modified when the apply button is pressed. This
is important to prevent the DVR operating erratically or performing an unintended operation whilst
settings are in the process of being modified.
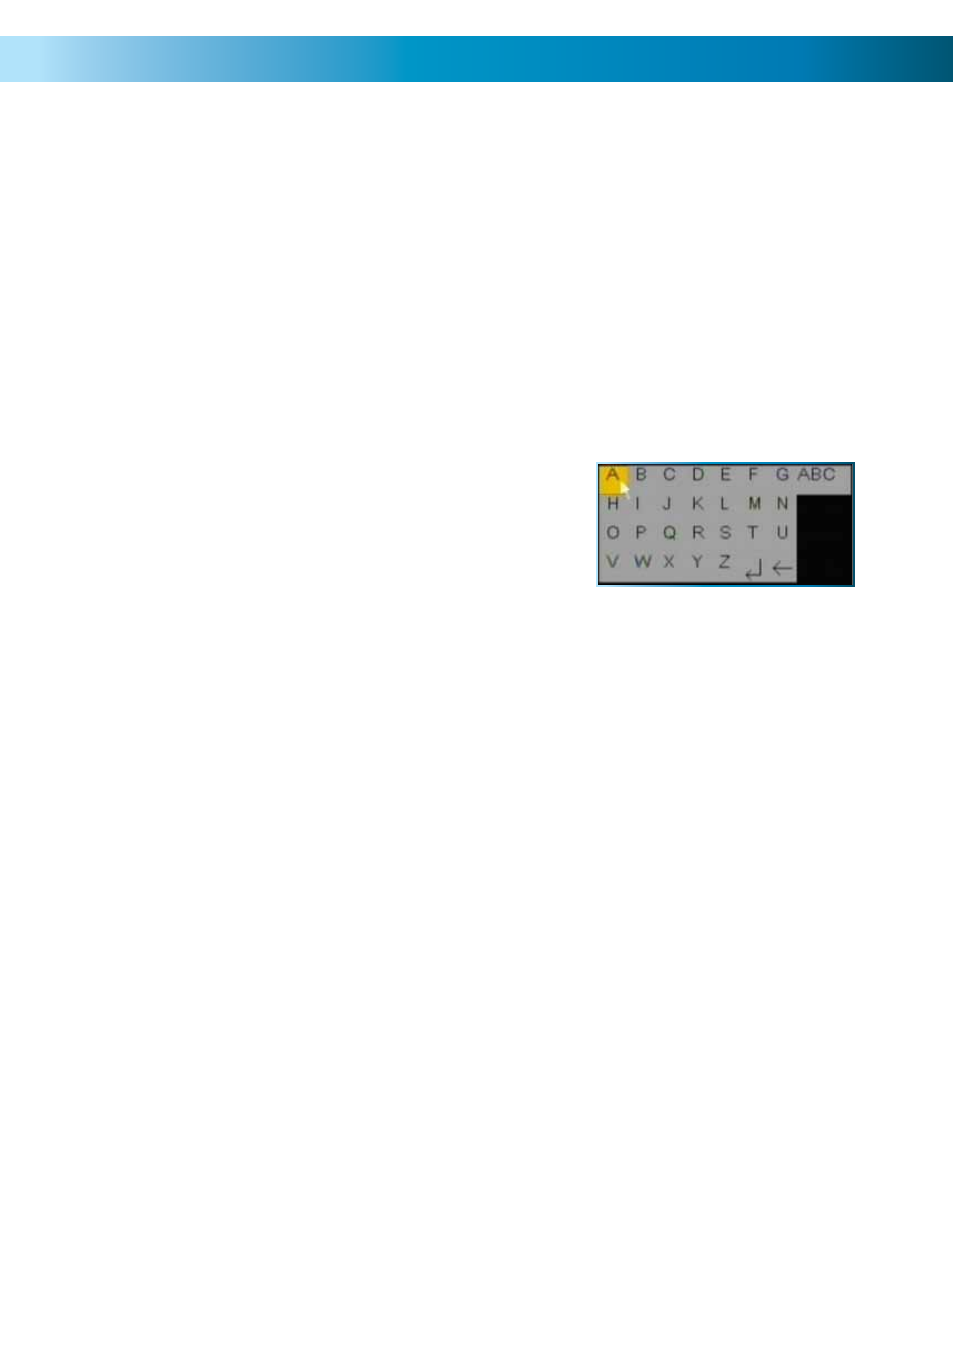
Using the On-Screen Keyboard
As the DVR doesn’t have a keyboard, when you have to enter
text the DVR will present you an on-screen ‘keyboard’. This will
automatically appear when you select a text field which allows
you to enter a value.
If you want to change the type of characters being entered,
click the ABC button on the right of the keyboard - this will
cycle through the modes available. You can enter letters,
numbers or symbols, each with their own mini-keyboard.
Getting Started
If you’ve just unpacked your DVR and are not sure where to begin setting up your system, here’s a quick
rundown of the most important things that need to be set up.
•
Test your system. Before installing cables into walls, it’s a great idea to plug everything in and
make sure it all works. This is particularly true if you’re using additional cameras to any that came
with the DVR (this DVR is available stand-alone or in a kit with cameras). We do our very best to
ensure that the equipment reaching you is of the highest quality and will work out of the box, but
accidents do occur in shipping and sometimes components can fail. Better to find out now than
once everything is screwed in place!
•
Then, once the DVR is on and working, the first thing to do is to set your password (see page
29 for details on how to do it).
•
Set the Date and Time (page 28 for details) to ensure that, once you start recording, you are
able to index and search the recorded footage easily. Also, if using the DVR’s footage in any legal
proceedings, then having an accurate date and time on your footage becomes quite crucial.
•
Check your hardware - specifically, and most importantly, the hard drive (see pages 22 & 23).
This is where all your footage will be stored, so it’s quite important to ensure that it is functioning
correctly.
•
Setup your recording modes and/or schedule (pages 15 - 16) to make sure that the DVR will
record what you want it to, and at the right time.
•
OPTIONAL (Advanced Users): Configure your network settings (pages 17 & 32 - 37).