Scan to usb memory – Muratec MFX-C2700 User Manual
Page 54
Scanning > 54
S
CAN
TO
USB
MEMORY
1.
Plug the USB memory into the USB port at the front of the machine.
2.
Place your document(s) with text face UP in the ADF or face DOWN on the glass.
3.
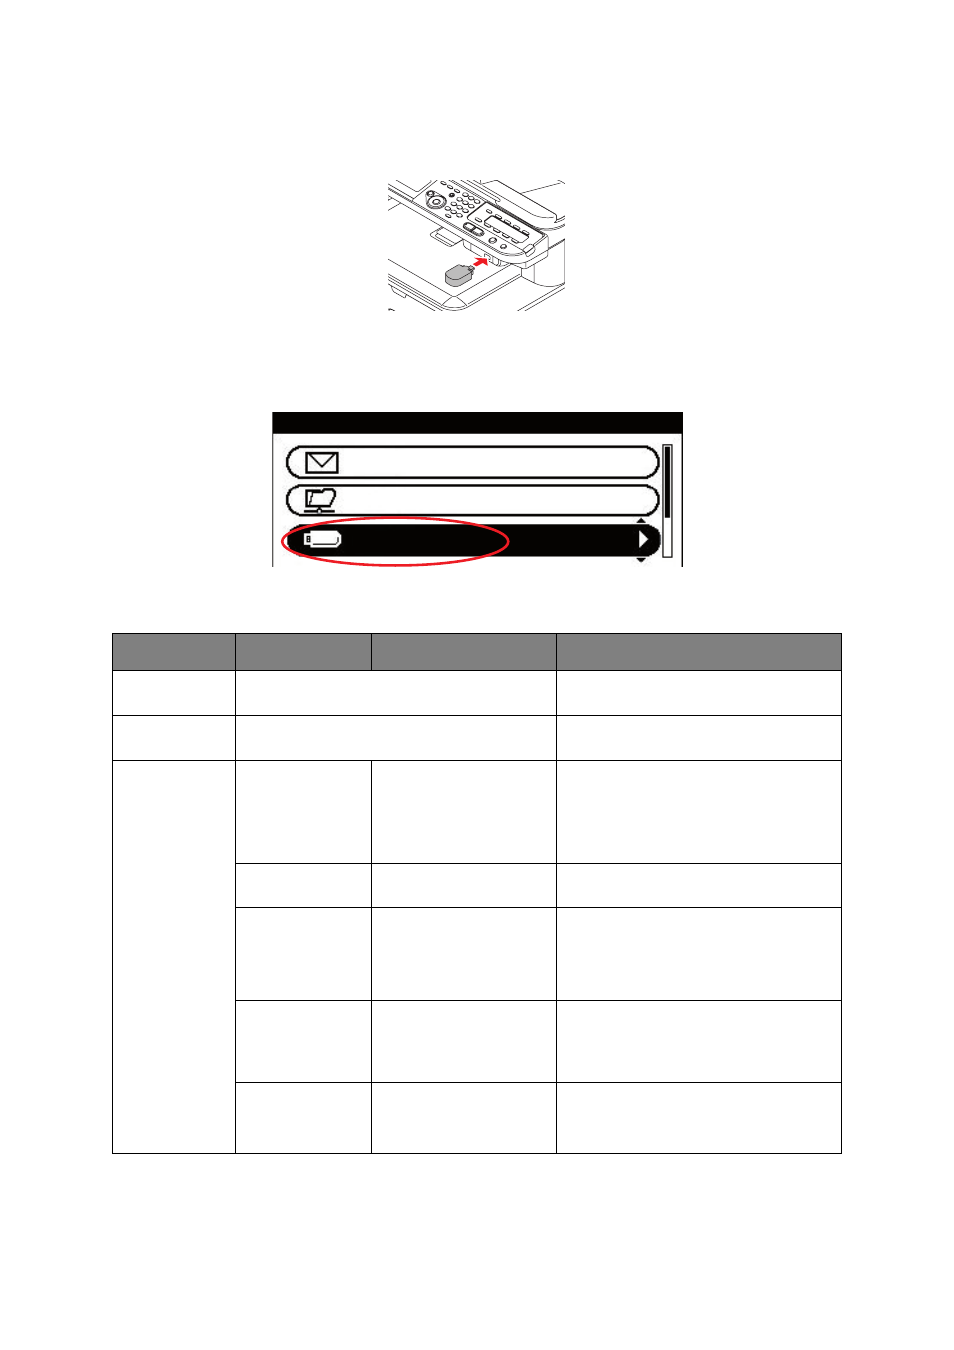
Press the Scan button on the control panel to prompt the Scan Menu screen.
4.
Using the Down arrow key, scroll to USB Memory and press OK.
Using the options available, you can enter a file name and alter the scan output to
suit your needs.
FEATURE
OPTION
DESCRIPTION
Scan Size
A4,
A5, A6, B5, Letter, Legal 13, Legal 13.5,
Legal 14, Executive
Allows you to select the scan size.
Duplex Scan
OFF, Long Edge Bind, Short Edge Bind
Select the bound originals binding
position.
Image Settings
Density
-3, -2, -1, 0, +1, +2, +3
Adjust density
Darker: Keep color intensity and darker
image.
Lighter: Reduce color intensity and
gives lighter image.
Document Type
Text, Text&Photo,
Photo, Photo (Glossy)
Allows you to specify the type of images
on the document.
Background
Removal
OFF, 1, 2, 3, 4, 5, 6
Allows you to block out the color
background of the image (assuming
document has a color background) -
such that the background color is not
printed.
Resolution
75dpi, 100dpi, 150dpi,
200dpi, 300dpi, 400dpi,
600dpi
Allows you to select the appropriate
resolution.
Remember the higher the resolution the
bigger the file size!
Contrast
-3, -2, -1, 0, +1, +2, +3
Contrast setting
High: Enhance brightness
Low: Reduce brightness
Scan Menu
USB Memory
Network PC