Milwaukee 4262-1 User Manual
Page 9
page 9
Drilling
When preparing to drill, align the bit with the spot to be drilled. When
proper alignment is established, energize the magnet and start the drill
motor. A pilot hole is recommended for drilling holes larger than 1/2
in diameter. When drilling, apply only enough force to produce a curled
chip. Applying too little force will result in small broken chips and in-
creased drilling time. Applying too much force will cause overheating of
the bit resulting in short bit life. Overheating of the bit can be noticed
when drill bit and chips turn brown or blue. Excessive force can cause
the drill to slow down to a point where drilling time will increase. The use
of cutting lubricants will reduce drilling heat and increase drill bit life.
Using Twist Drills
When preparing to drill, align the bit with the area to be drilled. When
proper alignment is established, energize the magnet and start the drill
motor. A pilot hole is recommended for drilling holes larger than
1/2" in diameter.
When drilling, apply only enough force to produce a curled chip. Applying
too little force will result in small broken chips and increased drilling time.
Applying too much force will cause overheating of the bit resulting in
short bit life. Overheating of the bit can be noticed when drill bit and chips
turn brown or blue. Excessive force can cause the drill to slow down to
a point where drilling time will increase. The use of cutting lubricants will
reduce drilling heat and increase drill bit life.
APPLICATIONS
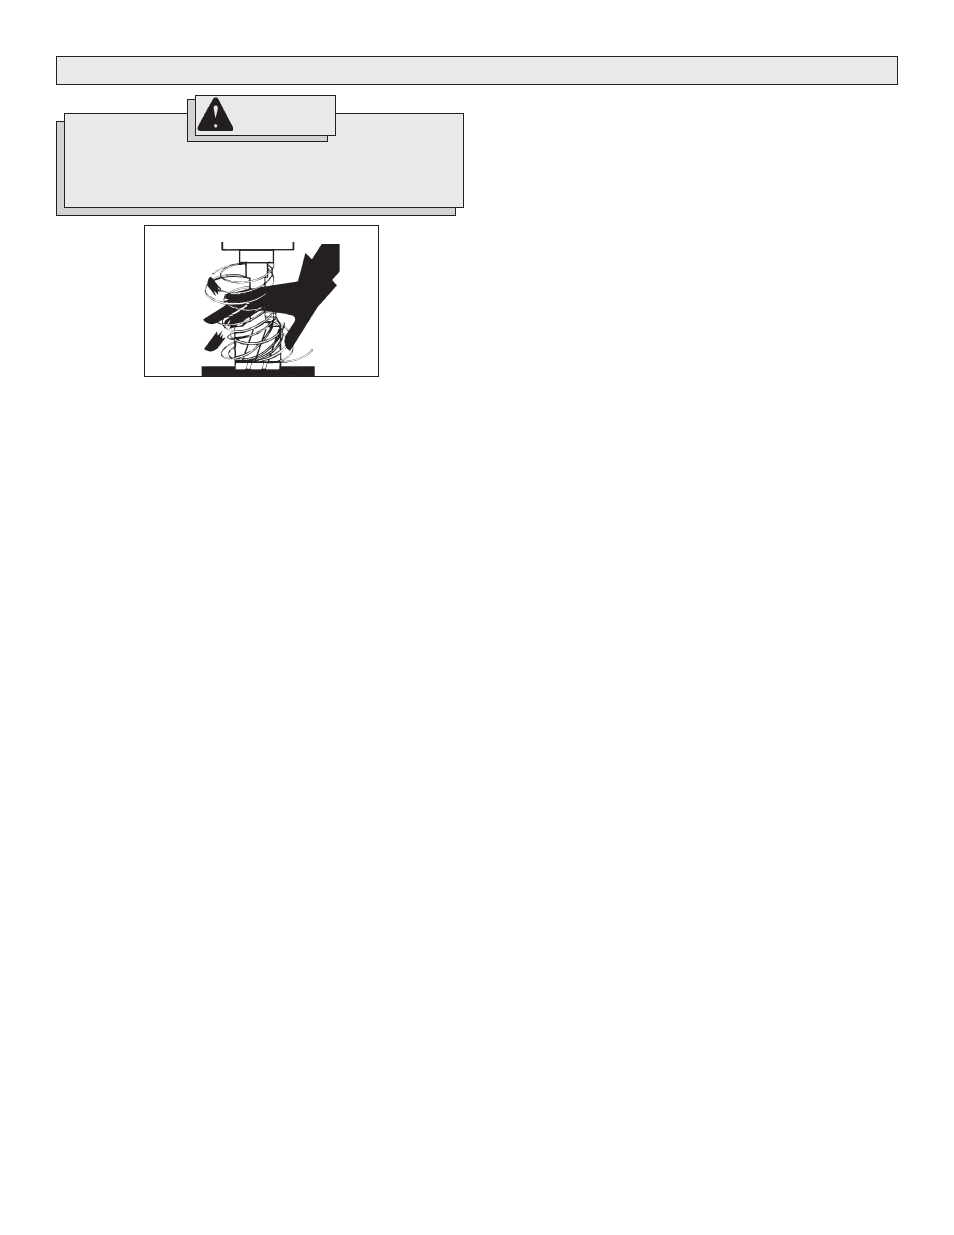
To reduce the risk of injury, always keep hands, rags,
clothing, etc. away from moving parts and chips. Do not try
to remove chips while the cutter is rotating. Chips are sharp
and can pull objects into moving parts (See Fig. 11).
Fig. 11
Tapping
Select the proper tap and drill combination. Refer to the Maximum Rec-
ommended Capacity chart. On two-speed drill motors, use the low
speed shift setting. Drill the hole as described above. If possible, tap the
hole before moving the base to another position. This eliminates the need
to align the tap with the hole. Always use a quality tapping wax or oil for
smooth cutting and avoid damage to the tap or workpiece. Pipe taps are
not recommended
1. Insert the tap into the chuck. TIGHTEN THE CHUCK SO THAT THE
CHUCK JAWS GRIP THE ROUND PORTION OF THE SHANK AND
NOT THE FLATS OF THE TAP.
2. For tapping existing holes, align the tap so it is centered with the hole
and reenergize the base.
3. Lubricate the tap and hole and lower the tap onto the work surface.
Turn the drill speed control to the slowest setting and push the Drill
Fwd button (Drill Rev for the left hand threads) to start the drill
motor. Adjust the speed control knob so the tap turns slowly and
smoothly into the hole.
4. When using smaller taps, reverse the motor as soon as the tap breaks
through the hole. With large taps, reverse the motor as soon as the
first full thread is exposed, the motor does not have to be stopped
before changing directions.
5. Reverse the motor to slowly withdraw the tap from the hole. Main-
tain light pressure on the handle to compensate for the weight of the
drill motor on the tap. As soon as the tap comes out of the hole, raise
the motor and tap clear of the workpiece.
NOTE: Only the low speed shift setting on the 2-speed drill is recom-
mended for tapping.
DANGER!