91 basic scanner operations – FUJITSU ScanSnap Color Image Scanner S510M User Manual
Page 107
3.5 Various settings according to your needs
ScanSnap S510M Operator's Guide
91
Basic Scanner Operations
3
7.
Press the [SCAN] button
.
⇒
Scanning is started and the image data is generated in the specified size.
ATTENTION
•
The image is centered and output in the specified size.
When "Automatic detection" is selected in the "Output image size" drop-
down list of the "Carrier Sheet Settings" window, an optimal size is selected
automatically from the available standard sizes (refer to page 55) and the
image is output.
•
In the "Carrier Sheet Settings" window, when "Automatic detection" is
selected in the "Output image size" drop-down list, the size of the produced
image may be smaller than the original.
Example: When you scan the A5 size image printed at the center of an A4
size paper
D
A5 size image is output.
To output an image in the original size, specify the document size in the
[Output image size] drop-down list
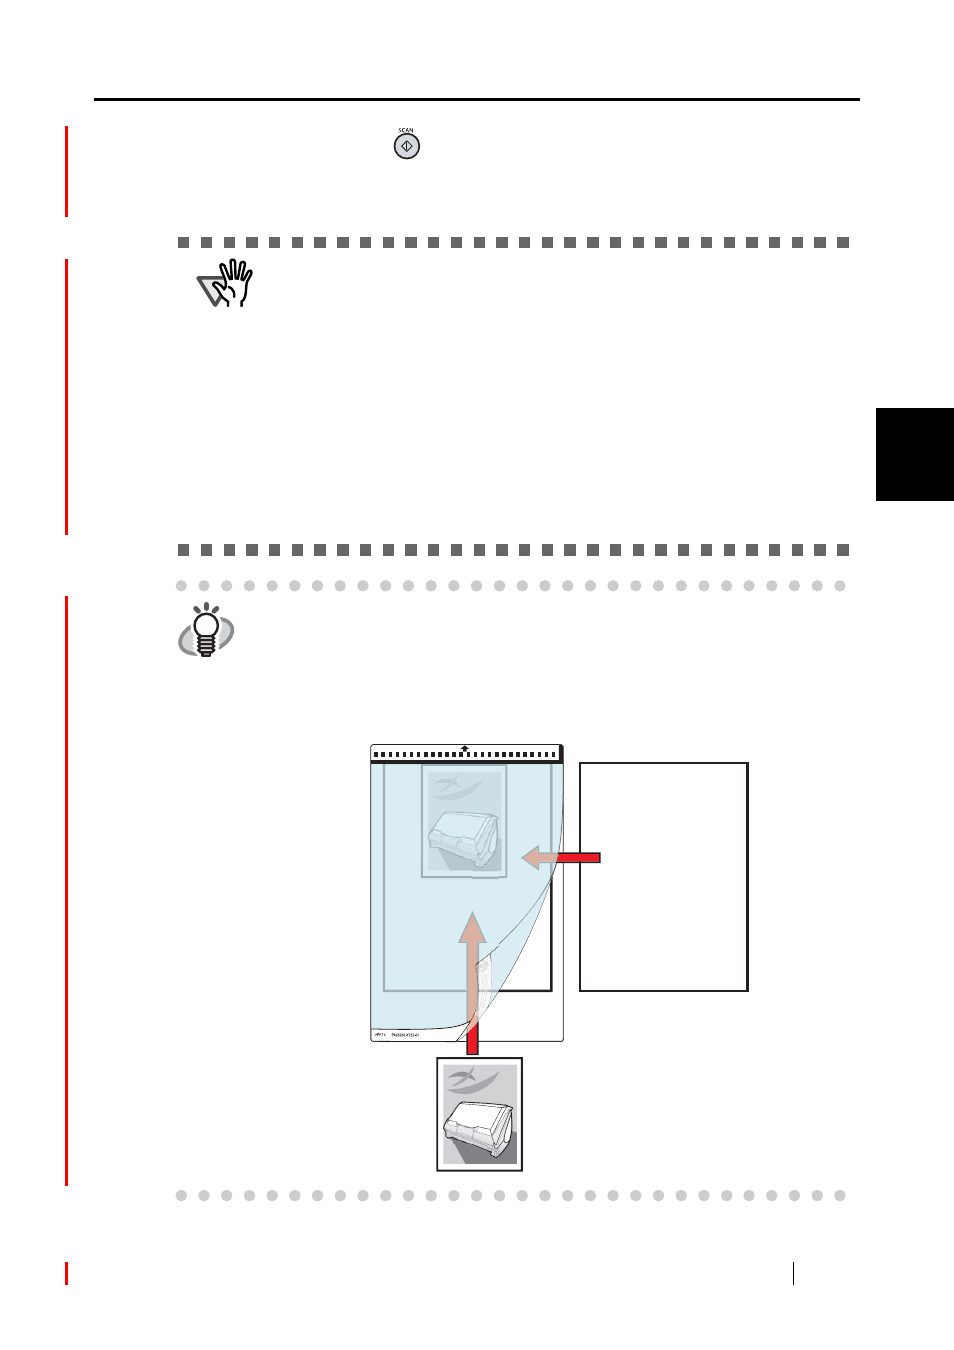
HINT
If the following symptoms are observed, lay the material over a piece of white
paper to scan.
•
The output image is not in a suitable size (when [Automatic detection] is
selected).
•
The outline of the material is shaded.
•
Black lines appear around the material cut out in an indefinite shape.
white paper