4 transmitting, 5 selecting the range, 6 adjusting lcd backlighting and display tone – Furuno 851 MARK-2 User Manual
Page 12
2-3
Note: When the heading signal is lost, the
HDG readout at the top of the screen
shows ***.*. This warning stays on
when the heading signal is restored
to warn the operator that the readout
may be unreliable. After confirming
the heading readout (if necessary,
adjust it), the warning may be erased
by pressing the [DISP MODE] key.
2.4 Transmitting
After the power is turned on and the
magnetron has warmed up, ST-BY (Stand-
By) appears at the screen center. This
means the radar is now fully operational. In
stand-by the radar is available for use at
anytime—but no radar waves are being
transmitted.
Press the [ST-BY TX] key to transmit.
When transmitting, any echoes reflected
from targets appear on the display. This
radar displays echoes in four tones of gray
according to echo strength.
When you won’t be using the radar for an
extended period but want to keep it in a
state of readiness, press the [ST-BY TX]
key to set the radar in stand-by.
2.5 Selecting the Range
The range selected automatically
determines the range ring interval, the
number of range rings, pulselength and
pulse repetition rate, for optimal detection
capability in short to long ranges.
Procedure
Press the [– RANGE +] key. The range and
range ring interval appear at the top left
corner on the display.
Tips for selecting the range
•
When navigating in or around crowded
harbors, select a short range to watch
for possible collision situations.
•
If you select a lower range while on
open water, increase the range
occasionally to watch for vessels that
may be heading your way.
2.6 Adjusting LCD
Backlighting and Display
Tone
The [BRILL] key adjusts the LCD
backlighting in eight levels, including off.
The [TONE] key adjusts the tone (contrast)
of the display in 32 levels, including off.
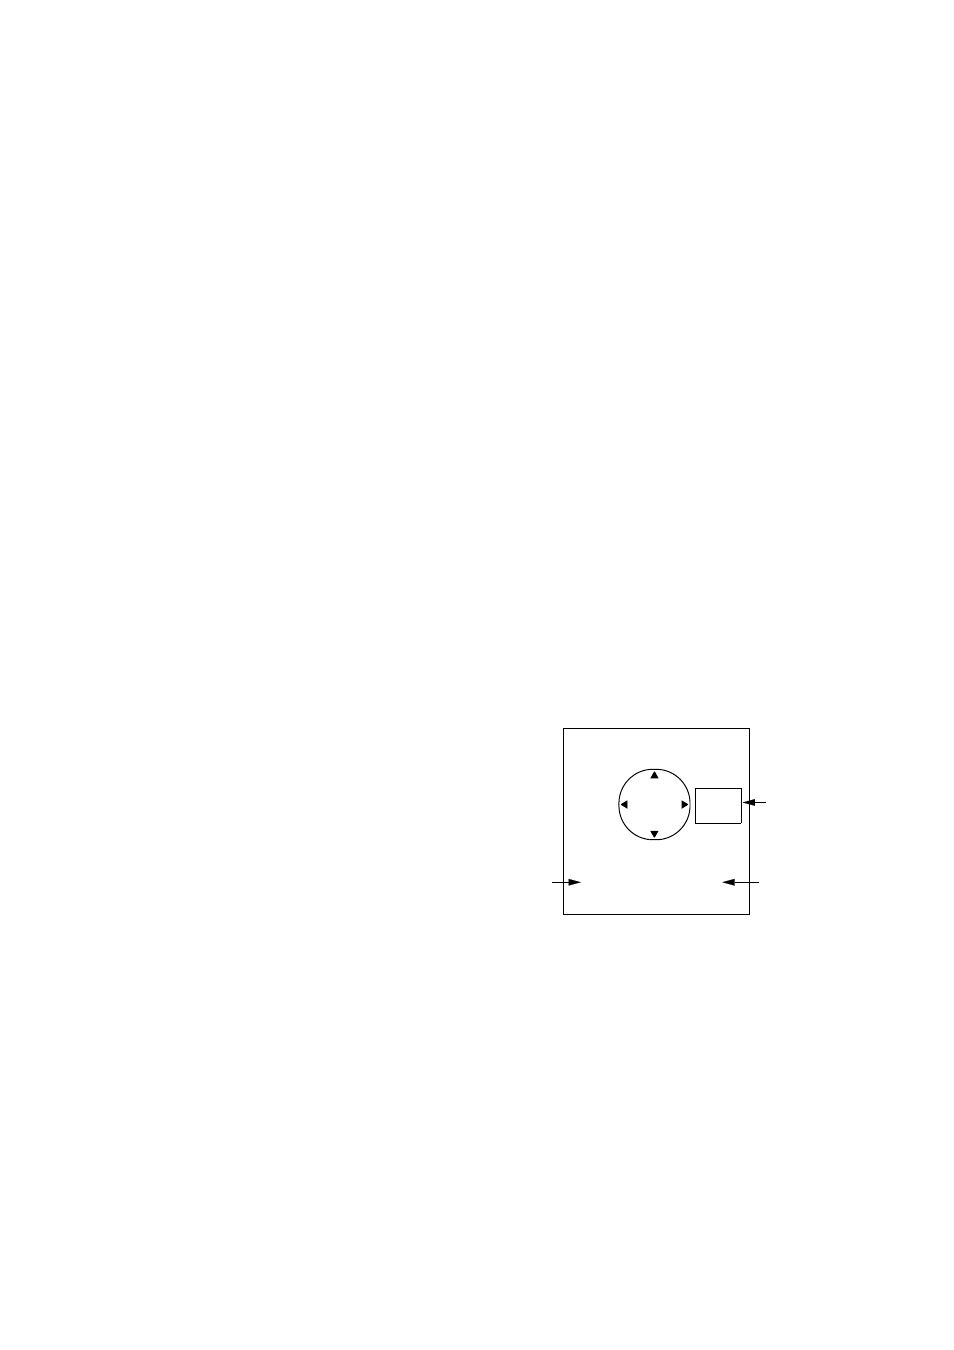
Procedure
1. Press the [BRILL] key (or [TONE] key).
The display shown in Figure 2-3
appears.
BRILL
DOWN
BRILL
UP
TONE
DOWN
19 7