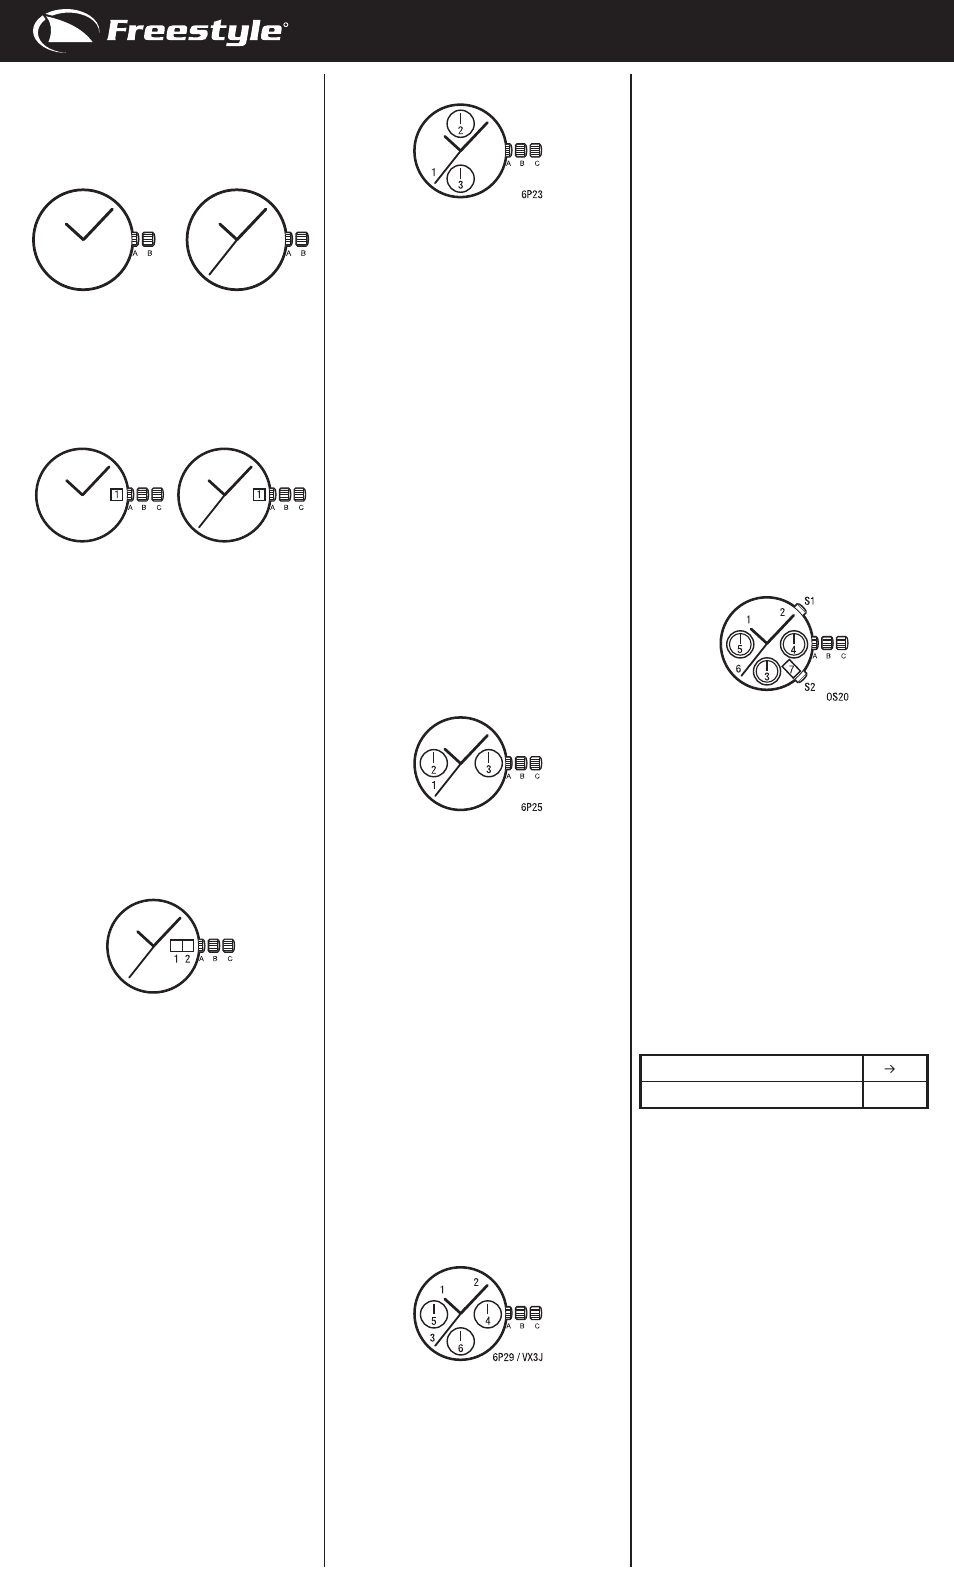
Freestyle Quartz Analog User Manual
Quartz analog instructions, English
ENGLISH
QUARTZ ANALOG
INSTRUCTIONS
TWO-HAND / THREE-HAND MODELS
1. Second Hand
1
TO SET THE TIME:
1. Pull crown out to first click position B.
2. Turn crown to set time.
3. Push crown back to position A.
TWO-HAND / THREE-HAND DATE
MODELS
1. Date Indicator
TO SET THE TIME:
1. Pull crown out to second click position C.
2. Turn crown to set time.
3. Push crown back to position A.
TO SET THE DATE:
1. Pull crown out to first click position B.
2. Turn crown counter-clockwise to set
date.
3. Push crown back to position A.
NOTE: Do not set the date between 9:00
P.M. and 1:00 A.M. Otherwise, the date
may not change prop erly on the following
day. If it is necessary to set the date dur-
ing that time period, first change the time
to any time outside it, then set the date
and then reset to the correct time.
THREE-HAND DAY-DATE MODELS
1. Day (of the week) Indicator
2. Date Indicator
TO SET THE TIME:
1. Pull crown out to second click position C.
2. Turn crown to set time.
3. Push crown back to position A.
TO SET THE DAY (OF THE WEEK):
1. Pull crown out to first click position B.
2. Turn crown clockwise to set day.
3. Push crown back to position A.
NOTE: Do not set the day between 9:00
P.M. and 1:00 A.M. Otherwise, the day may
not change properly on the following day.
If it is necessary to set the day during that
time period, first change the time to any
time outside it, then set the day and then
reset to the correct time.
TO SET THE DATE:
1. Pull crown out to first click position B.
2. Turn crown counter-clockwise to set
date.
3. Push crown back to position A.
NOTE: Do not set the date between 9:00
P.M. and 1:00 A.M. Otherwise, the date
may not change properly on the following
day. If it is necessary to set the date dur-
ing that time period, first change the time
to any time outside it, then set the date
and then reset to the correct time.
TWO-EYE MULTI-FUNCTION MODELS
1. Second Hand
2. Day Hand
3. Date Hand
TO SET THE DAY (OF THE WEEK):
1. Pull crown out to second click position C.
2. Turn crown clockwise to set day.
3. Push crown back to position A.
NOTE: The Day Hand will move together
with the Hour Hand and Minute Hand.
Keep turning the crown until the desired
day has been reached.
TO SET THE TIME:
1. Pull crown out to second click position C.
2. Turn crown to set time.
3. Push crown back to position A.
TO SET THE DATE:
1. Pull crown out to first click position B.
2. Turn crown counter-clockwise to set date.
3. Push crown back to position A.
NOTE: Do not set the date between 9:00
P.M. and 1:00 A.M. Otherwise, the date
may not change properly on the following
day. If it is necessary to set the date dur-
ing that time period, first change the time
to any time outside it, then set the date
and then reset to the correct time.
1. Second Hand
2. Date Hand
3. 24 Hour Hand
TO SET THE TIME:
1. Pull crown out to second click position C.
2. Turn crown to set time.
3. Push crown back to position A.
NOTE: The 24 Hour Hand will also be set
during time setting.
TO SET THE DATE:
1. Pull crown out to first click position B.
2. Turn crown counter-clockwise to set
date.
3. Push crown back to position A.
NOTE: Do not set the date between 9:00
P.M. and 1:00 A.M. Otherwise, the date
may not change properly on the following
day. If it is necessary to set the date dur-
ing that time period, first change the time
to any time outside it, then set the date
and then reset to the correct time.
THREE-EYE MULTI-FUNCTION MODELS
1. Hour Hand
2. Minute Hand
3. Second Hand
4. Date Hand
5. Day Hand
6. 24 Hour Hand
TO SET THE DAY (OF THE WEEK):
1. Pull crown out to second click position C.
2. Turn crown clockwise to set day.
3. Push crown back to position A.
NOTE: The Day Hand will move together
with the Hour Hand and Minute Hand.
Keep turning the crown until the desired
day has been reached.
TO SET THE TIME:
1. Pull crown out to second click position C.
2. Turn crown to set time.
3. Push crown back to position A.
NOTE: The 24 Hour Hand will also be set
during time setting.
TO SET THE DATE:
1. Pull crown out to first click position B.
2. Turn crown either clockwise or
counter-clockwise to set date.
3. Push crown back to position A.
NOTE: The direction of crown turning
for date setting varies on different watch
models.
NOTE: Do not set the date between 9:00
P.M. and 1:00 A.M. Otherwise, the date
may not change prop erly on the following
day. If it is necessary to set the date dur-
ing that time period, first change the time
to any time outside it, then set the date
and then reset to the correct time.
THREE-EYE CHRONOGRAPH MODELS
1. Hour Hand
2. Minute Hand
3. Second Hand
4. 24 Hour Hand
5. Chronograph Minute Hand
6. Chronograph Second Hand
7. Date Indicator
S1 – Chronograph start/stop button
S2 – Chronograph reset button
TO ADJUST THE CHRONOGRAPH HANDS
POSITION:
Before setting the time, check if the Chro-
nograph Second Hand and Chronograph
Minute Hand are at the zero position.
If the chronograph is in use, press the
button in the following order to reset it,
and then check if the chro nograph hands
have returned to zero position.
If the chronograph is counting: S1 S2
If the chronograph is stopped: S2
In case one or several chronograph hands
are not at the zero position due to certain
reasons (e.g. following a battery change),
that needs to be adjusted.
1. Pull crown out to second click position C.
2. Press S1 button to set the Chronograph
Second Hand. Holding down the button
will allow quick advance.
3. Push crown back to position A.
TO SET THE TIME:
1. Pull crown out to second click position C.
2. Turn crown to set time.
3. Push crown back to position A.
NOTE: The 24 Hour Hand will also be set
during time setting.
TO SET THE DATE:
1. Pull crown out to first click position B.
2. Turn crown counter-clockwise to set
date.
3. Push crown back to position A.
NOTE: Do not set the date between 9:00
P.M. and 1:00 A.M. Otherwise, the date
may not change properly on the following
day. If it is necessary to set the date dur-
ing that time period, first change the time