Adjust fb erasing edges, Fb edge erasing – FUJITSU fi-4750L User Manual
Page 83
7-15
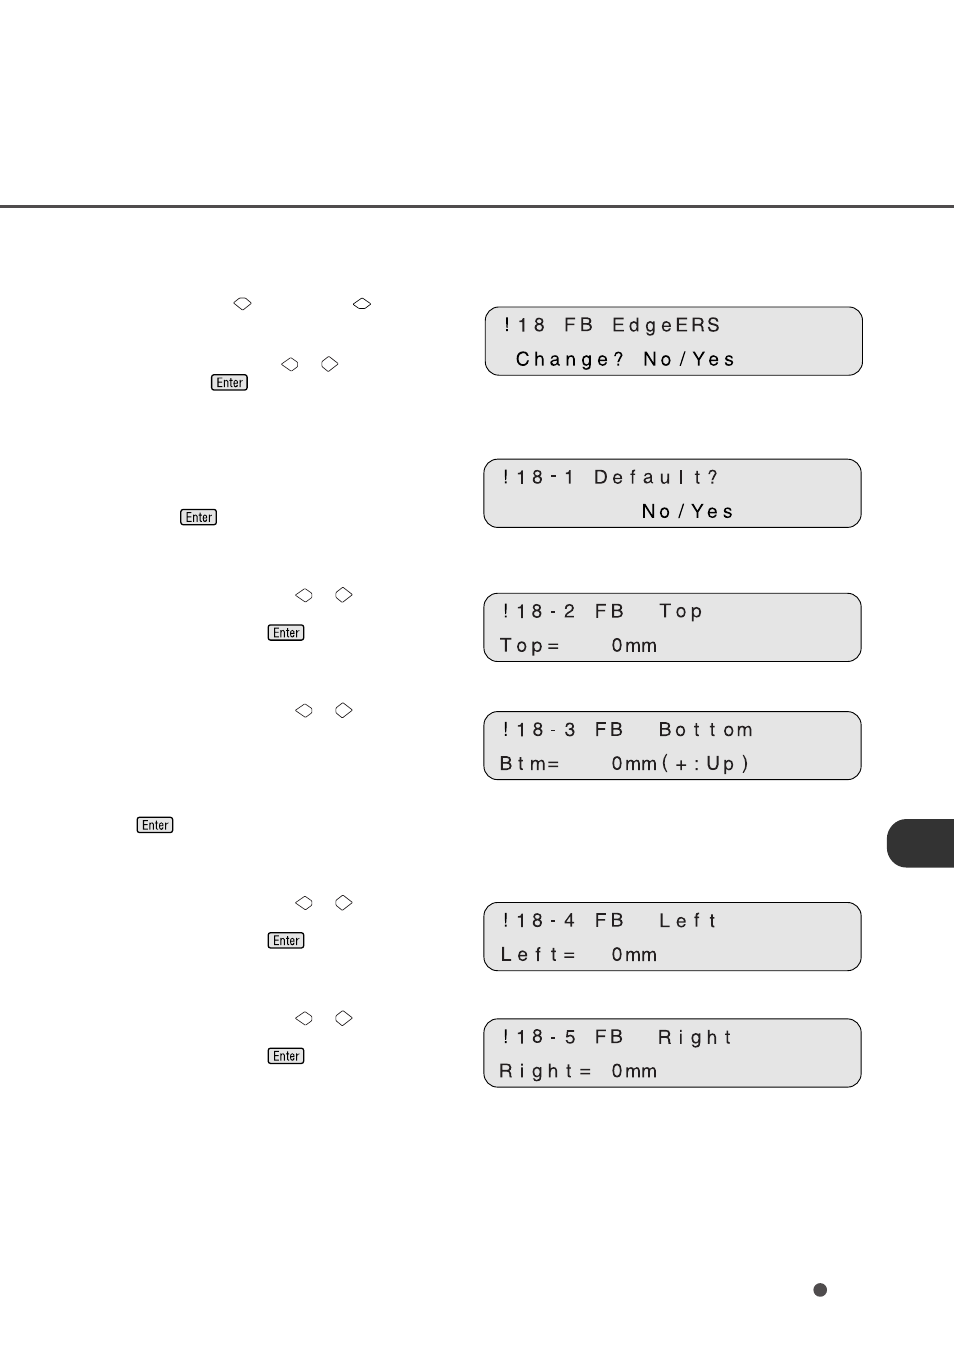
18. Adjust FB Erasing Edges
1 Press “Next”
or “Previous”
and let the
scanner display Screen 58.
2 At Screen 58, press
or
to select “Yes”
and press
. Then the scanner displays
Screen 58-1.
3 At Screen 58-1, select “Yes” to return the
settings to the factory default or select “No” to
make new settings (as shown below). Then
press
. The scanner displays Screen
58-2.
4 At Screen 58-2, press
or
to change the
top setting. The value changes in 1 mm
units. Then press
to activate the
setting. The scanner displays Screen 58-3.
5 At Screen 58-3, press
or
to change the
bottom setting. With (+:Up), the area is set
upward from the bottom edge of the image.
With (–:Down), the area is set downward
from the bottom edge of the image. The
value changes in 1 mm units. Then press
to activate the setting. The scanner
displays Screen 58-4.
6 At Screen 58-4, press
or
to change the
left setting. The value changes in 1 mm
units. Then press
to activate the
setting. The scanner displays Screen 58-5.
7 At Screen 58-5, press
or
to change the
top setting. The value changes in 1 mm
units. Then press
to activate the
setting. The scanner displays the next setup
item.