Perma Pure GASS-2040 User Manual
Page 24
24
GASS-2040 User Manual | Original Instructions
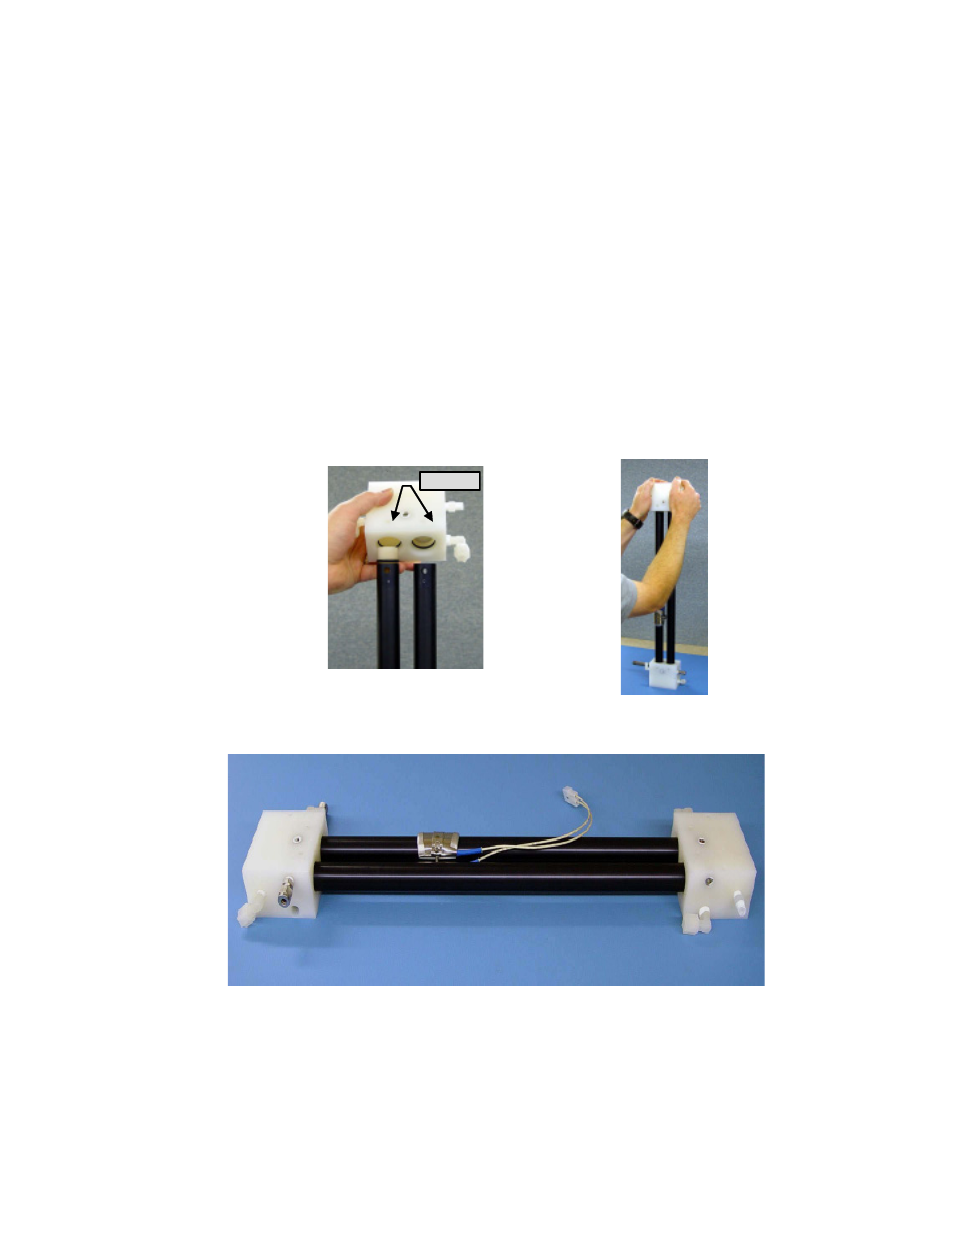
d. Insert the free shell tubes ends of the partially completed assembly into the bores of the
other coupling fitting. (Important! – Be sure to have the set screw holes in each cou-
pling fitting facing in the same direction). See Figure 20.
e. Press the tubes into the coupling. This step can be done by hand with some rocking of the
coupling fitting while pressing. Rocking the fitting helps get the shell tube ends past the o-
rings. Light tapping with a rubber mallet or pressing lightly in an arbor press will facilitate
the assembly (See Figure 21).
f. Lay the dryer assembly on a flat surface with the set screw holes facing up. Check that both
coupling fittings are flat against the surface and there is no twist in the dryer assembly.
Gently tighten all four shell set screws (item 11) by turning until resistance if felt and turning
an additional ¼ turn. Do not over-tighten. See Figure 22.
g. Reinstall all four pipe plugs, (item 10)
h. Reconnect the purge pressure switch tubing to the compression fittings in each coupling
fitting.
Figure 20
Set screws
Figure 21
Figure 22