IBM R/S Rheometer M/02-212 User Manual
Page 57

Brookfield Engineering Labs., Inc.
Page 57
M/02-212
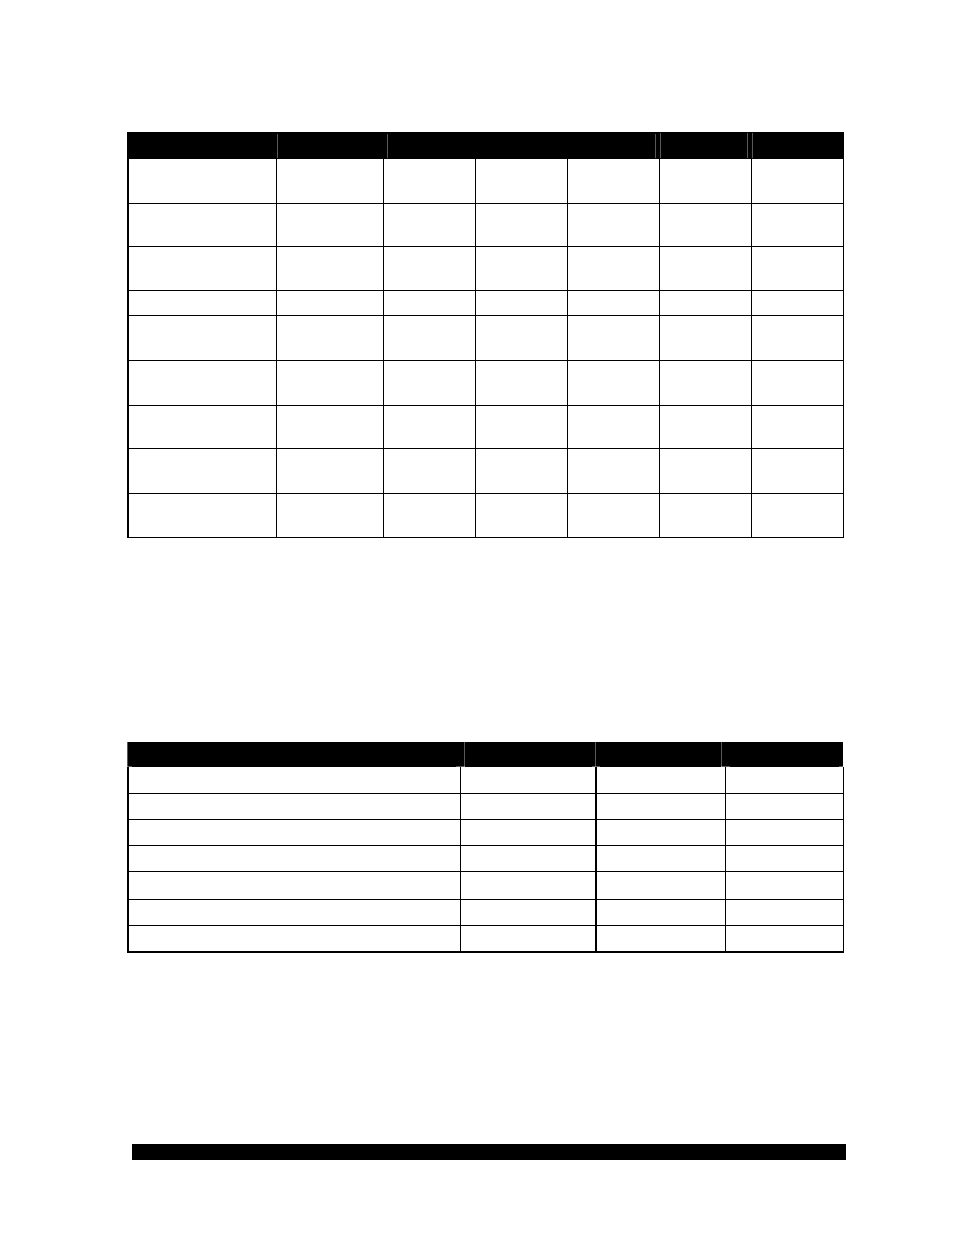
Table Cone/Plate measuring systems (DIN 53018)
(consists of measuring cone and measuring device ME-CP/PP)
Measuring system C25-1
C25-2
C50-1
C50-2
C75-1
C75-2
Shear rate range
[s
-1
]
0 ... 4,800
0 ... 2,400
0 ... 4,800
0 ... 2,400
0 ... 4,800
0 ... 2,400
Shear stress range
[Pa]
0 ... 12,223
0 ... 12,223 0 ... 1,528
0 ... 1,528
0 ... 452
0 ... 452
Viscosity range
[Pas]
0.25 ... 1,629 0.5 ... 3,259 0.03 ... 203 0.06 ... 407 0.009 ... 60 0.02 ... 120
Filling
volume
[ml]
0.08 0.3 0.7 1.5 2.0 3.9
Shear rate factor K
γ⋅
[min/s]
6.00 3.00 6.00 3.00 6.00 3.00
Shear stress factor
τ
‰
[Pa]
12.223 12.223 1.528 1.528 0.4527 0.4527
Radius of measu-
ring cone R [mm]
12.5 12.5
25 25 37.5
37.5
Angle of measu-ring
cone
α [°]
1 2 1 2 1 2
Cone truncation
[
µm]
50 50 50 50 50 50
Table Plate/Plate measuring systems (DIN 53018)
(consists of measuring plate and measuring device ME-CP/PP)
The following data is valid for a measuring gap of 1 mm. For other measuring gaps please calculate
K
γ⋅
with formula:
K
γ⋅
=(2
π/60) * (R/H) R= radius, H=gap
Measuring system
P25
P50
P75
Shear rate range [s
-1
]
0 ... 1,047
0 ... 2,094
0 ... 3,141
Shear stress range [Pa]
0 ... 16,298
0 ... 2,037
0 ... 603
Viscosity range [Pas]
1.56 ... 9,960
0.097 ... 623
0.02 ... 122
Filling volume [ml]
0.5
2.0
4.5
Shear rate factor K
γ⋅
[min/s]
1.309
2.6175 3.927
Shear stress factor
τ
‰
[Pa]
16.2975
2.037 0.6036
Radius of measuring plate R [mm]
12.5
25
37.5
