Install the software and connect the scanner – HP 4500c Series User Manual
Page 7
2
install the scanner
English
install the software and connect the scanner
Set up your scanner in one of two ways: either install the software first or connect
the scanner first. It is recommended that you install the software first, especially on
a Macintosh computer.
install the
software first
(Windows and
Macintosh)
1
Close all open programs on your computer.
2
Locate the HP Photo & Imaging software CD-ROM that is appropriate for
your language and operating system and insert it into your computer.
3
For a Microsoft Windows computer: Follow the instructions on the screen.
Or, if the installation program does not start automatically:
a. On the Start menu, click Run.
b. Type:
x:setup.exe
(where x is the letter of the CD-ROM drive).
For a Macintosh computer: Double-click the Installation Read Me file on the
CD-ROM and follow the instructions.
4
If the instructions prompt you to shut down your computer, do so.
5
Connect the USB cable between the USB port on the scanner and the USB
port on the computer.
6
Connect the power cable between the scanner and a surge protector or a
grounded wall outlet that is easy to reach. This turns on the scanner.
7
If necessary, turn your computer on again.
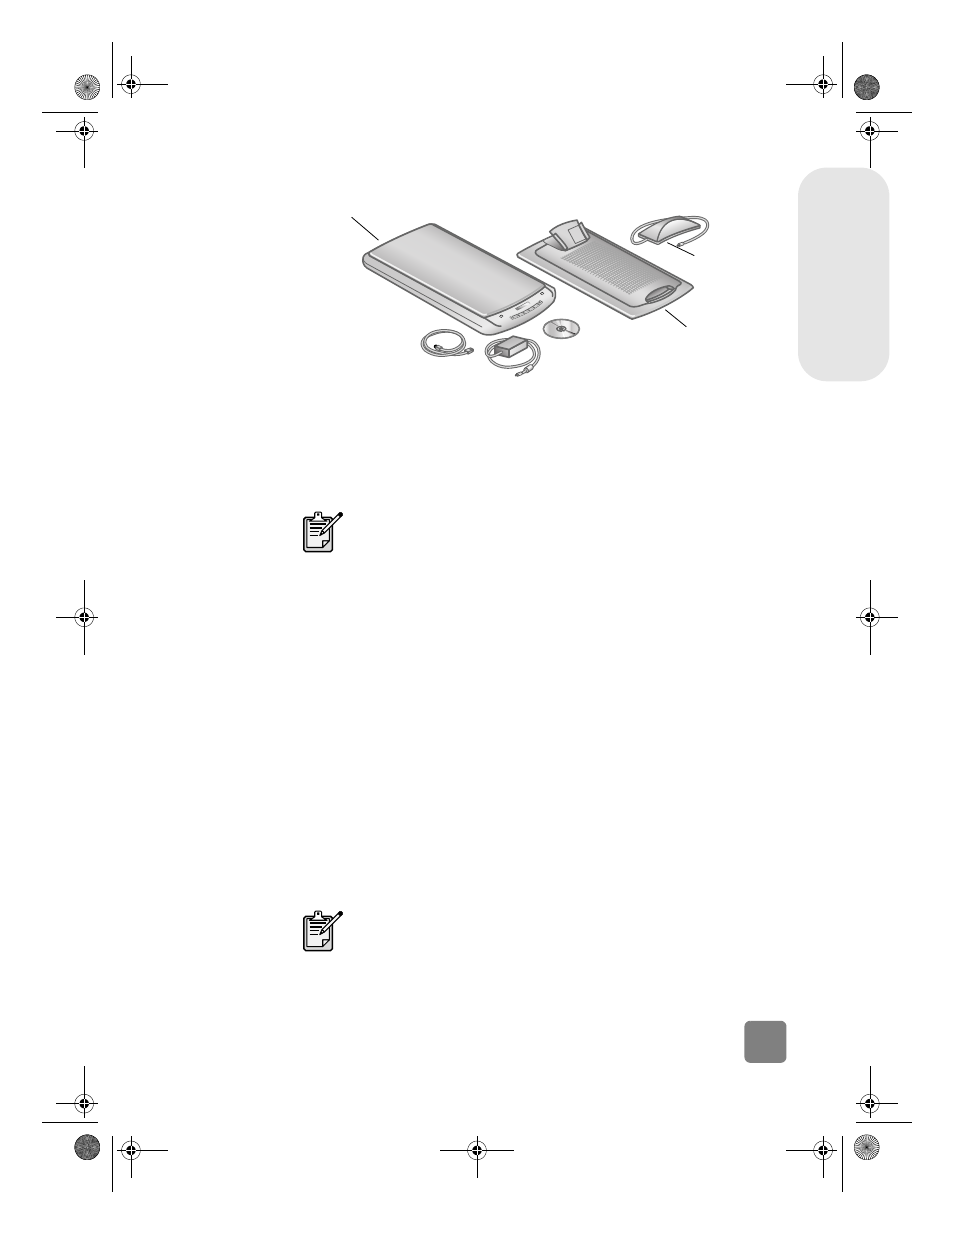
HP Scanjet 4570c/5500c
scanner
TMA
APF (HP Scanjet 5500c
only)
If you experience difficulty installing your scanner, see
installation
problems - hp scanjet 4500c/5500c series
on page 13.
A “00” in the LCD on the front panel of the scanner indicates that
a USB connection error has occurred. Check that the USB cable is
securely connected between the scanner and the computer.
P_usermanual.book Page 2 Monday, May 6, 2002 6:26 PM