Installing wireless zones – Honeywell ADEMCO LYNXR-EN User Manual
Page 12
–12–
Installing Wireless Zones
Transmitter Battery Life
• Batteries in the wireless transmitters may last from 4–7 years,
depending on the environment, usage, and the specific wireless device
being used. Factors such as humidity, high or low temperatures, as well
as large swings in temperature may all reduce the actual battery life in a
given installation. The wireless system can identify a true low battery
situation, thus allowing the dealer or user of the system time to arrange
a change of battery and maintain protection for that point within the
system.
• Button-type transmitters should be periodically tested for battery life.
The 5801, 5802MN, 5802MN2, 5804, 5804BD, 5804BDV, 5804E, and
5804WATCH button transmitters have replaceable batteries.
Using the Transmitter Sniffer Mode
Use this mode after all transmitters have been entered to check that all
transmitters have been properly programmed.
1. Enter
Installer code (4112) + [#] + 3.
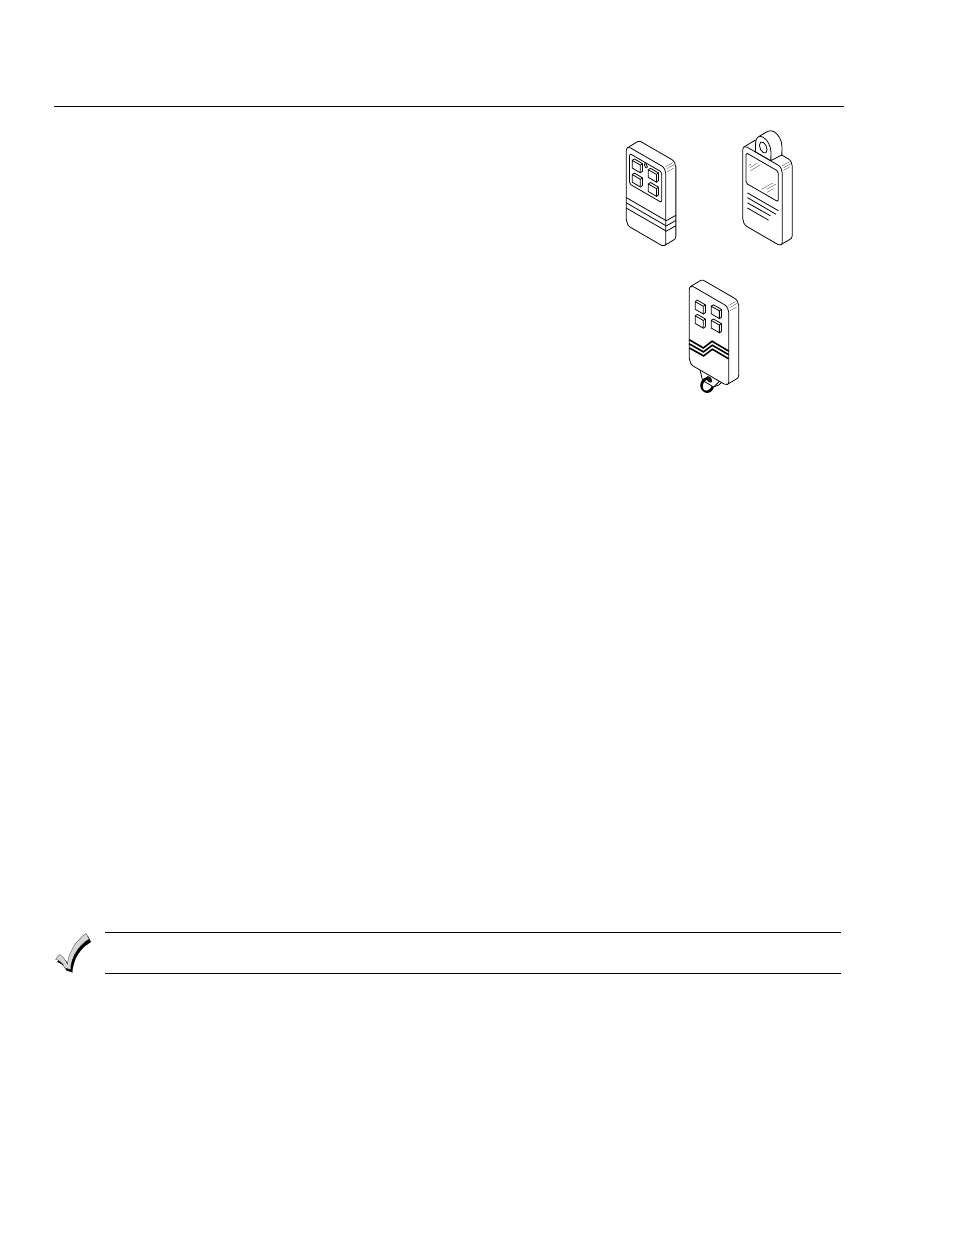
ON
OFF
5802MN
5804 /5804E
5801
01009-011-V0
Note: If the communicator is in the process of sending a report to the central station, the system will not go into the Sniffer mode.
If so, wait a few minutes and try again.
2. The keypad will display all zone numbers, which have a non-zero Zone Type (even if serial
numbers were not learned yet). Fault each transmitter in turn, causing each one to send a
signal. As the system receives a signal from each of the transmitters, the zone number of that
transmitter will disappear from the display. The transmitters may be checked upon
installation, or in an installed system.
3. When all transmitters have been checked, exit Sniffer mode. Enter Installer Code (4112) +
OFF.
Notes: (1) Sniffer mode does not automatically expire. You must manually exit (Installer Code + OFF) Sniffer mode to return to normal
operation.
(2) All BR-type units must physically be activated to clear the display, since they do not automatically send check-in signals.
(3) When one button of a transmitter (RF, UR, or BR) is activated, all zones assigned to other buttons on that transmitter are
cleared. This also applies to 5816 and 5817 transmitters that have multiple loops (zones).
(4) Any transmitter that is not “entered” will not turn off its zone number.
Go/No Go Test Mode
Note: Encrypted (high-security) devices must be activated while the system is in Go/No Go Test Mode. Refer to the transmitter’s
installation instructions for complete details.
The Go/No Go tests will verify adequate RF signal strength from the proposed transmitter location,
and allow you to reorient or relocate transmitters if necessary, before mounting the transmitters
permanently.
This mode is similar to the transmitter Test mode, except that the wireless receiver gain is reduced.
This will enable you to make sure that the RF signal from each transmitter is received with
sufficient signal amplitude when the system is in the normal operating mode.
1. Enter
Installer Code (4112) + [#] + 8.
2. Once you have placed transmitters in their desired locations and the approximate length of wire
to be run to sensors is connected to the transmitter's screw terminals (if used), fault each
transmitter.
Conducting this test with your hand wrapped around the transmitter will cause inaccurate results.
Note: On button type transmitters that have been programmed to set ARM AWAY, ARM STAY, or DISARM, pressing a button will take the
system out of the Go/No Go Test mode and cause the programmed action.
a. The keypad will beep three times indicating signal reception and will display the appropriate
zone number.
b. If the keypad does not beep, reorient or move the transmitter to another location. Usually a
few inches in either direction is all that is required.
4. If each transmitter produces the proper keypad response when it is faulted, you can then
permanently mount each of the transmitters according to the instructions provided with them.
5. Exit the Go/No Go Test mode by entering: Installer Code (4112) + OFF.