Appendix.a, Natural gas, Propane – Harman Stove Company Harman Gas 929BV User Manual
Page 17
1
Appendix.A
ConVeRTInG THe ClaRITY b-VenT fRoM
one Gas To anoTHeR In THe fIelD
noTe: THe ConVeRsIon sHall be CaR-
RIeD oUT In aCCoRDanCe WITH THe Re-
qUIReMenTs of THe PRoVInCIal oR loCal
aUTHoRITIes HaVInG JURIsDICTIon anD In
aCCoRDanCe WITH ReqUIReMenTs of THe
CURRenT eDITIon of THe naTIonal fUel Gas
CoDe, ansI Z223.1 or the Can/CGa-b149 InsTal-
laTIon CoDes.
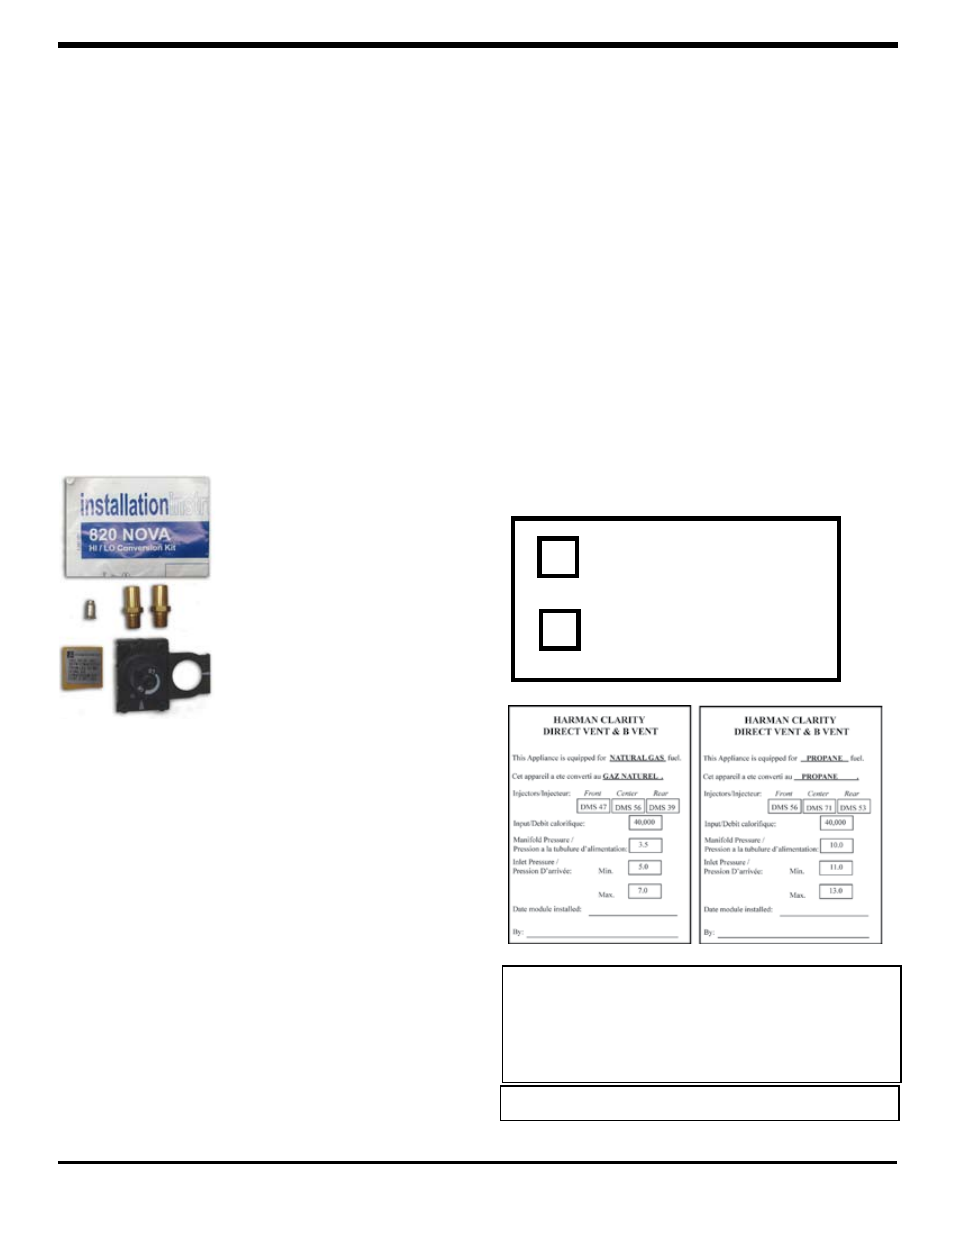
ConVeRsIon kIT CoMPonenTs
see WIRInG DIaGRaM on PaGe 13.
CaUTIon: label all WIRes PRIoR To DIsConneC-
TIon WHen seRVICInG ConTRols. WIRInG eRRoRs
Can CaUse IMPRoPeR anD DanGeRoUs oPeRaTIon.
VeRIfY PRoPeR oPeRaTIon afTeR seRVICInG.
*1 Pilot Orifice
*2 Burner Orifices
*.Regulator.Assembly
*.Conversion.Instructions
*.Installer.Fuel.Label
*.Conversion.Label-Must be
attached to valve upon com-
pletion.
Steps For Completing The Fuel Conversion.
Prior.to.installing.the.fuel.conversion,.remove.the.Glass.
door.and.the.log.set,.to.gain.access.to.the.burner.module..
Remove.the.burner.tubes.by.sliding.to.the.left.while.lift-
ing.upward..Remove.the.burner.cover.plate.and.the.tube.
box.top.
step 1: Remove.pilot.hood.with.a.7/16”.wrench..Inside,.
you will find and discard the Propane orifice. Install the
new Natural Gas orifice from the kit. Tighten the pilot
hood.and.assure.proper.alignment.of.the.directional.open-
ings.
step 2:.Using.a.1/2.in..deep-well.socket,.remove.the.
three main burner orifices. Install the new orifices accord-
ingly; Front = #47, Middle = #56, Rear = #39. Notice
the.#56.that.you.removed.from.the.front.will.be.used.in.
the.middle.for.Natural.Gas..Apply.a.thread.sealer.to.the.
orifices prior to installing.
step 3: Using a small flat-blade screwdriver, remove
the.three.screws.that.hold.the.LP.knob.module.in.place..
Remove.the.module.and.replace.it.with.the.Natural.Gas.
module.from.the.kit..See.kit.instructions.
step 4: Affix the conversion label to the valve so that any
future.service.tech.etc....can.plainly.see.that.the.valve.was.
converted.
step 5: Mark.the.appropriate.fuel.box.on.the.unit.label.
using.a.permanent.marker.
step 6: Affix the Installer Fuel Label in place of the exist-
ing.one.
.
Important: Perform a leak test upon completion
of the fuel conversion.
NATURAL GAS
PROPANE