Isle o ale oo to e – Hearth and Home Technologies QUADRA-FIRE 823-0170 - MBK User Manual
Page 29
Isle o ale oo to e
R
March
21,
2013
250-5763F
Page
29
D. lass epla e ent
1
(QVXUHWKDWWKH¿UHLVRXWDQGWKHDSSOLDQFHLVFRRO
to the touch.
2. Protect a table or counter top with padding or towels.
3URWHFW\RXUKDQGVDQGZHDUJORYHVWRSUHYHQWLQMXU\
3. Remove the door with the broken glass by lifting the
door up and off of the hinges.
4.
/D\GRRUIDFHGRZQRQDWDEOHRUFRXQWHUPDNLQJVXUH
the handle and handle attachment knob hangs over
WKHHGJHVRWKHGRRUOD\VÀDWRQDVRIWVXUIDFH
5. Remove the screws from each glass retainer and
UHPRYHWKHJODVV,IVFUHZVDUHGLI¿FXOWWRUHPRYH
VRDNZLWKSHQHWUDWLQJRLO¿UVW
6. Center the glass with edges evenly overlapping the
opening in the door, (i.e. same space top and bottom,
left and right sides).
7. Replace the glass retainers. Be careful not to cross
thread the screws.
7LJKWHQHDFKUHWDLQHUMXVWDIHZWXUQVXQWLOHDFKLV
secured. Check again for centering of glass in door
frame. Continue to tighten each retainer alternately,
a few turns at a time, until the glass is snug. DO NOT
OVERTIGHTEN.
9. Replace the door on the appliance.
Quadra-Fire stoves are equipped with ceramic super
heat-resistant glass, which can only be broken by impact
or misuse.
Do not slam stove door or impact the glass. When closing
door, make sure that logs do not protrude against the
glass. Inspect glass regularly.
,I\RX¿QGDFUDFNRUEUHDNLPPHGLDWHO\SXWWKH¿UHRXW
and return the door to your dealer for replacement of glass
before further use.
an le glass wit are.
,QVSHFWWKHJDVNHWWRHQVXUHLWLV
undamaged.
'R127VWULNHVODPRUVFUDWFKJODVV
'R127RSHUDWHDSSOLDQFHZLWKJODVV
& door assembly removed.
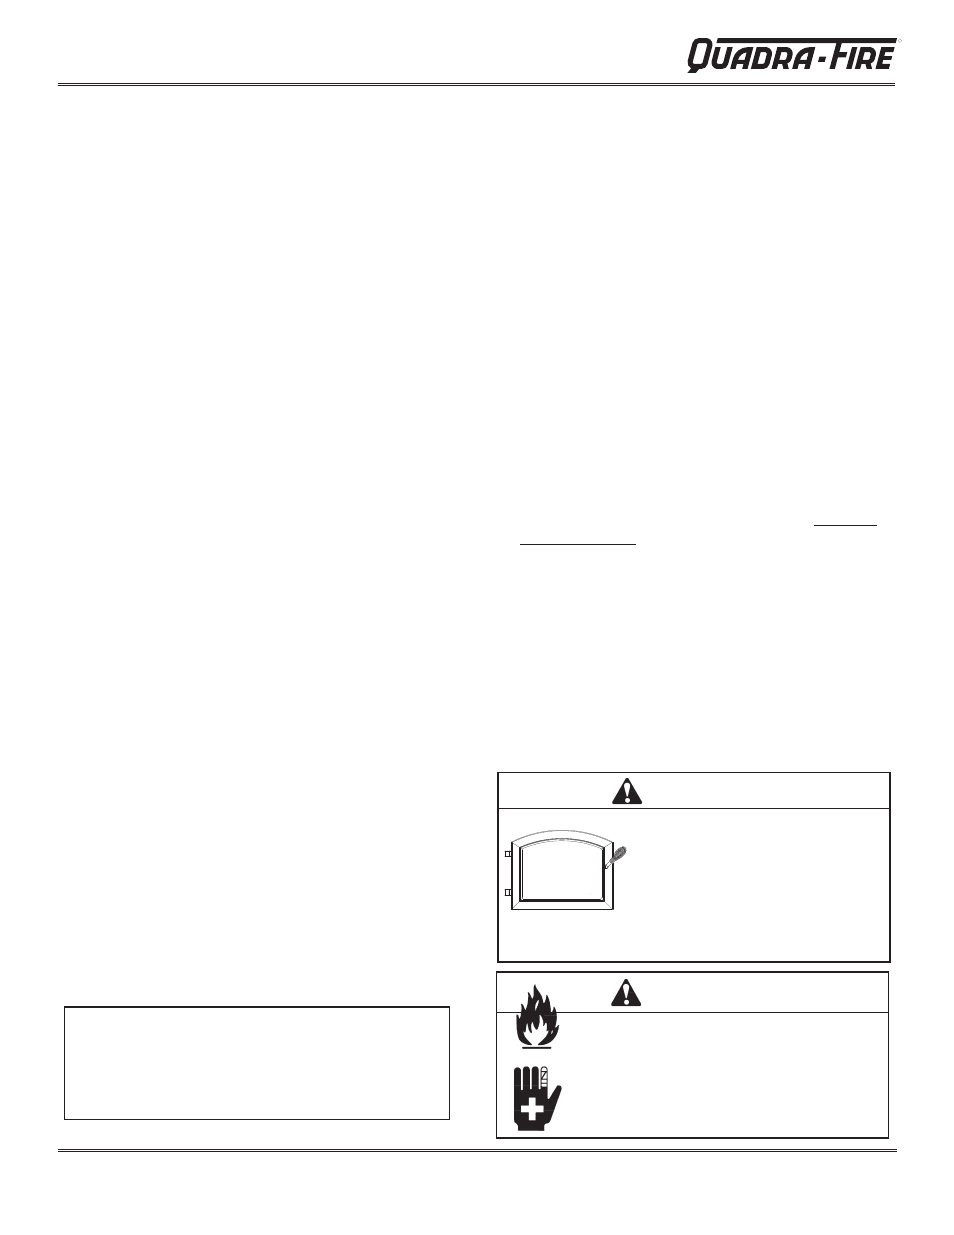
I
Glass
Assembly
'R127RSHUDWHZLWKJODVVFUDFNHGEURNHQRUVFUDWFKHG
8VHRQO\JODVVVSHFL¿HGLQPDQXDO
'21275(3/$&(ZLWKDQ\RWKHUPDWHULDO
Glass breakage will occur.
I
Fire is .
In ur is .
5HSODFHWKH¿UHEULFNLIWKH\EHFRPHFUXPEO\DQGRULIWKHUH
is a 1/4 inch (6.35mm) gap between the bricks.
7KH¿UHER[LVOLQHGZLWK¿UHEULFNZKLFKKDVH[FHSWLRQDOLQ-
VXODWLQJSURSHUWLHV'RQRWXVHDJUDWHVLPSO\EXLOGD¿UHRQ
WKH¿UHER[ÀRRU'RQRWRSHUDWHDSSOLDQFHZLWKRXW¿UHEULFN
(QVXUHWKDWWKH¿UHEULFNVDUHFRUUHFWO\SRVLWLRQHGDQGWKDW
WKH¿UHER[GRHVQRWFRQWDLQDQ\EURNHQEULFNSULRUWRRSHUDW-
ing the unit.
$IWHUWKHFRDOVKDYHFRPSOHWHO\FRROHGUHPRYHDOOROG
EULFNDQGDVKIURPXQLWDQGYDFXXPRXW¿UHER[
2. Remove new brick set from box and lay out to the
diagram shown in the instructions that come with the
replacement brick set
/D\ERWWRPEULFNVLQXQLW
4. Install rear bricks on the top of the bottom bricks. Slide
WRSRIEULFNVXQGHUFOLSRQEDFNRI¿UHER[ZDOODQGSXVK
bottom of bricks back.
5. Install side bricks. Slide top of brick under clips on side
RI¿UHER[DQGSXVKWKHERWWRPRIWKHEULFNXQWLOLWLVÀXVK
with the side of the unit.
se art 32
w en or ering in i i ual
ri . ro i e ri i ension or op t e page
in t e er i e arts ist s owing t e ri ia
gra
ar t e esire ri an ta e it to our
aut ori e ealer.
. Inspe t Fire ri epla e ent
Instru tions
)UHTXHQF\$IWHUHDFKDVKUHPRYDO
%\ Homeowner
B. pplian e Inspe tion outine
Fre uen
Every 2 months at the same time the chim-
ney and chimney connector are inspected.
%\Homeowner
Check for:
&UDFNVLQJODVV
'RRUKDQGOHVPRRWKFDPRSHUDWLRQ
%DIÀHVDUHLQFRUUHFWSODFHPHQW
%DIÀHIRUZDUSDJH
)LUHEULFNIRUFUDFNVEURNHQRUFUXPEO\
'RRUJDVNHW'ROODUELOOWHVW3ODFHDGROODUELOOEHWZHHQ
the stove and the door and then shut the door. If you can
pull the dollar bill out, replace the door gasket.
*ODVVIUDPHIRUORRVHVFUHZV