Changing highlights – HP 5400c Series User Manual
Page 51
Back to TOC
Scanning from HP Precisionscan Pro
51
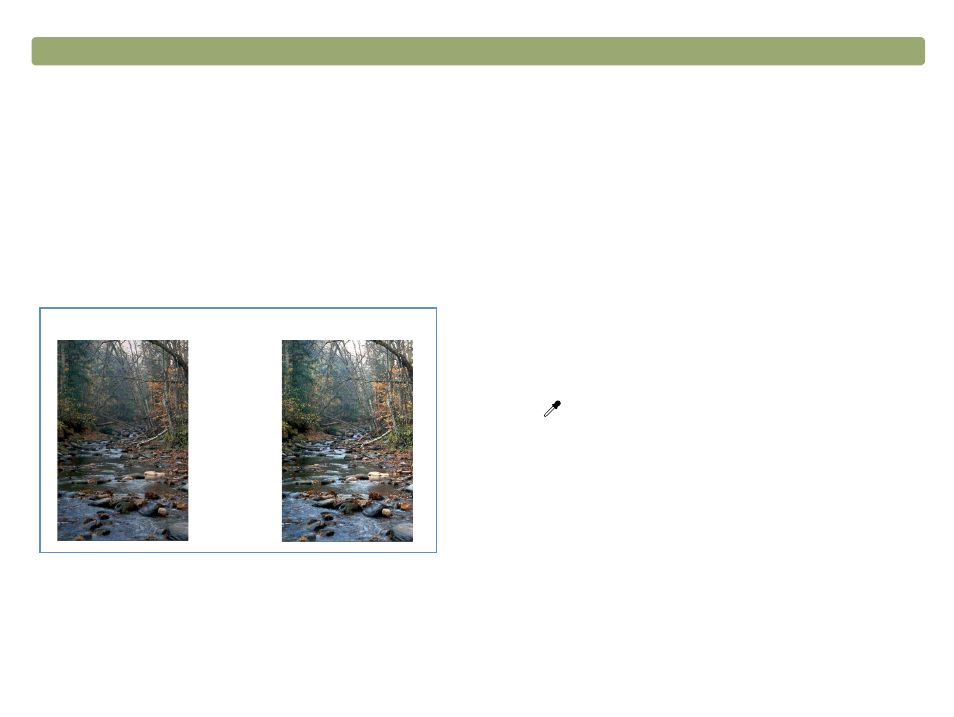
Changing highlights
The highlight is the value in the image that is represented on the
screen as white. All values lighter than the highlight also appear as
white.
The image has a default highlight setting. Selecting a higher number
makes more of the lighter values distinct, which increases detail in light
areas. Selecting a lower number makes fewer of the lighter values
distinct, which reduces detail in the light areas.
To adjust highlights for slides, negatives, or other transparent items,
use
"Adjusting highlights for slides or negatives" on page 82
To increase detail in lighter areas
1 On the Advanced menu, click Adjust Exposure.
2 Do one of the following:
Drag the Highlight slider toward the right.
Type a higher number in the Highlights field and press
E
NTER
.
Click the up arrow next to the Highlights field.
To decrease detail in lighter areas
1 On the Advanced menu, click Adjust Exposure.
2 Do one of the following:
Drag the Highlight slider toward the left.
Type a lower number in the Highlights field and press
E
NTER
.
Click the down arrow next to the Highlights field.
To choose a value as the highlight value
Click
(white eyedropper). When the cursor changes to the
eyedropper, move it over the area you want to be the highlight and
click.
To return to the default settings
1 On the Advanced menu, click Adjust Exposure.
2 Click Auto to return the midtone, highlight, and shadow to the
default settings for this scanned image. Clicking Auto also returns
output levels to the defaults. See
"Setting pixel output levels" on
Highlights set at 215
Highlights set at 122