Installation, Before installing, Tools needed – LG Studio 30 Inch Slide-In Gas Smart Range Owners Manual User Manual
Page 12: Parts, Unpacking and moving the range
12
INSTALLATION
INSTALLATION
Before Installing
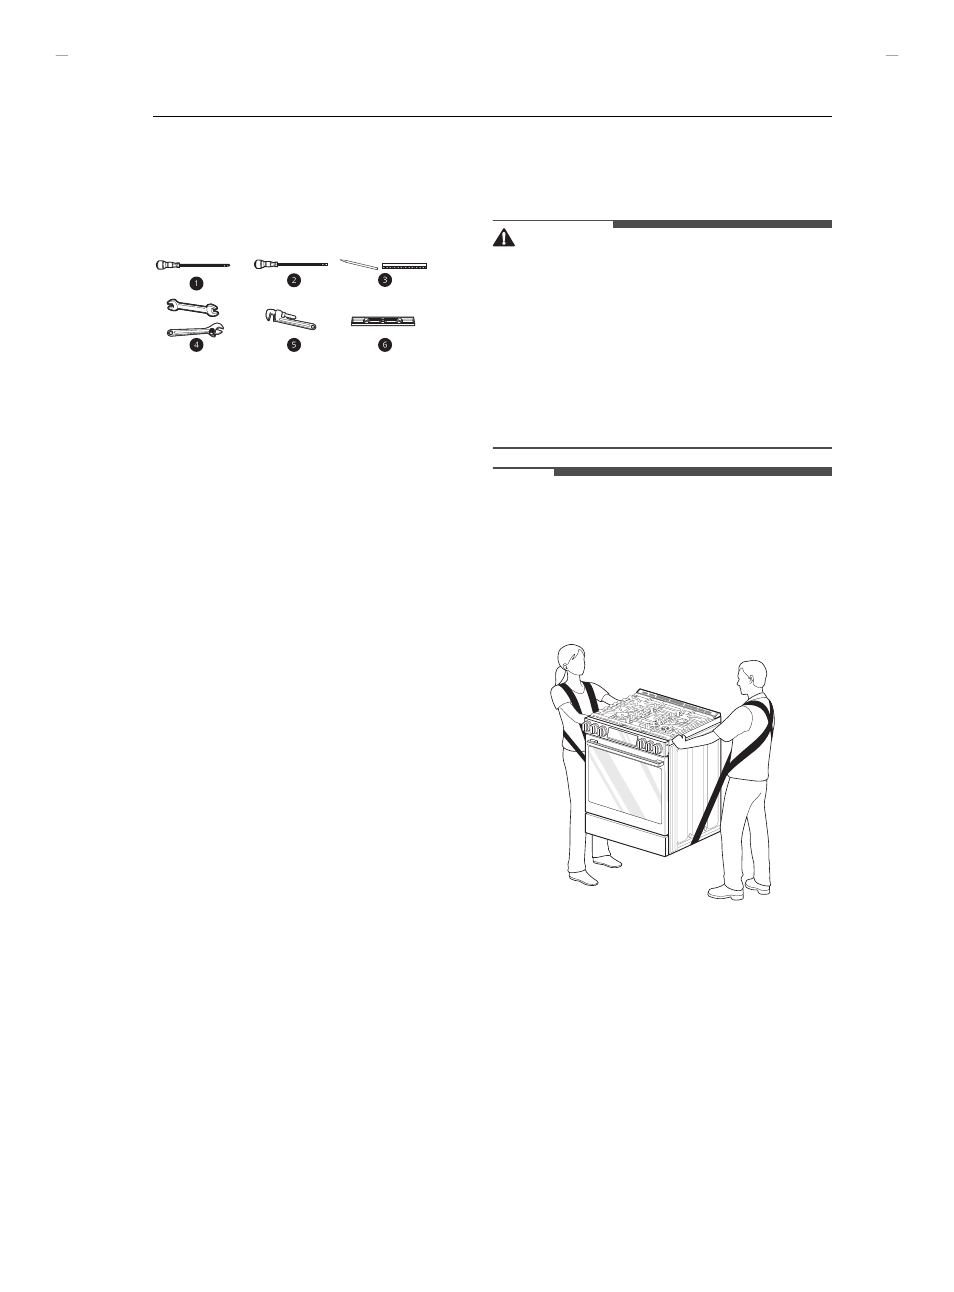
Tools Needed
a
Phillips screwdriver
b
Flat-blade screwdriver
c
Pencil and ruler
d
Open-end or adjustable wrench
e
Pipe wrench (2) (one for support)
f
Level
Parts
Parts You May Need
• Gas line shut-off valve
• Pipe joint sealant that resists action of natural
and LP gases
• Flexible metal appliance connector (3/4" or 1/2"
NPT x 1/2" I.D.)
- Never use an old connector when installing a
new range.
• Flare union adapter for connection to gas supply
line (3/4" or 1/2" NPT x 1/2" I.D.)
• Flare union adapter for connection to pressure
regulator on range (1/2" NPT x 1/2" I.D.)
• Liquid leak detector or soapy water
• Lag bolt or 1/2" O.D. sleeve anchor (for concrete
floors only)
In the Commonwealth of
Massachusetts
• This product must be installed by a licensed
plumber or gas fitter.
• When using ball type gas shut-off valves, they
must be the T-handle type.
• When using a flexible gas connector, it must not
exceed 3 feet in length.
Unpacking and Moving the Range
WARNING
• You should use two or more people to move and
install the range. (Excessive Weight Hazard)
Failure to do so can result in back or other injury.
• Do not use the door handles to push or pull the
range during installation or when moving the
range out for cleaning or service. Doing so can
result in serious damage to the door of the
range.
• To reduce the risk of burns, do not move this
appliance while it is hot.
NOTE
• Your range is heavy and can be installed on soft
floor coverings such as cushioned vinyl or
carpeting. Use care when moving the range on
this type of flooring. Use a belt when moving the
range to prevent damaging the floor. Or slide
the range onto cardboard or plywood to avoid
damaging the floor covering.
• Remove packing material, tape and any
temporary labels from your range before using.
Do not remove any warning-type labels, the
model and serial number label, or the Tech
Sheet that is located on the back of the range.
• To remove any remaining tape or glue, rub the
area briskly with your thumb. Tape or glue
residue can also be easily removed by rubbing a
small amount of liquid dish soap over the
adhesive with your fingers. Wipe with warm
water and dry.
• Do not use sharp instruments, rubbing alcohol,
flammable fluids, or abrasive cleaners to remove
UUGGwGXYGG{ SGhGY[SGYWYXGG[aXXGwt