Setting the clock – Emerson Radio ES20 User Manual
Page 15
14
SETTING THE CLOCK
When the system is connected to the AC outlet for the first time the STANDBY
LED indicator on the front panel glows red and “0:00” appears on the display. This
is your indication that the time display is incorrect and needs to be reset.
1.) Press the STANDBY/ON button
on the front panel or remote
control to turn the system ‘On’.
The STANDBY LED goes off and
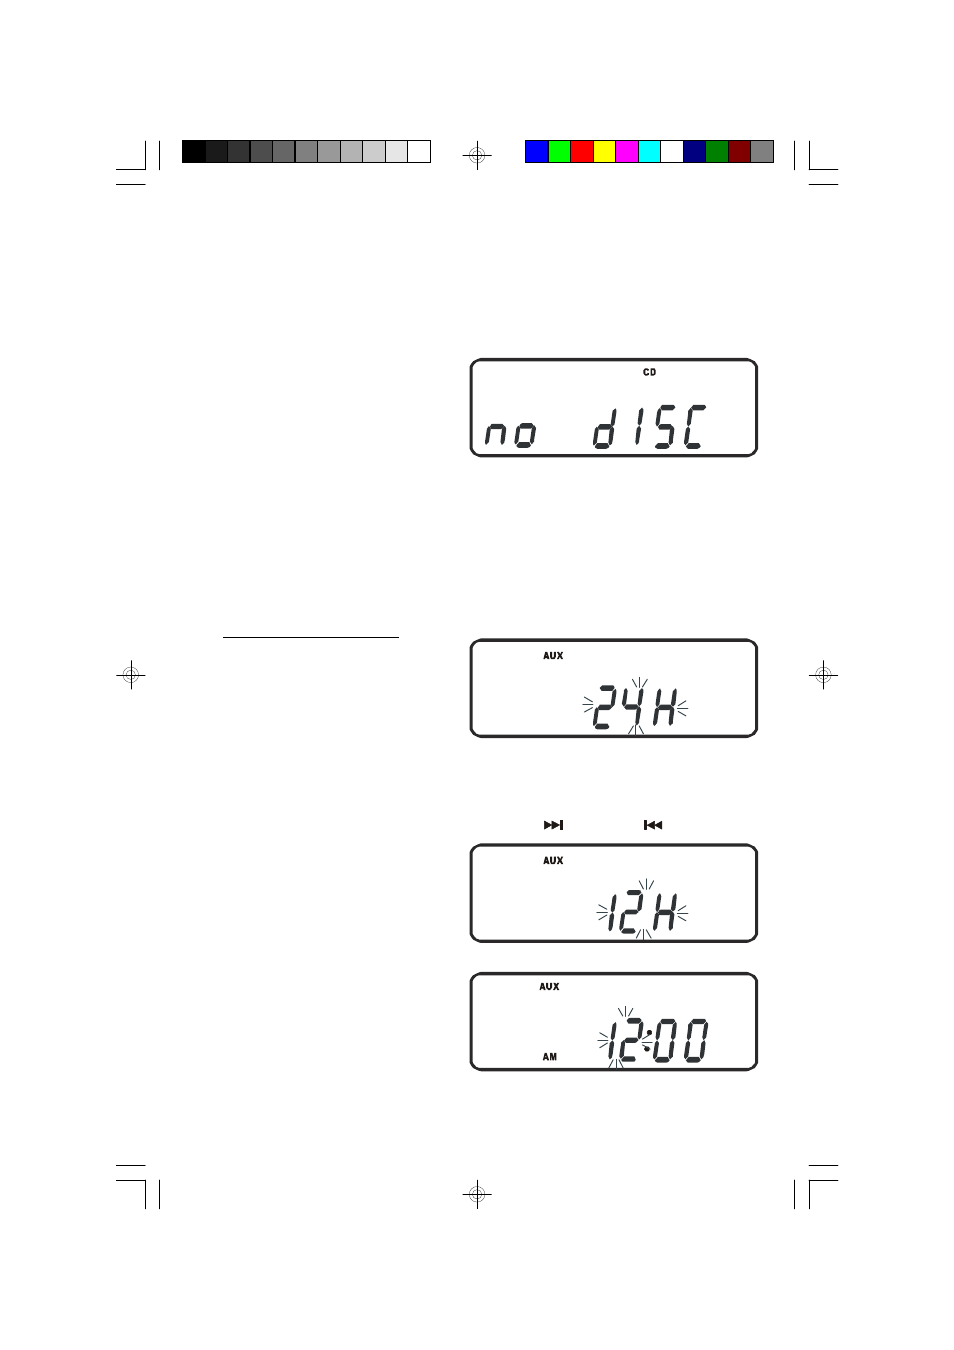
the CD display comes on. After a
few seconds the display will show
“no dISC”.
2.) Press the AUX button on the front panel to select the Aux function. The time
display will show 0:00 and the colon will be flashing.
3.) Press the MEMORY/TIME ADJ. button on the front panel or the remote control
for at least 3 seconds.
“24H” will begin flashing in the
display indicating that the clock
is set for 24-hour “European”
time.
(Example: 6:00 PM is shown as 18:00)
4.) Press either the TUNING/SKIP-SEARCH UP
or DOWN
button on the
front panel of the main unit or on
the remote control once to
change the clock format to 12
Hour “American” time. The
display will change from “24H” to
“12H”.
5.) Press the MEMORY/TIME ADJ.
button again. The Hour digits will
begin flashing.
ES20_ib061303.p65
13/6/2003, 12:13
14