Audio menu, Configuration 1 menu, H position – Philips D-Line 55BDL4550D 55" 4K UHD Digital Signage Display User Manual
Page 58: V position
43BDL4550D_50BDL4550D_55BDL4550D
46
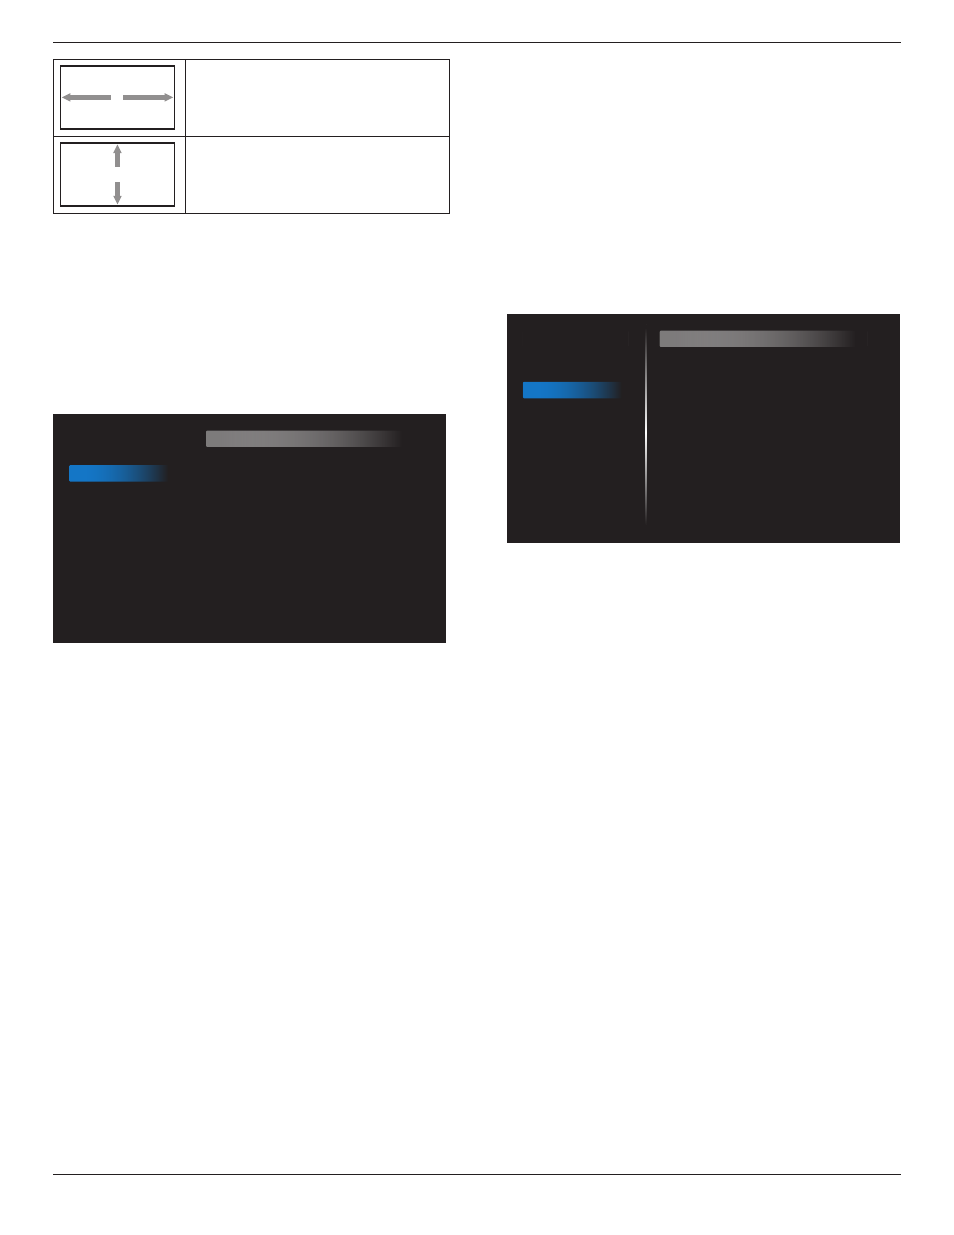
H position
Moves the horizontal position of the
image left or right.
V position
Moves the vertical position of the
image up or down.
Auto adjust
Press “Set” to detect and adjust H position, V position,
Clock, Phase automatically.
NOTE: VGA input only.
Screen reset
Reset all settings in the
Screen
menu to factory preset
values.
6.2.3. Audio menu
Picture
Screen
Audio
Configuration 1
Configuration 2
Advanced option
Balance
Treble
Bass
Volume
Audio Out (Line Out)
Maximum Volume
Minimum Volume
Mute
Audio source
Audio reset
Audio Out Sync
50
50
50
30
30
100
0
Off
Digital
Action
Off
Balance
Adjust to emphasize left or right audio output balance.
Treble
Adjust to increase or decrease higher-pitched sounds.
Bass
Adjust to increase or decrease lower-pitched sounds.
Volume
Adjust the volume.
Audio Out (line out)
Adjust to increase or decrease the line out audio output
level (volume).
NOTE: This function will be disabled when Audio Out Sync
is ON.
Maximum volume
Adjust limitation for the maximum volume setting.
Minimum Volume
Adjust limitation for the minimum volume setting.
Mute
Turn the mute function on/off.
Audio Source
Select the audio input source.
{Analog}: audio from audio input.
{Digital}: audio from HDMI/DVI audio.
Audio reset
Reset all settings in the Audio menu to factory preset values.
Audio Out Sync
Line out volume sync with internal speaker Volume.
{On}: Enable the function and gray out Audio Out (line out)
Volume.
{Off}: Disable the function.
Speaker Setting
Turn internal speaker {On}/{Off}.
6.2.4. Configuration 1 menu
Picture
Screen
Audio
Configuration 1
Configuration 2
Advanced option
Switch on state
Panel saving
RS232 routing
Boot on source
WOL
Light sensor
Human sensor
Configuration1 reset
Factory reset
Force on
Action
RS232
Action
Off
Off
Off
Action
Action
Switch on state
Select the display status when you connect the power cord
next time.
• {Power off} - The display will remain off when the power
cord is connected.
• {Forced on} - The display will turn on when the power
cord is connected.
• {Last status} - The display will return to the previous
power status (on/off/standby mode) when the power
cord is connected.
Panel saving
Choose to enable the panel saving functions and thus
reduce the risk of image persistence or ghost imaging.
• {Brightness} - Select {On} and the image brightness will
reduce to an appropriate level. The Brightness setting in
the Picture menu cannot be changed when this setting is
enabled.
• {Pixel Shift} - Select the time interval ({Auto}, {10-900}
seconds, {Off}) for display to slightly expand the image
size and shift the position of pixels in four directions (up,
down, left and right). Activating pixel shift will disable H
position, V position and Zoom mode in Screen menu.
Note: Video source only.
RS232 routing
Select RS232 routing path
• {RS232} – RS232 is routed from 2.5mm phone jack
• {LAN->RS232} – RS232 is routed from RJ45
Boot on source
Choose to select a source when booting up.
• {Input} – Select input source when booting up.