Mac os x, Driver installation – Roland UM-ONE mk2 - In-Line USB MIDI Interface User Manual
Page 12
12
Driver Installation
Mac OS X
If a dialog box requesting a password appears during installation, enter a computer
administrator’s user name and password and click the [Install Software] button or [OK] button.
5.
When “Welcome to the UM-ONE Driver installer” appears, click [Continue].
6.
If the screen for selecting the installation destination appears, select the startup
disk and click [Continue].
7.
When the installation type appears, click [Install] or [Upgrade].
8.
Click [Continue Installation] in the next screen.
9.
When installation has finished, click [Restart] to restart the computer.
It may take some time for the computer to restart.
10.
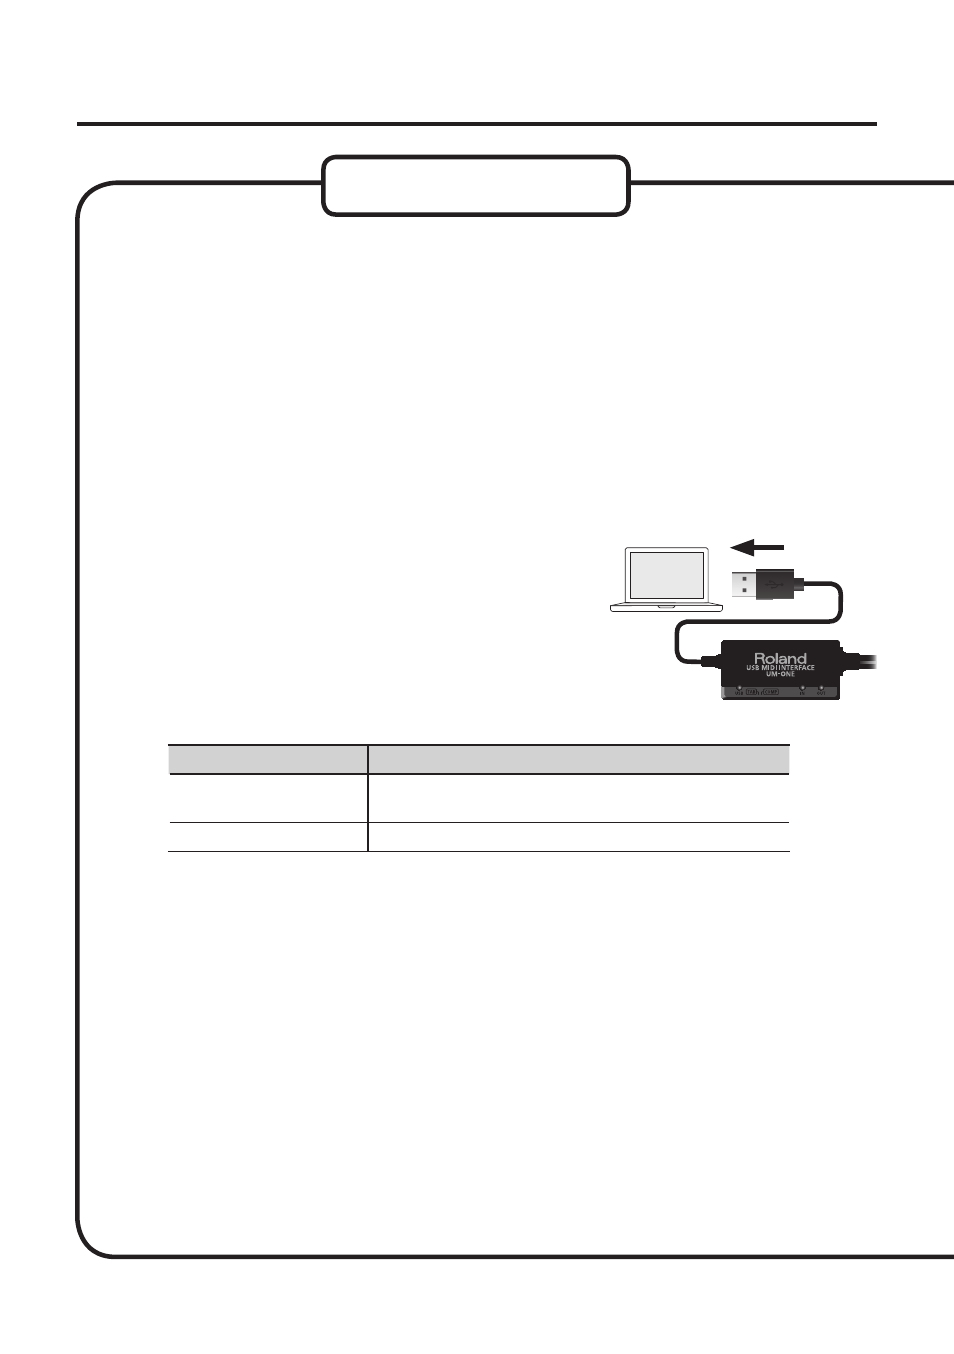
After the computer restarts, connect the USB
cable of the UM-ONE to the computer.
11.
Open the [Applications] folder and then the
[Utilities] folder, and then double-click [Audio
MIDI Setup].
The “Audio MIDI Setup” dialog box will appear.
12.
Open the MIDI device settings dialog box.
Operating System
Operation
Mac OS X 10.6 or later
Select [Show MIDI Window] in the [Window] menu.
(The “MIDI Studio” window will appear.)
Mac OS X 10.5 or earlier
Click the [MIDI Devices] tab.
13.
Confirm that “UM-ONE” appears in the “MIDI Studio” window or the “Audio MIDI
Settings” dialog box.
If “UM-ONE” does not appear or if it is grayed out, it means that the UM-ONE is not being
detected properly. Click [Rescan MIDI]. Also try disconnecting and reconnecting the UM-ONE’s
USB cable.