Epson photo!2 rev.c, Selecting photos – Epson PC3000Z User Manual
Page 21
Note:
If you see a message indicating the camera is not connected
properly, check the serial port is working, and confirm the port
settings on your computer using the Setup menu as described
on page 2-22.
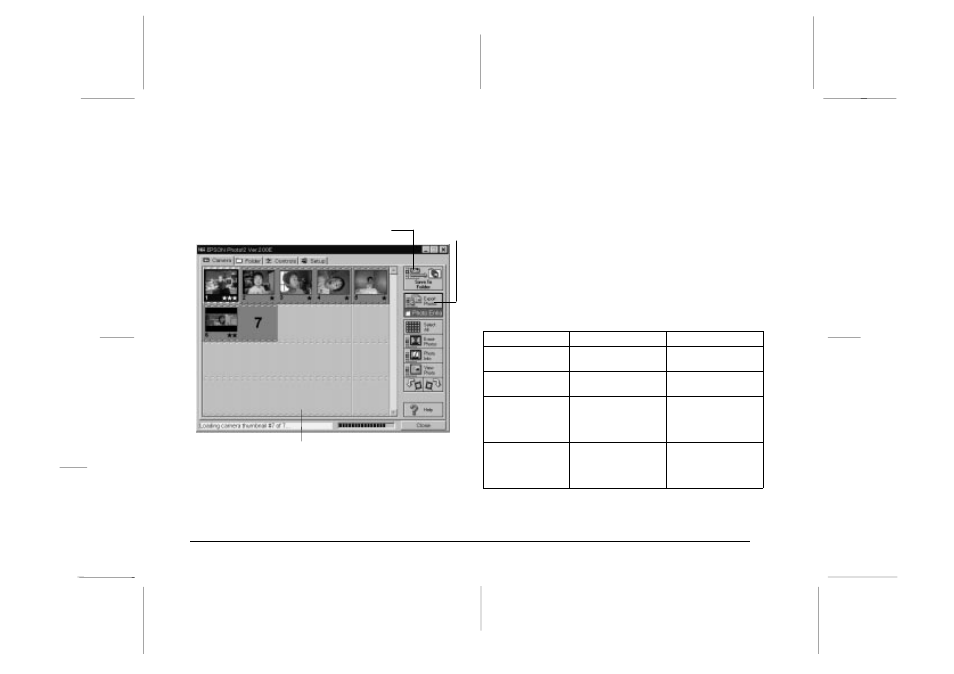
Selecting photos
You can use the Select All button to select all the photos
in your camera at once, or you can select individual
photos by clicking the thumbnail images in the image
selection window. Blue frames appear around selected
images. You can click the Select All button even while
EPSON Photo!2 is still downloading your images, so they
appear in the image selection window pre-selected and
ready to be transferred to your application, or to a folder.
You can select individual photos or groups of photos in a
number of ways depending on your system, as described
in this table:
Windows
Macintosh
Selecting a single
thumbnail
Click
Click
Selecting multiple
thumbnails
CTRL + click
COMMAND + click
Selecting a
continuous range
of thumbnails
Click the first image in
the range. Then SHIFT
+ click the last image
in the range.
Click the first image in
the range. Then SHIFT
+ click the last image
in the range.
Cancelling the
selection of a
single thumbnail in
a selected group
CTRL + click
COMMAND + click
photo transfer
button
photo save
button
image selection window
L
EPSON Photo!2 Rev.C
A5 size
Chapter 2
5/8/98
pass 0
2-8
Using EPSON Photo!2