Image position submenu, Horizontal and vertical controls, Auto adjust – Rosen Aviation 19-55 : Remote electronics User Manual
Page 20
Rosen Aviation
Remote Display System
Document Number: 105478
Revision: F
Date: 06/23/14
Template: 4.4.1.6FM2; Revision A; 12/06/12
Page 20 of 38
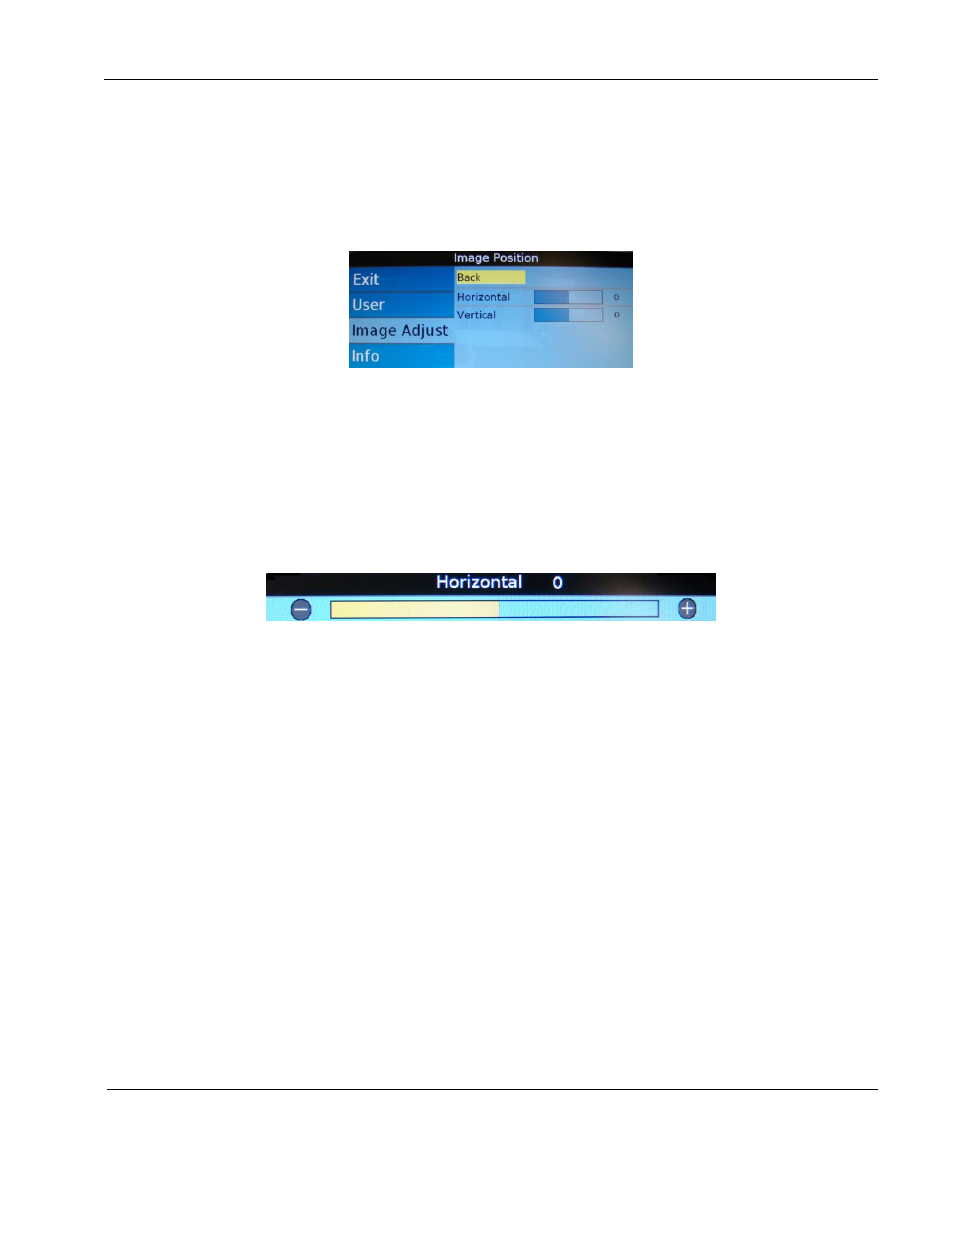
9.3.4.3. Image Position Submenu
(RGB only)
Use the Image Position options to center an RGB picture horizontally or
vertically on the screen. Note: Changing the resolution, source, or cycling power will
reset any adjustments to this submenu’s settings.
Select the Image AdjustAdvancedImage Position options and then press
ENTER
.
Figure 19 Image Position option
9.3.4.3.1. Horizontal and Vertical Controls
(RGB only)
From the Image AdjustAdvancedImage Position submenu, press
the ▼ button to choose either Horizontal or Vertical, and then press ENTER to open
a control bar, similar to Figure 20 shown below.
Press the ◄ button to shift the picture left/up or the ► button to shift it to the
right/down.
Press ENTER to set the phase value and close the control bar.
Figure 20 Sample image positioning control bar
9.3.4.4. Auto Adjust
(RGB only)
Use Auto Adjust when the RGB source is active to force the display to
evaluate the RGB signals and ensure that it is interpreting them correctly. To perform
an Auto Adjust within the OSD, select Image AdjustAdvanced submenu, press
the ▼ button to choose Auto Adjust and press ENTER. (From the remote, close the
OSD and press the AUTO button.) The screen will go black briefly while the signals
adjust.