Auto adjust, Image adjust, Scheme – Rosen Aviation 19-55 : Remote electronics User Manual
Page 17: Picture-quality controls
Rosen Aviation
Remote Display System
Document Number: 105478
Revision: F
Date: 06/23/14
Template: 4.4.1.6FM2; Revision A; 12/06/12
Page 17 of 38
9.2.5. Auto Adjust
(RGB only)
Use Auto Adjust when the RGB source is active to force the display to
evaluate the RGB signals and ensure that it is interpreting them correctly. To perform an
Auto Adjust within the OSD, select the option and press ENTER. (From the remote, close
the OSD and press the AUTO button.) The screen will briefly go black while the signals
adjust.
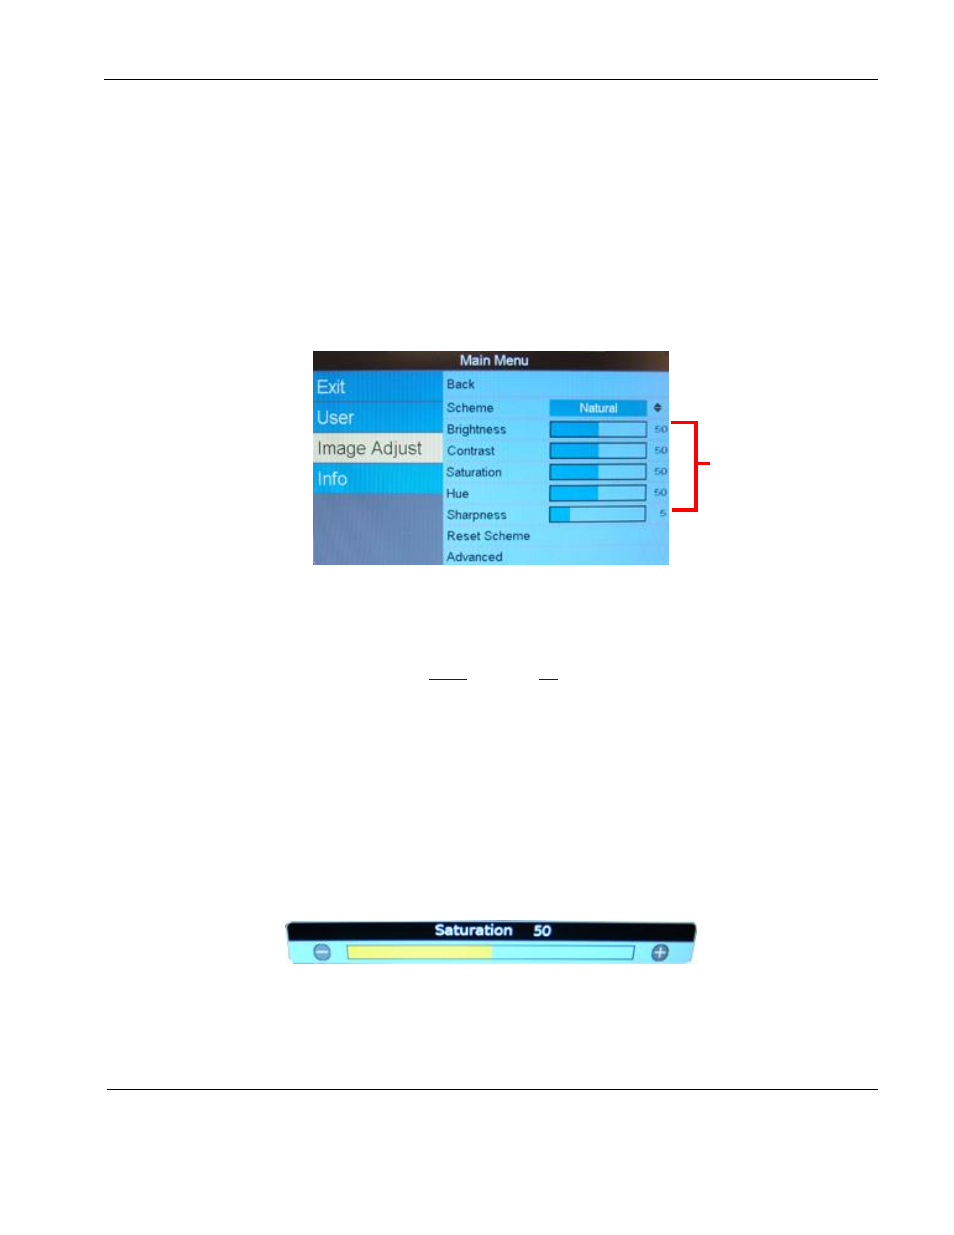
9.3. Image Adjust
Use the Image Adjust menu pages, as shown below, to control the color and picture quality.
Highlight Image Adjust and press the ► button to highlight the options, and then press ENTER
to change the option values.
Figure 13 Image Adjust menu options
9.3.1. Scheme
Scheme is also available from the Main MenuUser page. For information about how
this option works, see Section
. Changing the Scheme also affects
changes you make to the User menu settings and is source specific.
9.3.2. Picture-Quality Controls
The Brightness, Contrast, Saturation, Hue, and Sharpness menu options use control bars
to fine-tune different aspects of the picture quality. To adjust these options, press MENU
and the ▼ arrow to select Image Adjust. Choose a menu option, and then press ENTER
to open a control bar and adjust the value, similar to Figure 14 shown below.
Press the ◄ or the ► buttons to change the control bar’s value.
Press ENTER to set the intensity level and close the control bar.
Press EXIT to close the OSD.
Figure 14 Sample picture-quality control bar
Picture-
quality
controls