Adjustments for computer images – Epson 500 User Manual
Page 33
Adjusting the Image Quality
33
■
RGBCMY
Note: If you cannot access the RGBCMY settings, highlight RGB/RGBCMY (the first item in
the menu list) and press the
button, then choose RGBCMY in the sub-menu.
Use the RGBCMY settings to adjust the hue and saturation of the six color components
(red, green, blue, cyan, magenta, yellow). After moving a slider bar, highlight
Apply
and
press
to save your changes.
Adjustments for Computer Images
In addition to the settings described above, you can adjust the Tracking and Sync settings for
analog RGB computer images. Normally, these settings are adjusted automatically by the
projector. If you notice that the image is blurry or contains dark vertical bands, you may need
to adjust the settings yourself.
■
Auto Setup
Leave this setting on so that the projector automatically adjusts the tracking, sync, and
position of the image.
■
Tracking
Adjust the tracking to eliminate vertical bands. Easiest to adjust
when the image contains a lot of fine detail (such as black text
on a white background).
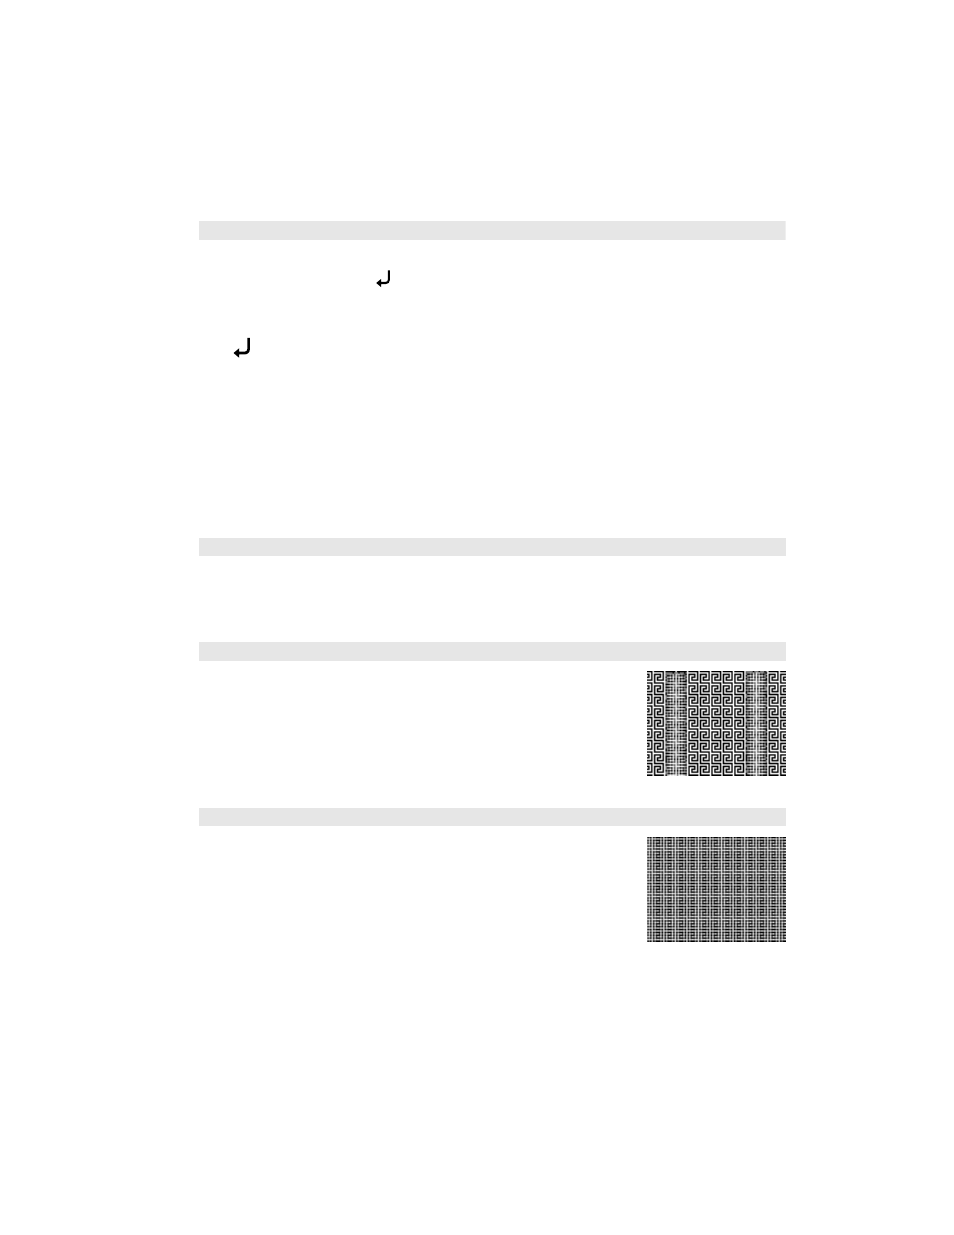
■
Sync.
Adjust the synchronization to eliminate blurriness. For best results,
make sure the tracking is properly adjusted first.
Image
! Color Adjustment ! RGB/RGBCMY ! RGBCMY
Image
! Auto Setup
Image
! Picture Quality ! Tracking
Image
! Picture Quality ! Sync.