When using external video or computer mode – Epson EMP-TWD10 User Manual
Page 64
62
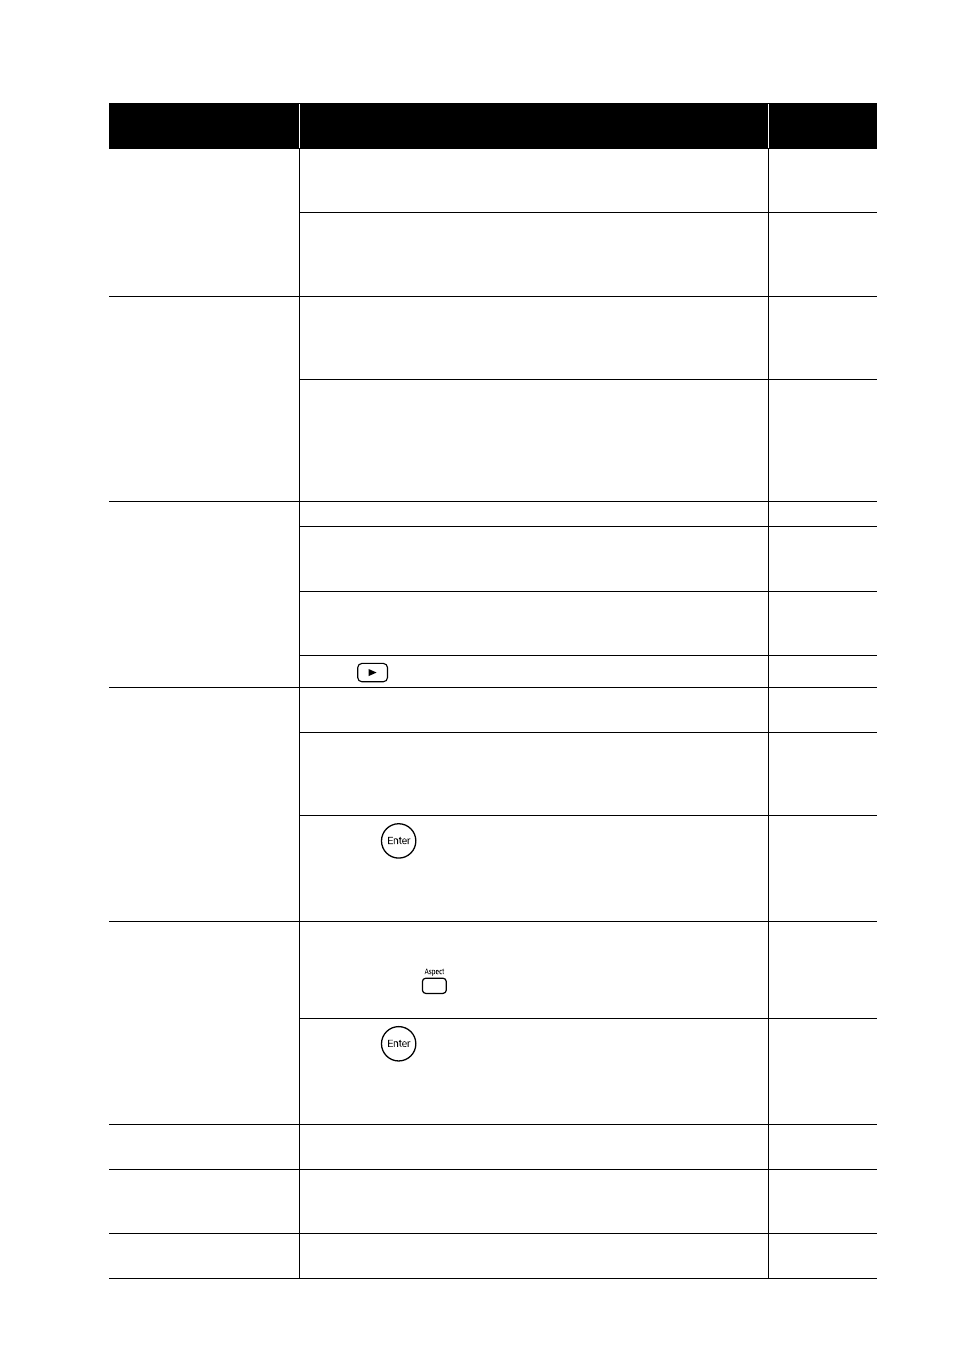
When using external video or computer mode
At these times
Check here
Reference
page
No images appear
• Is the power for the connected equipment turned on?
Switch on the power to the connected equipment, or start playback
depending on the playback method for the connected equipment.
• When signals have been connected to both the S-video input port and
the Video input port, only the S-video signal becomes available. If
you want to watch the image from the equipment connected to the
Video input port, disconnect the cable from the S-video input port.
-
“Signal not supported” is
displayed
• When external video equipment is connected
If projection is disabled even when the “Video Signal” is set to
“Auto” in the visual setup menu, set the signal format that is
appropriate to the device.
• When a computer is connected
Are the resolution and refresh rate modes for the image signal
compatible with the unit?
Use the computer’s documentation and so on to check and change the
resolution and the refresh rate for the image signal being output by
the computer.
“No signal.” is displayed
• Are the cables connected correctly?
• Is the power for the connected equipment turned on? Turn on the power
for the connected equipment. Press the playback button according to
the connected video equipment.
• Is a laptop computer or a computer with a built-in LCD screen
connected?
Change the image signal’s output destination from the computer.
• Press
to switch to DVD.
The signal is distorted
• If an extension cable is used, electrical interference may affect the
signals. Connect amplification equipment and check.
-
• Is the computer’s image signal resolution mode compatible with the
unit?
Use the computer’s documentation and so on to check and change the
resolution for the image signal being output by the computer.
• Press the
button on the remote control if interference or
flickering appear in the computer image being projected. “Running
Auto Setup···” is displayed and synchronization, tracking, and
position are automatically adjusted.
-
Image is truncated (large) or
small
• The unit automatically recognizes the aspect ratio appropriate to
input signals and projects images. If the aspect ratio is not selected
correctly, press
and select the aspect ratio appropriate to the
input signal.
• Press the
button on the remote control if part of the computer
image being projected is missing. “Running Auto Setup···” is
displayed and synchronization, tracking, and position are
automatically adjusted.
-
Image colors are not right
In the visual setup menu, set the “Video Signal” to the signal format
appropriate to the device.
Moving images being
played back by the
computer become black
Change the computer’s image signal to external output only.
s Check
the “Documentation” supplied with the computer for more information,
or inquire to the computer’s manufacturer.
-
Sound does not come on
If the HDMI cable is used and sound does not come on, set the
connected device to the PCM output mode.
-