Preliminar y, Operation, cont’d, Using presets – Extron electronic MAV Plus User Manual
Page 56
Operation, cont’d
CrossPoint 450 Plus and MAV Plus Switchers • Operation
3-26
PRELIMINAR
Y
5.
Press and release the RGBHV button (fi gure 3-39).
I / O
RGBHV
AUDIO
The RGBHV button stops
blinking and goes out or
becomes background
illuminated.
The Audio button lights red.
Press the RGBHV button
to exit RGB delay mode.
All input buttons and output buttons
return to unlit or background illumination.
Figure 3-39 — Deselect RGB Delay mode
Using presets
The current confi guration (confi guration 0) can be saved as a preset in any one of
64 preset memory addresses. Preset locations are assigned to the input buttons.
Presets can be selected from the front panel to be either saved or retrieved. When a
preset
is retrieved from memory, it becomes the current confi guration.
N • All switchers have 64 presets, selectable from the front panel, regardless of the
matrix size.
• Only the audio and video ties are stored and recalled; audio gain settings are
not saved, and they do not change when a preset is recalled.
• Presets
cannot
be viewed from the front panel unless recalled as the current
confi guration. Presets can be viewed using Extron’s Windows-based control
program. See Chapter 5, Matrix Software, for more details.
• The
current
confi guration and all presets are stored in non-volatile memory.
When power is removed and restored, the current confi guration is still active
and all presets are retained.
• When a preset is recalled, it replaces the current confi guration, which is lost
unless it is also stored as a preset. The recalled preset overwrites all of the
current confi guration ties in favor of the preset confi guration ties.
Example 7: Saving a preset
In the following example, the current confi guration is saved as a preset. The steps
show the front panel indications that result from your action.
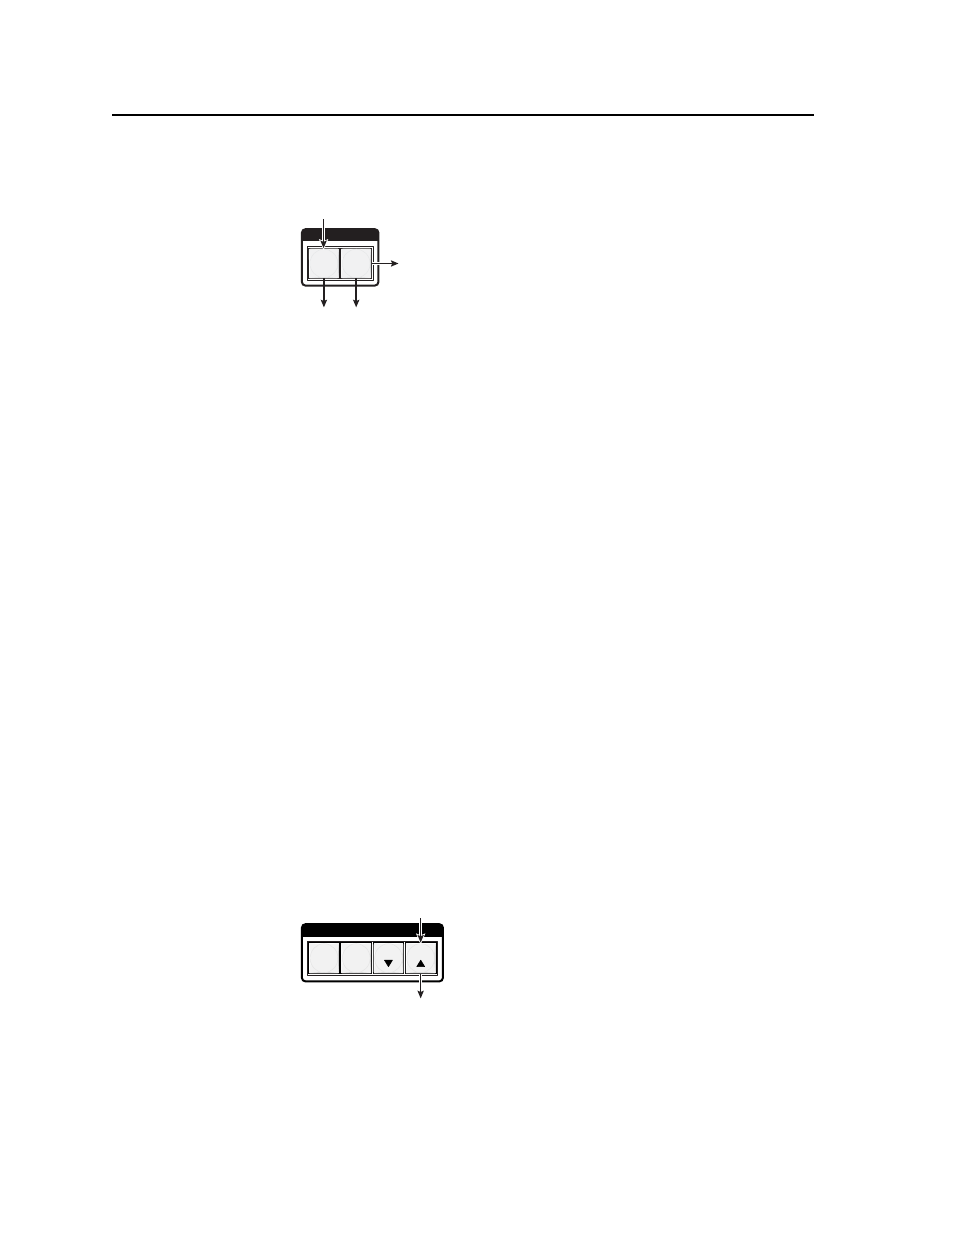
1.
Press and release the Esc button (fi gure 3-40).
C O N T R O L
PRESET
ENTER
ESC
VIEW
Press the Esc button to clear all selections.
The button flashes once.
Figure 3-40 — Clear all selections