Before initial use – Florabest FHEHS 900 A1 User Manual
Page 47
43
FHEHS 900 A1
GB
Further safety instructions
CAUTION! RISK OF INJURY!
►
To prevent injuries, do not touch the appliance above the protective
ring while the appliance is running.
■
Children should be supervised to ensure that they do not play with the
appliance.
■
It is necessary to have training before the usage of this tool.
■
Damaged power cords, connectors and plugs or non-compliant extension
leads may not be used. If the mains cable is damaged or cut, unplug
the appliance from the mains immediately.
■
Do not work with a damaged or incomplete appliance or an appliance
that has been modifi ed without the consent of the manufacturer. Never
use the unit with defective protective equipment. Do not use the appliance
if it has a defective on/off switch. Before use, check the security state of
the appliance, especially the blade and the saw chain. If the appliance
has been dropped, check for signifi cant damage or defects.
■
Never start the appliance before the blade, saw chain and sprocket
covers have been fi tted correctly.
■
When starting and operating the appliance, ensure that it does not
come into contact with the ground, stones, wire, other foreign material.
Switch the appliance off before you put it down.
■
Do not cut any wood that is lying on the ground and do not attempt to
saw roots that are protruding from the soil. Avoid immersing the saw
chain in the soil at all costs, as this could blunt the saw chain.
Original accessories/auxiliary equipment
■
Use only the additional equipment and accessories detailed in the
operating instructions. The use of tools and accessories other than
those recommended in the operating instructions could lead to an
increased risk of personal injury for you.
Before initial use
CAUTION! RISK OF INJURY!
►
Before any work on the appliance, disconnect the plug.
Danger of electrical shocks.
Motor unit
Attaching the round handle
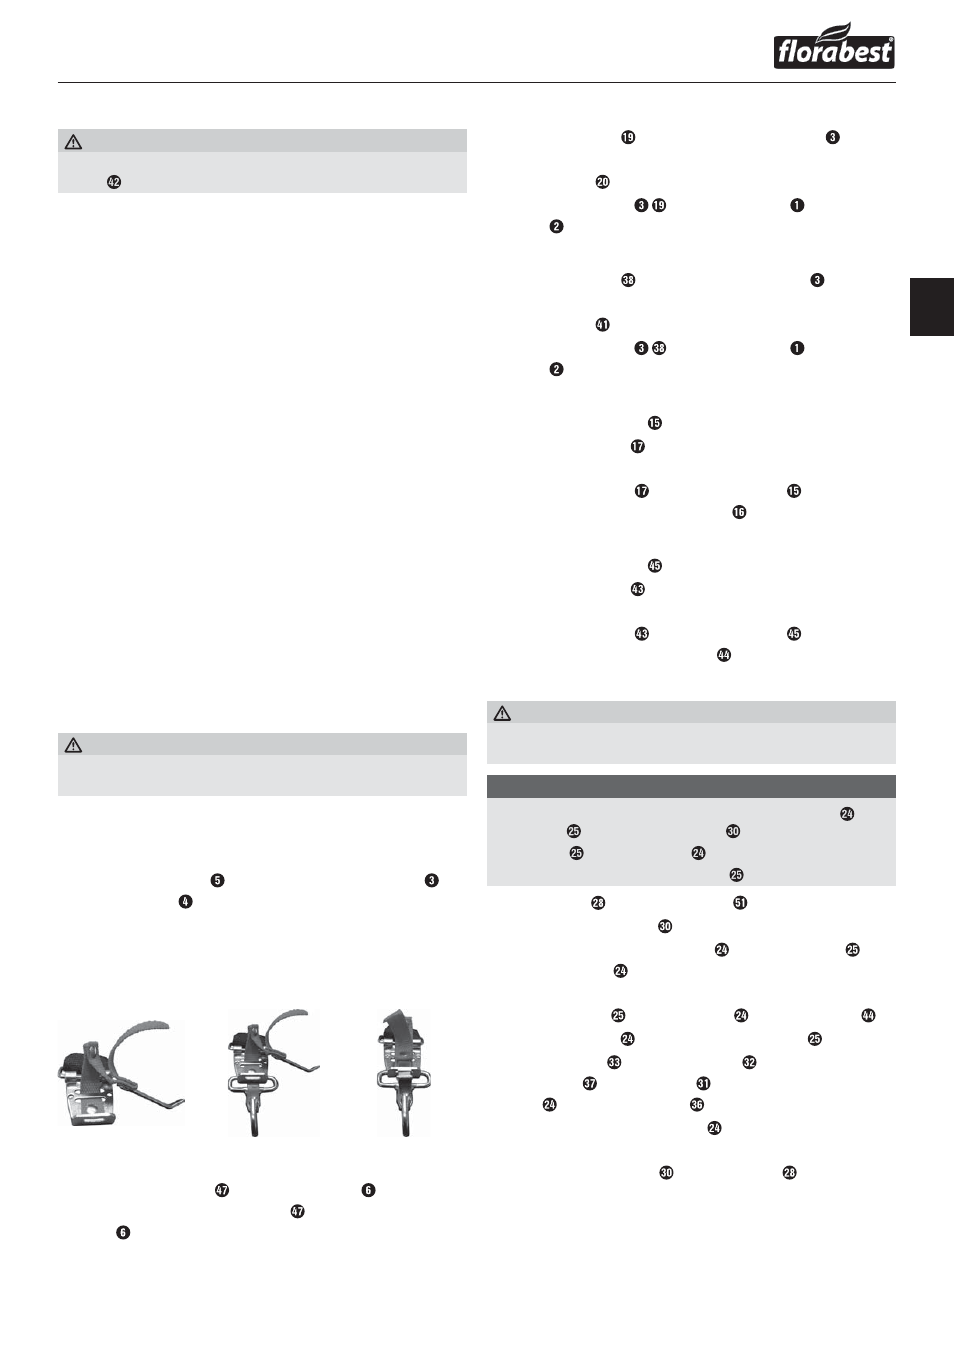
♦
Place the round handle in the desired position on the boom .
♦
Tighten the screw .
Fitting the quick release mechanism
♦
Hook in the carabiner and secure it with the red strap on the quick
release mechanism (see fi gures). Pull on the red strap if you have to
release the appliance quickly.
Fixing/attaching the shoulder strap
♦
Hook the shoulder strap into the carrying eyelet .
♦
Adjust the length of the shoulder strap to your size so that carrying
eyelet is at hip height when hooked in place.
Mounting the hedge trimmer
♦
Push the front boom of the hedge trimmer to the boom of the
motor unit.
♦
The locking pin must engage.
♦
Secure the two booms with the tommy screw ; to do this, fi t
the nut on the opposite side.
Mounting the pole pruner
♦
Push the front boom of the pole pruner to the boom of the motor
unit.
♦
The locking pin must engage.
♦
Secure the two booms with the tommy screw ; to do this, fi t
the nut on the opposite side.
Swivelling the hedge trimmer
♦
Release the lock/release .
♦
Press the control lever and swivel the hedge trimmer into the
desired position.
♦
Allow the control lever and the locking/release to click into the
recess in the base plate (hedge trimmer) .
Swivelling the pole pruner
♦
Release the lock/release .
♦
Press the control lever and swivel the pole pruner into the desired
position.
♦
Allow the control lever and the locking/release to click into the
recess in the base plate (pole pruner) .
Mounting the saw chain and blade
WARNING!
►
Wear protective gloves! There is a danger of injury from the sharp
cutting teeth.
NOTE
►
Pay close attention to the running direction of the saw chain on
the blade and at the sprocket cover .
►
The blade and the saw chain are already installed on delivery.
►
Depending of wear and tear, the blade can be turned.
♦
Loosen the nut with the mounting tool .
♦
Remove the sprocket cover .
♦
You may have to relax the saw chain to remove the blade
and the saw chain . (see section Tightening and checking the saw
chain). Follow these instructions in reverse order.
♦
Remove the blade with the saw chain from the base plate .
♦
Reset the saw chain starting at the top of the blade .
♦
Lay the guide rail over the blade guide , while inserting the chain
tensioner pin in the blade hole . At the same time, lay the saw
chain over the chain sprocket .
♦
Now you can tighten the saw chain (see section Tightening and
checking the saw chain).
♦
Replace the sprocket cover and tighten the nut gently.
IB_102878_FHEHS900A1_LBCH.indb 43
14.11.14 10:08