To a bar code reader – Epson HX-20 User Manual
Page 62
Plug the small, rounded end of the RS-232 cable into the DIN
socket labelled “RS-232” in the back of your HX-20. Then plug the
other end of the cable into the corresponding socket on your RS-232
device.
Now the HX-20 and the RS-232 device are connected. In order
for them to communicate, however, they must share a common
protocol. Two devices may be connected electrically, but never
communicate properly, if they don’t share a common communica-
tions protocol. Try to configure your RS-232 device so that it will be
compatible with the initial or default protocol of the HX-20, as
defined in Table 6-2.
HX-20
RS-232
Data rate:
4800 Baud
Word length:
8 bits
Parity:
none
Stop bits:
2
CD (Carrier Detect):
ignored
RTS (Request to Send):
held “high” by HX-20
DSR (Data Set Ready):
controlled by external
device; “high” means
HX-20 may transmit
data; “low” causes HX-20
to wait
CTS (Clear to Send):
ignored
If you configure the RS-232 device according to this protocol,
you will find it very easy to transmit text and data to the device.
However, by using appropriate parameters with the OPEN
statement, you can command the HX-20 to use any desired proto-
col. (See the Epson HX-20 BASIC Tutorial and Reference Manual.)
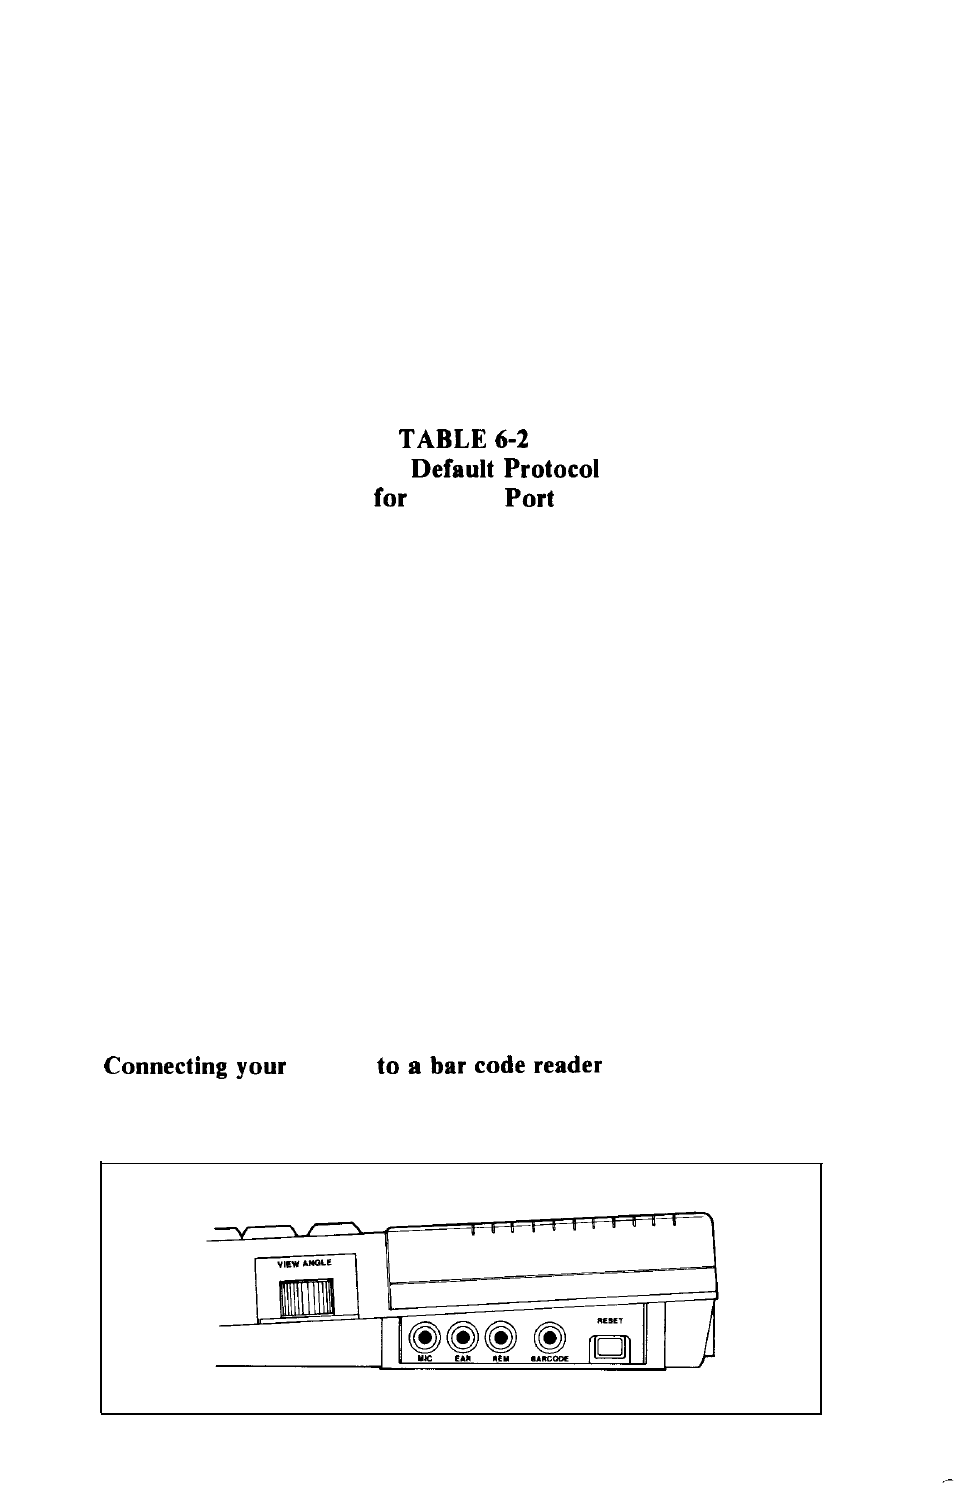
HX-20
On the right side of your HX-20, you will notice a socket marked
“BAR CODE.”
58