Initializing memory and the calendar clock – Epson HX-20 User Manual
Page 30
Before you use the HX-20 for the first time, you must initialize its
memory and its calendar clock. (If your HX-20 is not on now, turn it
on.) The screen will look like this:
CTRL/@Initialize
1 MONITOR
2 BASIC
(Note: there may be various letters and symbols under “1 MON-
ITOR”. Ignore them.)
If you can’t read the text on your screen, adjust the VIEW
ANGLE knob on the right side of the HX-20.
According to this menu, you must type
to initialize the
system. To do so, hold down the
key (located at the left edge of
the keyboard) with one finger. While you are holding it down, press
the
key.
You may now release both keys. The screen will display:
Enter DATE and TIME
=
Press BREAK to abort
You have two choices now. You may initialize memory and the
calendar clock, or you may decide that you don’t wish to do so.
Your choice will depend on how long you’ve been using the HX-20.
If your HX-20 is new, then of course you will want to initialize the
system. But if you’ve been using the HX-20 for a while, and only
pressed
by mistake while looking at the menu, then you
will not want to initialize the system. To do so would cause the
HX-20 to lose all programs and data you have already entered into
its memory.
If you do not want to initialize the system now, press the red
key, or the
key, and the HX-20 will again display its
menu. All programs and data previously entered into the HX-20
will still be in its memory.
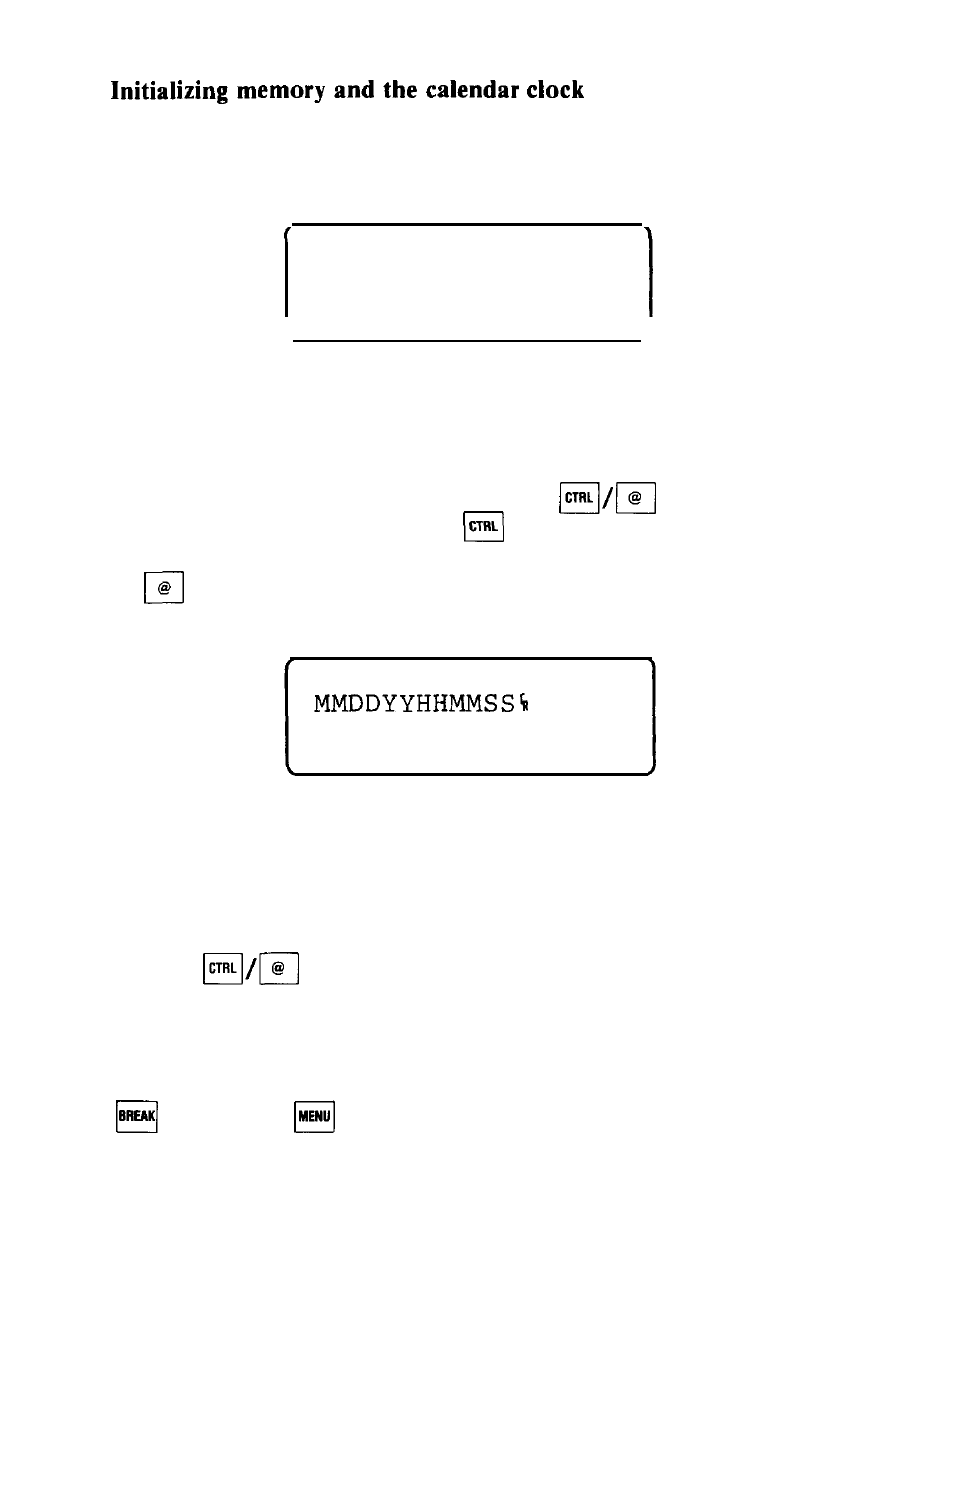
If you do want to initialize the system, then you must now enter
the date and time. This will set the HX-20’s built-in calendar clock,
enabling it to keep track of the date and time from this moment on,
whether the HX-20 is turned on or not.
Figure 3-1 shows the particular form you must use to specify the
date and time:
25