To an rs-232 device – Epson HX-20 User Manual
Page 61
Your cassette recorder is now connected to your HX-20. You may
use it to save and load
programs, as described in the Epson
HX-20 BASIC Tutorial and Reference Manual. Or you may use it
with various applications programs, as described in the documen-
tation for those programs.
One word of caution: all cassette recorders vary, in tape speed and
in the position of their record/ playback heads. These variations can
be very frustrating, because a program recorded on one cassette
recorder might not load back when you use another cassette
recorder. You’ll find that your cassettes work most reliably if you
use only one cassette recorder with your HX-20.
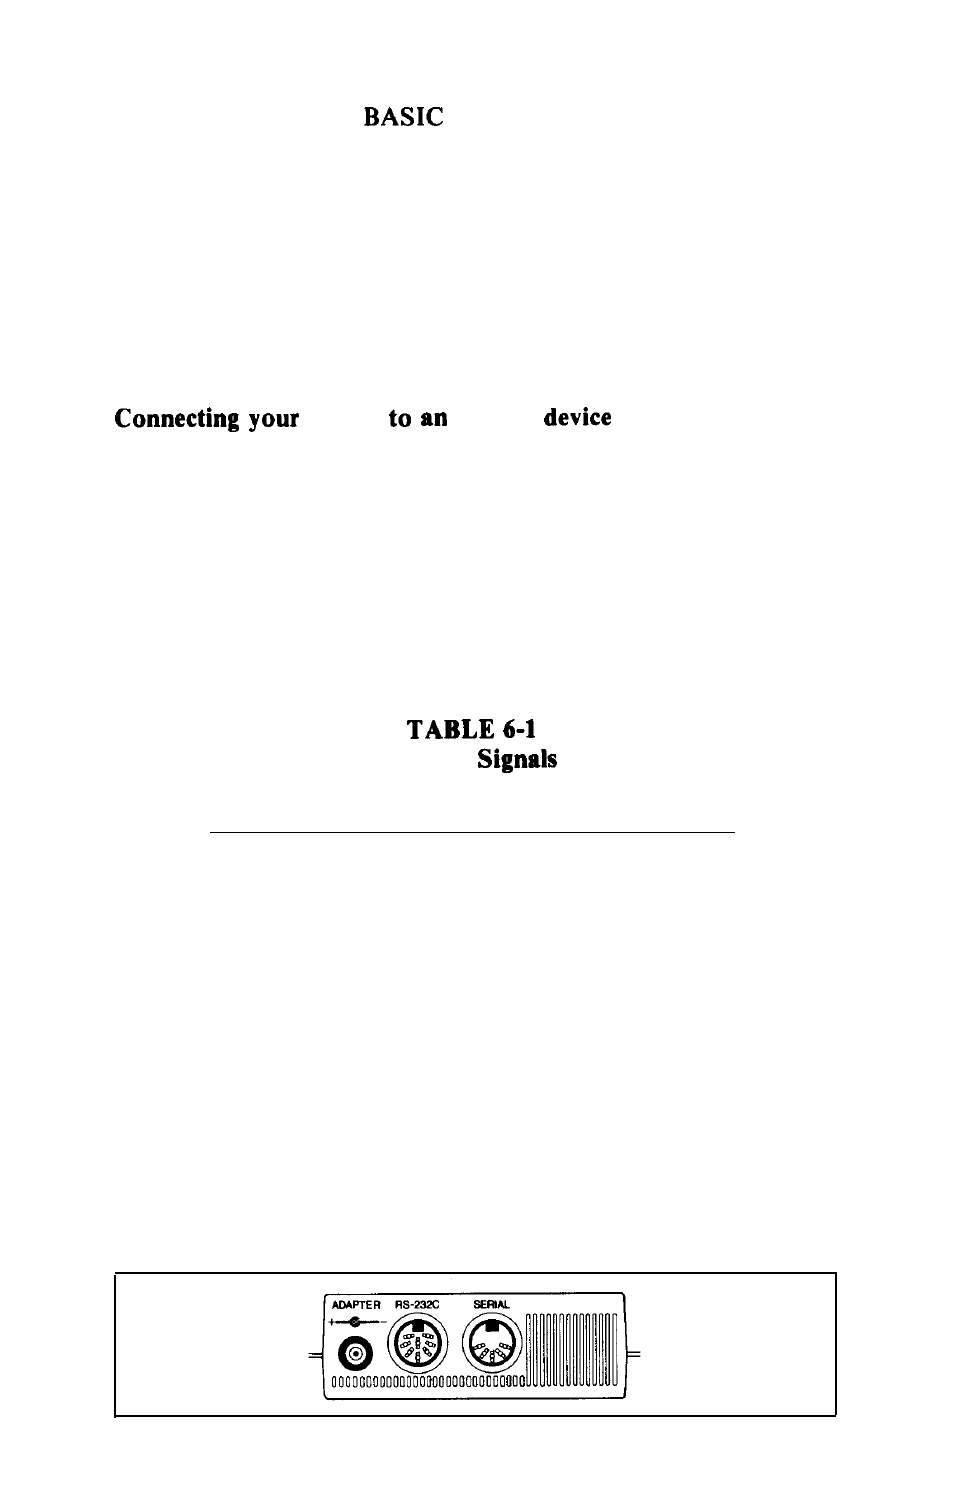
HX-20
RS-232
The RS-232 socket on the back of your HX-20 enables it to com-
municate with an external printer, modem, or other RS-232
compatible device. (Note that you cannot connect the HX-20 to a
printer or other device that features only a parallel interface.) You
can only connect the HX-20 to one RS-232 device at a time.
To connect such a device, purchase the appropriate HX-20 ,RS-
232 cable from your Epson dealer. Then consult the documentation
that came with your RS-232 device, and correlate it with the infor-
mation in Table 6-1.
RS-232
Signal
DIN Pin
DB-25 Pin
GND (Signal Ground)
1
7
TXD (Signal Out*)
2
2
RXD (Signal In*)
3
3
RTS
4
4
CTS
5
5
DSR
6
6
D T R
7
20
CD
8
8
Case Ground
DIN Case
1
* From HX-20’s point of view.
(In Table 6-1, “DIN Pin” refers to pins in the 8-pin DIN socket
labelled “RS-232” at the back of the HX-20, and “DB-25 Pin” refers
to pins in the large trapezoidal plug you’ll find at one end of the
HX-20 RS-232 cable. This large plug is called a DB-25 connector.)
57