Epson 51c User Manual
Page 25
20
Setting Up the Projector
Before you start, make sure the projector and your component video
source are turned off.
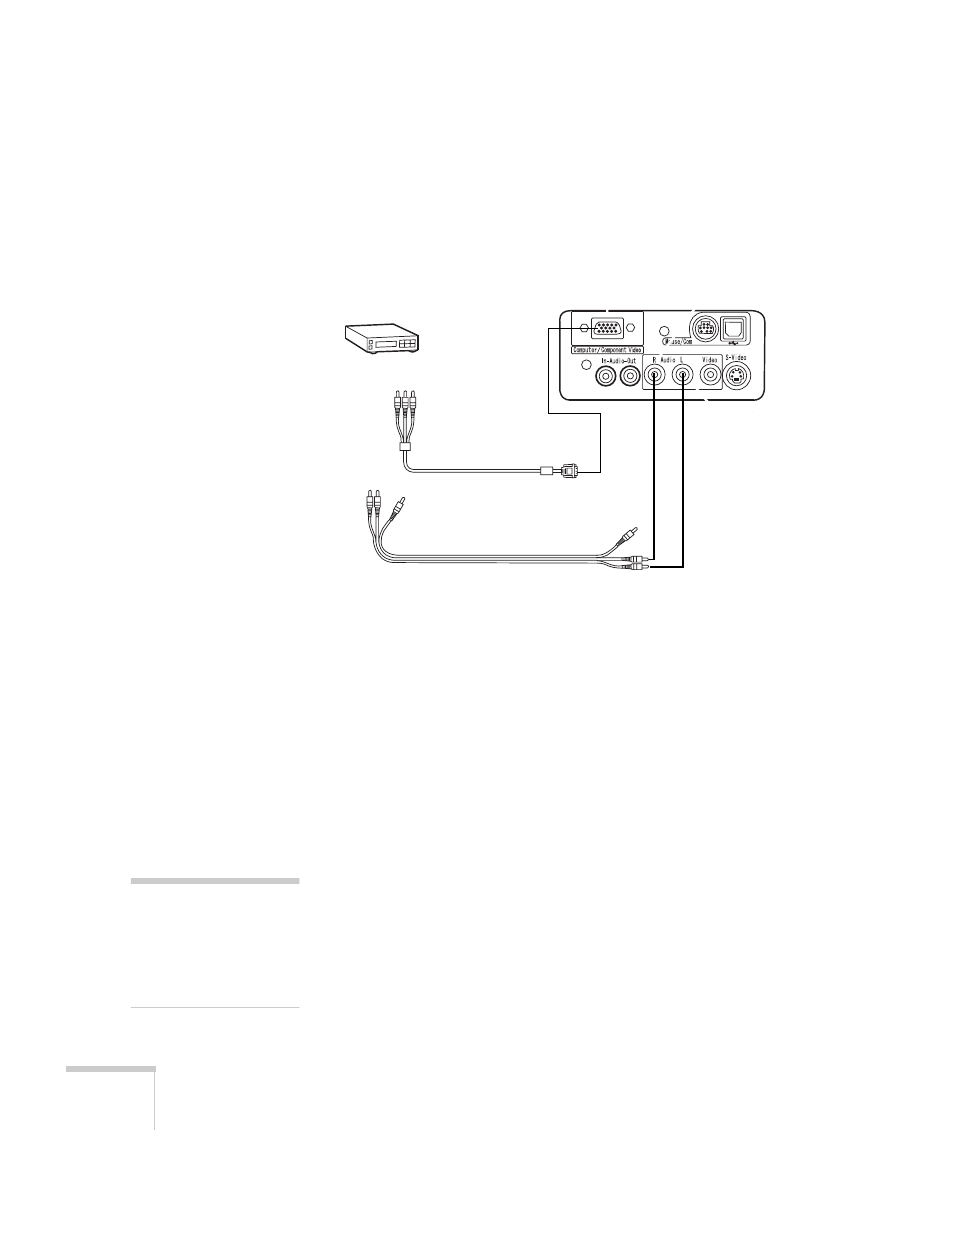
1. Connect the red and white plugs on the A/V cable to the
projector’s
Audio
L
(white) and
R
(red) jacks.
2. Connect the red and white plugs at the other end of the A/V cable
to the corresponding audio output jacks on your video source.
3. Connect the 15-pin connector on the component video cable to
the projector’s computer port.
4. Connect the green, blue, and red jacks on the other end of the
cable to these ports on your component video source:
■
Y
(green)
■
Pb
or
Cb
(blue)
■
Pr
or
Cr
(red) port.
5. Select the correct settings for your component video source in the
projector’s Video menu (as described on page 42):
■
If you connected the projector to a DVD player, select
YCbCr
as the Input Signal setting.
■
If you connected an HDTV source or if your DVD player
supports YPbPr, select
YPbPr
as the Input Signal setting.
RCA
audio/video cable
component video cable
(not included)
note
If your projected image seems
distorted, you may need to
change your aspect ratio.
Generally,
16.9
(for wide
screen) is the correct setting.