Reading the area shot data, Changing the area shot mode, Caution – Eclipse - Fujitsu Ten CD4000 User Manual
Page 33
How to operate the AREA SHOT function (U.S.A. and CANADA only)
33
VIII
Reading the AREA SHOT data
The AREA SHOT data that has been
downloaded from E-iSERV (web site) to a CD-R
can be loaded into the deck and saved there.
The function mode is activated.
The front panel opens automatically.
If a CD-R has been inserted, the panel
closes automatically.
After the panel is closed, files in the
CD-R are read. While files are being
read, the [READING...] message
appears. If there are incorrect files on
the CD-R, "No DATA" is displayed.
The selected file will be saved.
"READING" is displayed while data is
being imported. When reading has
finished, [Completed] will appear on
the display and then it will return to the
display for selecting the function
mode.
ATTENTION
• The equipment can only import files from
CD-R that have been written in root
directories.
• Disc formats that may be used are as
follows:
•CD-ROM (MODE 1)
•CD-ROM (MODE2_FORM 1)
*CD-ROMs written in MODE2_FORM2 cannot
be read.
• The file name can be changed using 8
alphameric characters (space's cannot be
used);
Changing the AREA SHOT
mode
Guidance maps, intersection street
names and turning directions are
displayed on the screen. Pressing and
holding the [MUTE] button (for 1
second or more) a second time closes
the Area Shot mode.
ATTENTION
• Pressing any button other than [
], [
],
[DISP] and [RTN] displays the audio control
screen enabling audio system operation. If
no button is pressed within 6 seconds, the
guidance screen returns.
• If the audio control screen is displayed
while the Area Shot mode is ON, pressing
the [RTN], [
], [
] or [DISP] button
displays the guidance screen.
1
Press the [ILUM / FUNC] button for
more than one second.
2
Turn the [SEL] button to select
AreaShot.
3
Press the [SEL] button.
4
Insert the CD-R to be used for read
the Area Shot data.
5
Turn the [SEL] button to select the
saving file.
6
Press the [SEL] button.
CAUTION
Do not turn the power or ignition switch off
while reading. Interrupting reading process
might corrupt the data.
1
Press the [MUTE] button for more
than one second.
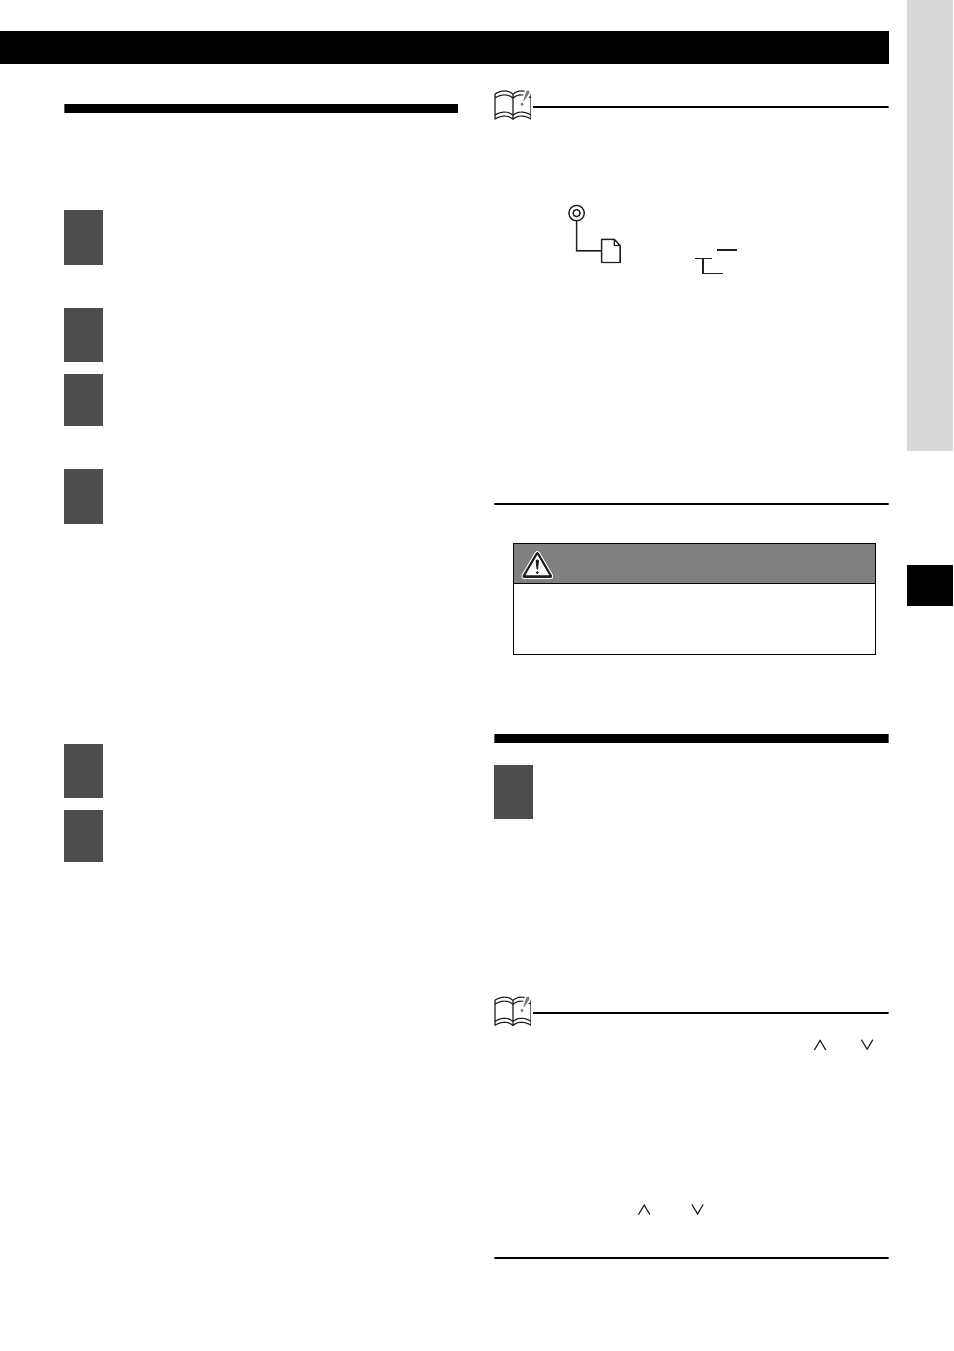
File extension
XXXXXXXX.ast
Automatic creation