Lanner FW-8892 User Manual
Page 27
FW-8892
27
rack should be such that a hazardous condition is not created due to uneven
mechanical loading.
3. Circuit Overloading - Consideration should be given to the connection of the
equipment to the supply circuit and the effect that overloading of the
circuits might have on over-current protection and supply wiring.
Appropriate consideration of equipment nameplate ratings should be used
when addressing this concern.
4. Reliable Earthing - Reliable earthing of rack-mounted equipment should be
maintained. Particular attention should be given to supply connections
other than direct connections to the branch circuit (e.g. use of power
strips).”
CAUTION:
Slide/rail mounted equipment is not to be used as a shelf or a work space.
Required tools:
1. Philips (cross head) screwdriver (#1 bit and #2 bit)
2. Anti-static wrist strap and conductive foam pad (recommended)
3. Din-Rail mounting kit contains the following items:
2 outer rails
4 inner rails
4. Crosshead threaded screws
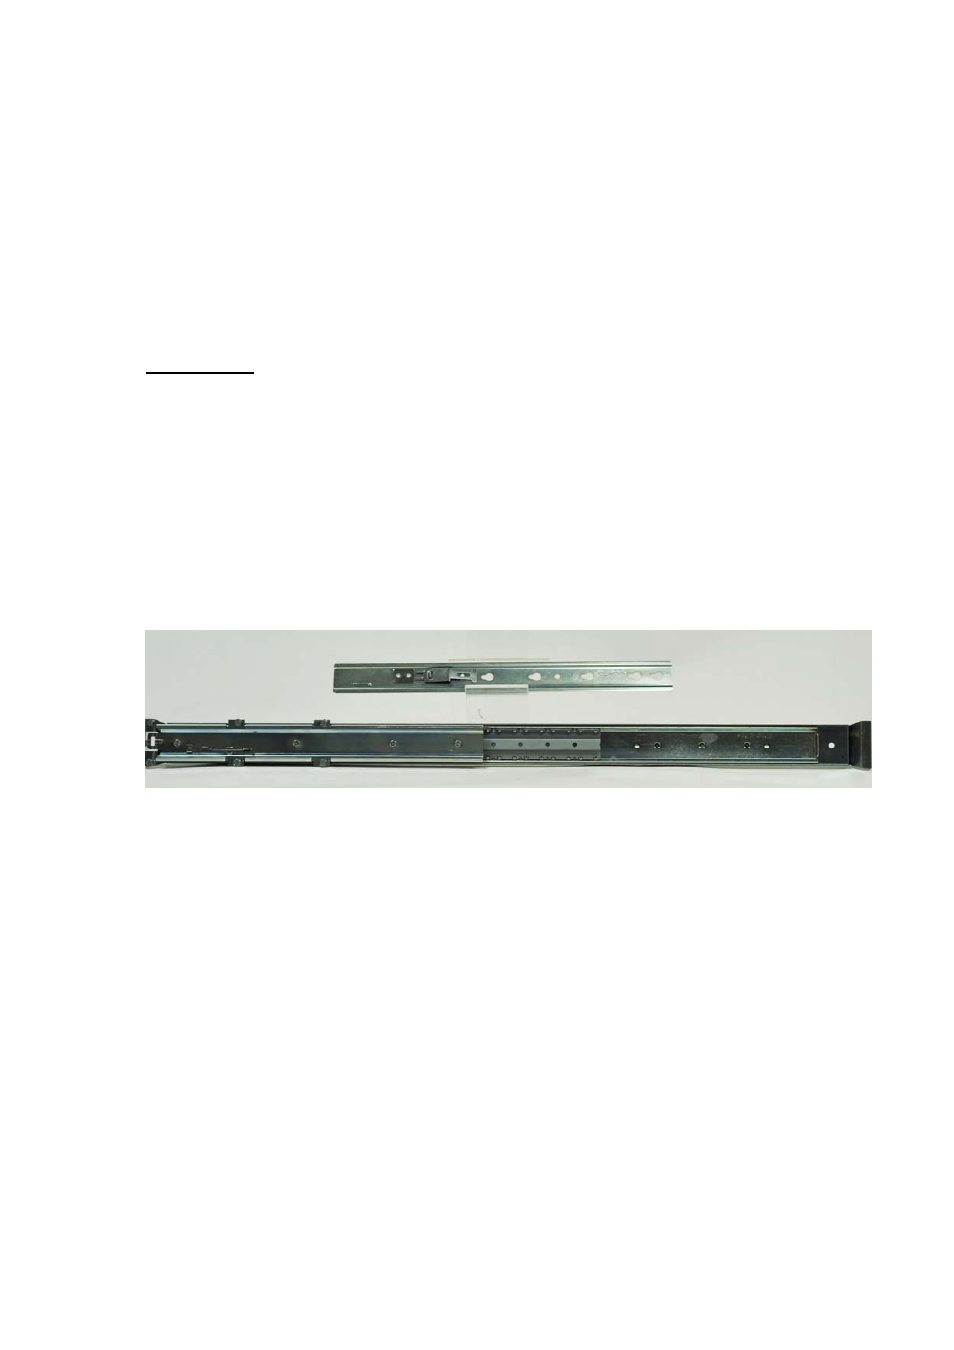
5. The following picture shows the inner rail (top) and the outer rail
(bottom).
Attaching inner rails to the chassis:
Use the following steps to install the inner rails to the chassis:
1. Position the inner rail alongside the side of the system’s chassis with the
finger tab facing outward as shown in the following diagram.
2. Align the screw holes of the rail and the mounting holes of the chassis
and then fix the inner rail to the system with crosshead threaded
screws.
3. Repeat the above steps again to attach another rail on the same side.
4. Attach the front bracket to the system
5. Likewise, attach other inner rails and front bracket to the other side of
system’s chassis.