Ion Science Tiger User Manual
Page 37

TIGER MANUAL
Ion Science Ltd
Page 37 of 46
Unrivalled Detection. www.ionscience.com
Maintenance
Calibration
Ion Science Ltd recommends an annual service and calibration for users who require a traceable calibration.
During this service the lamp and detector are brought back to factory specifications and new Factory
Calibration data is stored.
Due to the linear output of the Ion Science PID detector, a two-point calibration is often adequate. TIGER
scales its linear output across a ZERO level (clean air reference) and the SPAN 1 user defined gas
concentration. For more exacting requirements, TIGER offers a three-point calibration with a higher SPAN 2
gas concentration.
TIGER offers the options of Factory Calibration or Custom Calibration. ‘Factory Calibration' is set by Ion
Science Ltd during instrument manufacture or on re-calibration. 'Custom Calibration' can be set by the
instrument user.
For Factory Calibration contact Ion Science Ltd or your distributor.
'Factory Calibration’ offers a safe set of three-point calibration data. This should be used if the custom
calibration fails and will keep the unit working until a good custom calibration is completed.
For Custom Calibration, first set up the parameters in TIGER PC - see the ‘TIGER
PC Software’ section of the manual.
TIGER allows you to custom calibrate using any gas from the Gas Table at any concentration from 10ppm.
You will need a cylinder of the selected gas at each of the chosen concentrations. Each cylinder should be
regulated for a flow rate above 250ml/min.
Have the cylinder(s) of gas, regulator(s) and the zero carbon filter (included in the Calibration Kit (A-861418)
for your TIGER) on hand before starting the procedure. Alternatively a known clean air supply may be used
as the ‘zero’ gas. Please ensure you are familiar with the entire calibration procedure before attempting to
calibrate your TIGER.
Note:
The calibration of your TIGER must be carried out in a clean air environment. Ensure all parts of
the Calibration Kit are available and ready for use.
Never calibrate the zero with the span gas connected.
Press the Options soft key
on your TIGER to access the adjustable features.
Then use the Up or Down key to select calibration.
Press Enter to confirm selection.
Select Custom Calibration
and press Enter to confirm.
On confirming the selection, the user is presented with a 15
second count down.
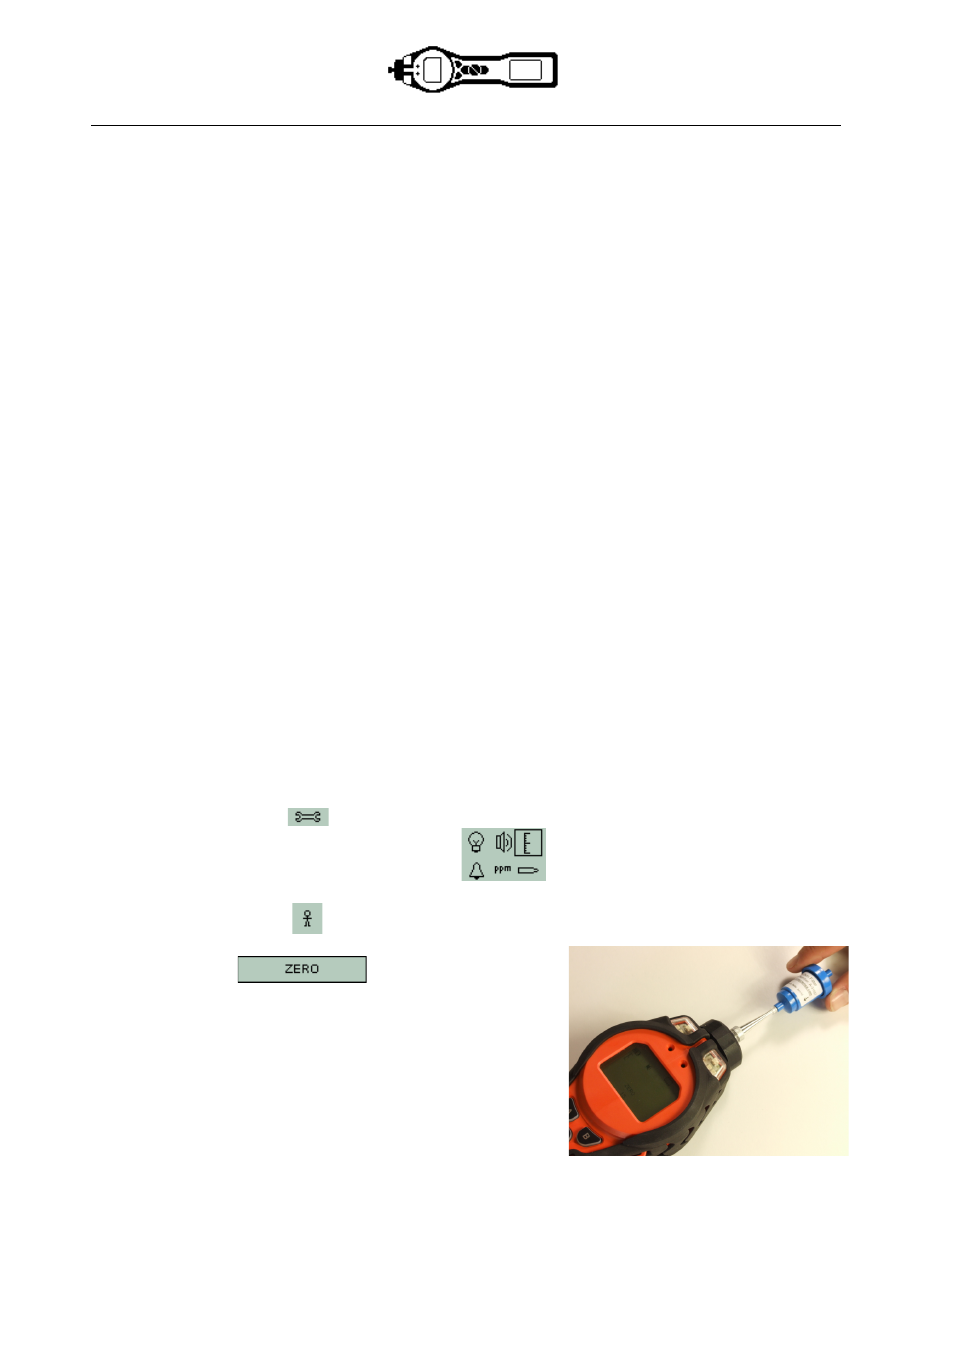
Remove both caps from the Carbon Filter Assembly (A-31057)
and then fit onto the probe of your TIGER. Press Enter to start
the ‘zero’ countdown. At the end of the count down a tick '!'
will appear, indicating that the Zero has been accepted.
Disconnect the Carbon Filter Assembly and replace the cap
ends. The useful life of the Carbon Filter Assembly will be
shortened if the Carbon Filter Assembly is open to atmosphere
for prolonged periods.
