Correcting computer images, Projecting images without a screen, Making initial color corrections – Epson 7800P User Manual
Page 10: Adjusting color corrections for a new surface
EPSON PowerLite 7800p Projector
5/03
EPSON PowerLite 7800p Projector
-
9
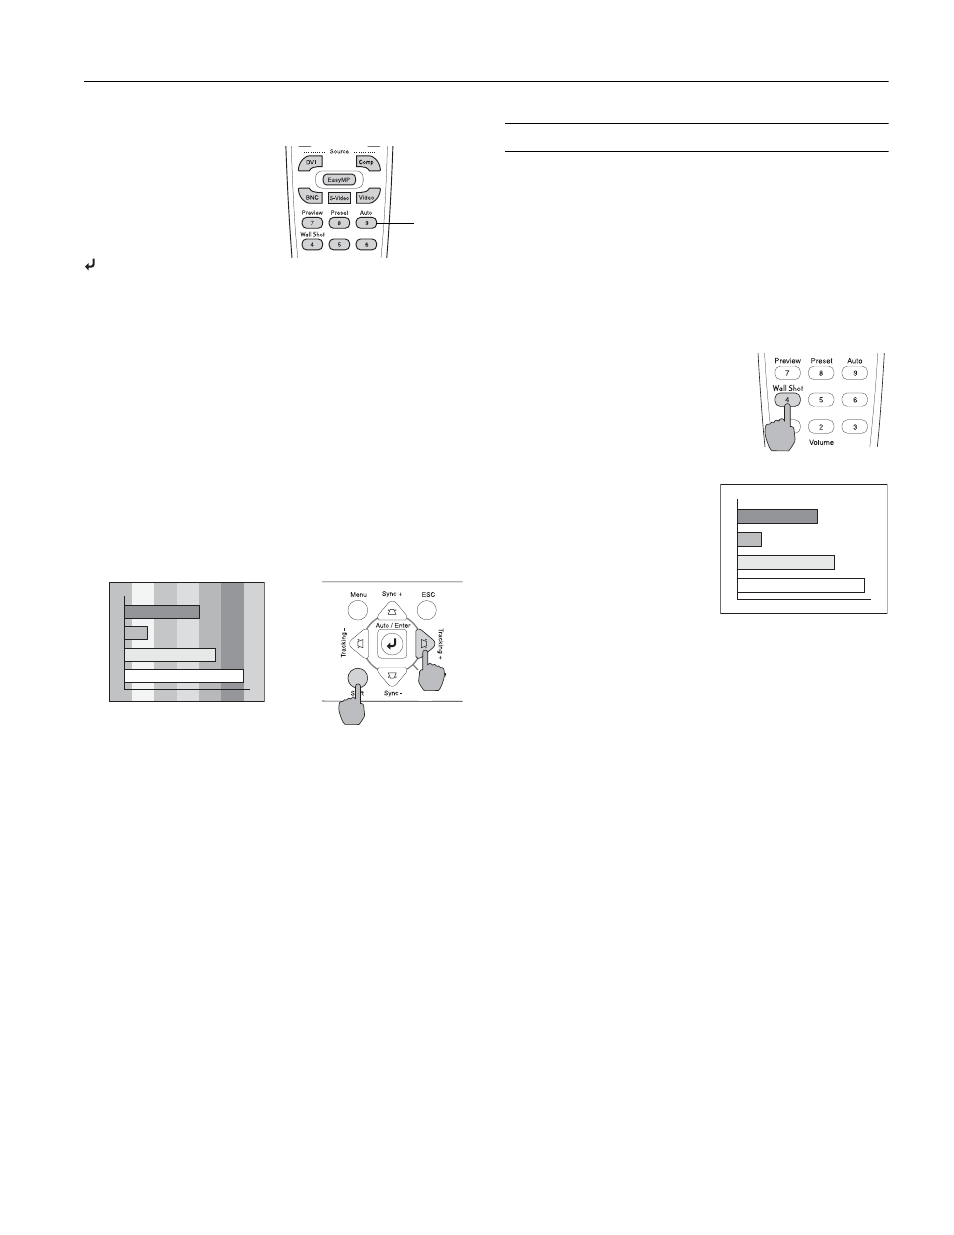
Correcting Computer Images
If you’ve connected a
computer and the image
doesn’t look right or fit
properly on the screen, press
the
Auto
button on the
remote control (or the
Auto/Enter
button on the
projector’s control panel).
This automatically resets the projector’s tracking, sync,
resolution, and position settings.
Note: You must be projecting an image for this button to have
any effect. The
Auto
button works only with computer images.
Also, make sure the correct
Computer
or
BNC Input
option—
such as
Analog RGB
—has been selected in the Setting menu.
Alternatively, you can cycle through the input settings using
the corresponding source button (
Comp
,
BNC
) on the remote
control until you see your device.
If vertical stripes appear in the projected image and the
Auto
button doesn’t correct the problem, hold down the
Shift
button on the projector’s control panel while pressing either
the
Tracking +
or the
Tracking –
button.
If the image appears fuzzy or flickers and the
Auto
button
doesn’t correct the problem, hold down the
Shift
button while
pressing either the
Sync +
or
Sync –
button.
Note: Also make sure you have selected the correct Computer or
BNC Input option in the Setting menu for your computer. See the
User’s Guide for more information.
Projecting Images Without a Screen
Even if you don’t have a screen, you can project images onto
surfaces like blackboards and colored walls without loss of
image color. Your projector has a sensor that measures the
conditions of the projection surface and automatically adjusts
the colors and shading of your image. For example, if you’re
projecting onto a surface near a window, your image appears
clear and well-defined rather than faint.
Making Initial Color Corrections
Press the
Wall Shot
button on
either the remote control or the
projector’s control panel while
projecting an image.
Wall Shot’s status appears in
the upper right corner of your
screen. Then you see a sequence
of colors flash for approximately
five seconds while the sensor
measures the conditions of the
projection surface and adjusts
the image.
Note: If the status message indicates that Wall Shot is off, press the
Wall Shot
button again to turn it on.
When you turn off the projector, it stores the correction values
obtained by the last Wall Shot measurements. This is useful if
you’re projecting against the same surface and under the same
conditions. To retrieve these corrections, just press the
Wall
Shot
button again while projecting an image.
Adjusting Color Corrections for a New
Surface
Follow these steps to adjust the correction values if you’re
projecting on a new surface or in a new location:
1. Press the
Wall Shot
button on the remote control or
projector while you’re projecting an image. Wait for the
Wall Shot status screen.
2. Press the
Wall Shot
button until you see
Wall Shot
Readjustment
on the status screen.
You see a sequence of colors flash for about five seconds as
the projector adjusts the color correction values for the new
projection surface.
Auto
button
Wall Shot ON