Using the miranda animation option, Using the miranda animation option -2 – Grass Valley After Effects Plug-in Vertigo Suite v.4.9 User Manual
Page 8
2-2
After Effects Plug-in User Manual
Miranda Animation option
Using the Miranda Animation option
To use the Miranda Animation option to generate an animation or video clip file:
1.
Start the Adobe After Effects application.
2.
Load or create a new After Effects project.
3.
Select the F
ILE
>E
XPORT
>M
IRANDA
A
NIMATION
menu command.
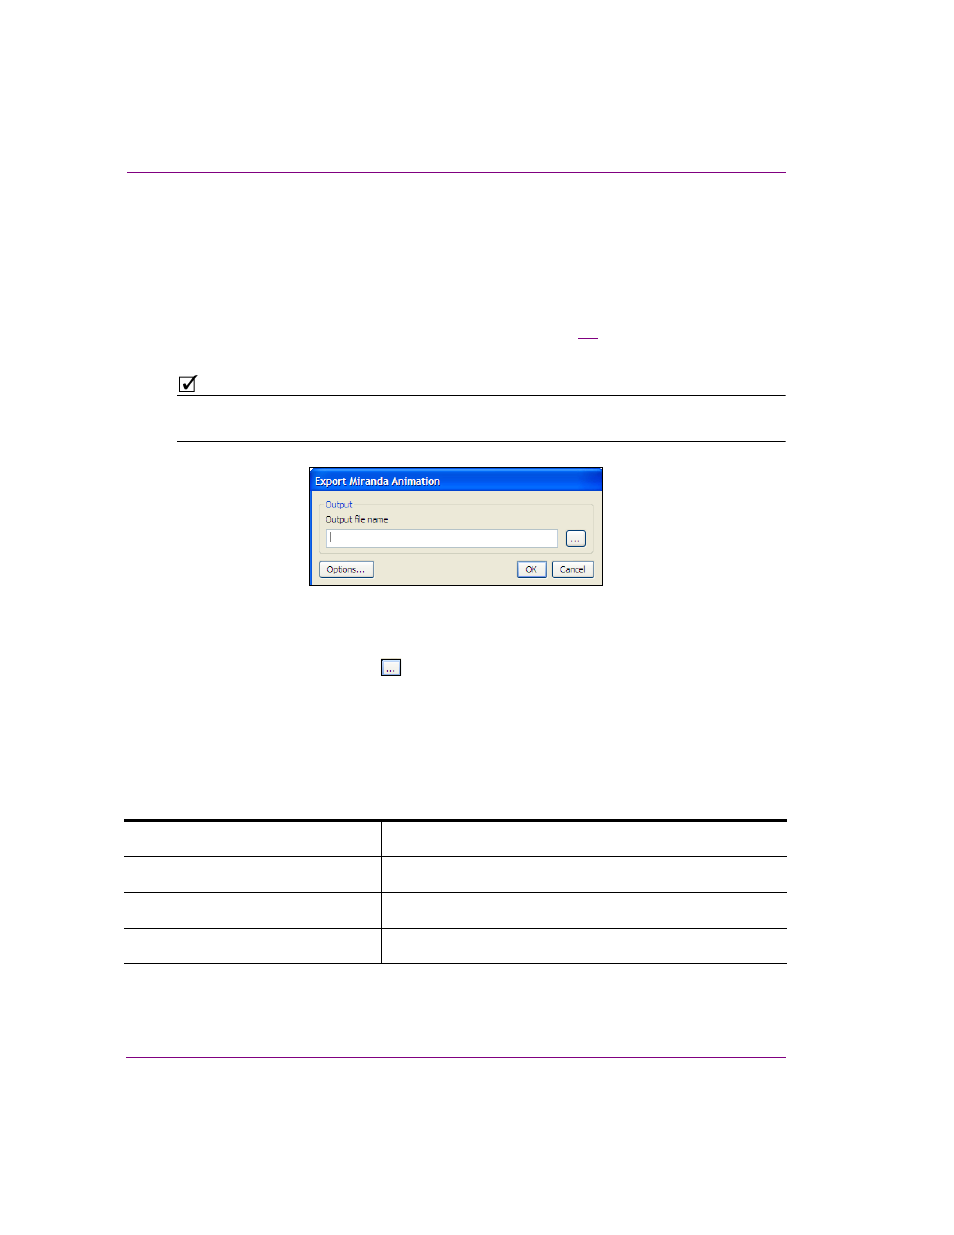
The E
XPORT
M
IRANDA
A
NIMATION
dialog box appears (figure
), which allows you to
select the output file path and the type of file to be exported.
N
OTE
If the M
IRANDA
A
NIMATION
option is greyed out, load a valid After Effects project and select
a composition.
Figure 2-2. The Export Miranda Animation dialog box
4.
Specify the O
UTPUT
F
ILE
P
ATH
in which you want to save the animation or video file:
a.
Click the Ellipsis button
to open the E
XPORT
ANIMATION
dialog box.
b.
Navigate to the directory location where you want to save the animation or video file.
c.
In the F
ILE
N
AME
field, specify the name by which the file is to be saved.
d.
Select from the S
AVE
AS
TYPE
drop-down list, the desired animation or video clip
file type. The suffix at the end of the file name defines the type of file to be
exported.
Choose one of the following file types:
e.
Click S
AVE
.
O
XTEL
OXI F
ILE
(*.oxi)
Exports an animation file for Intuition Classic devices (default)
O
XTEL
OXA (*.oxa)
Exports an animation file for Imagestore and LGK devices
V
ERTIGO
A
NIMATION
F
ILE
(*.vaf)
Exports a video clip file for Intuition XG and Vertigo XG devices
M
ATERIAL
E
X
CHANGE
F
ORMAT
(*.mxf)
Exports a video clip file for HMP-1801 devices