Airmar, Parts – Airmar NMEA 0183 User Manual
Page 4
Completing the Installation
1. From outside the Splitter, pull each cable until only 51mm (2") of
jacket remains inside the box. Using slip-joint pliers, tighten each
compression nut to make a watertight seal (see Figure 3).
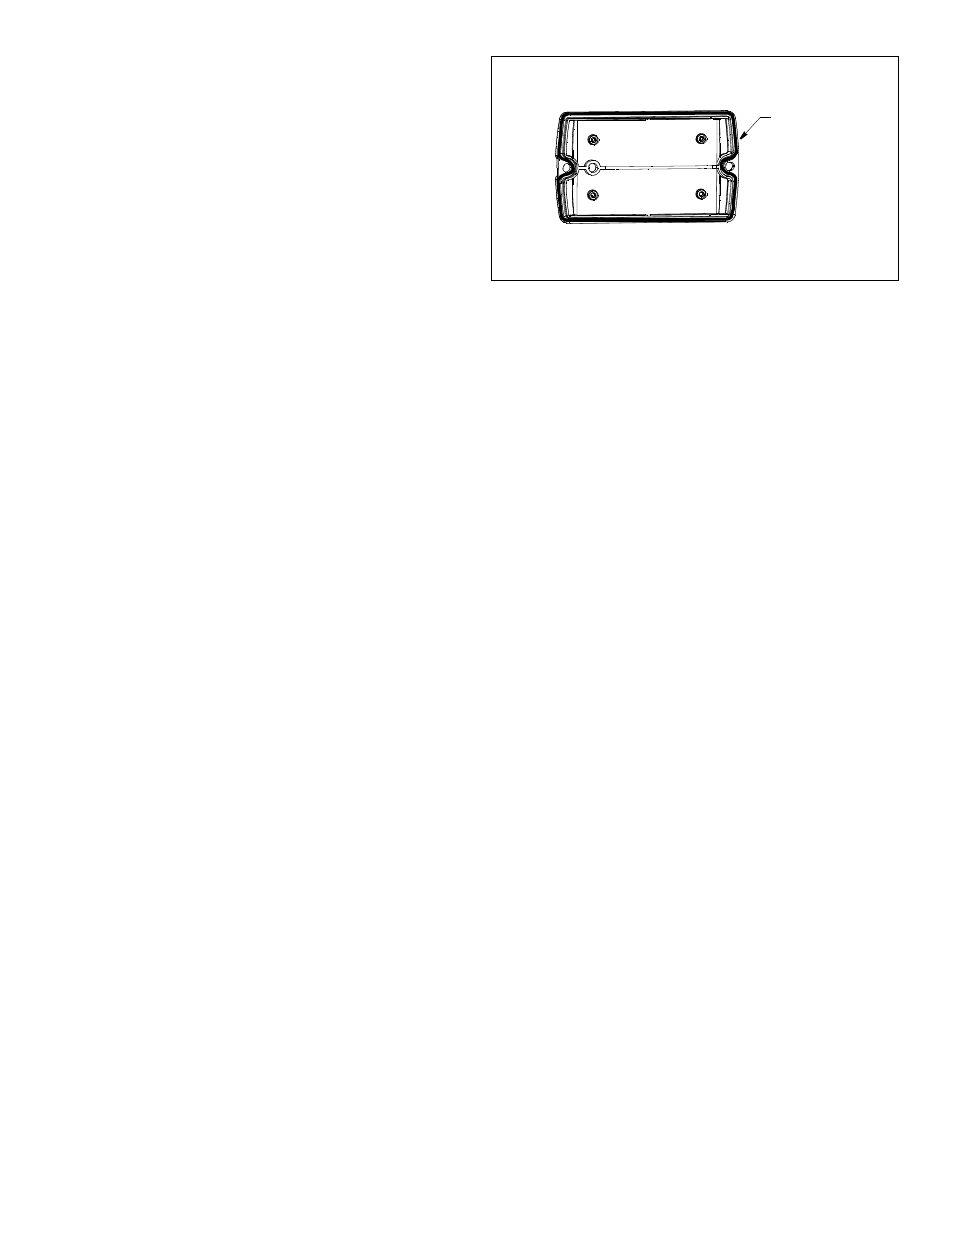
2. Arrange the wires neatly inside the Splitter. Check to be sure
the gasket is firmly installed in the channel on the back side of
the cover (see Figure 7). Lubricate the gasket with the silicone
lubricant supplied. Screw the cover in place with the two long
screws supplied.
3. Fasten the Splitter in place with the four 6 x 1/2" screws
supplied in the plastic bag.
4. Plug the sensor cable’s connector into the sensor.
5. Plug the NMEA 2000 cable’s connector into the network.
6. Plug the NMEA 0183 cable’s connector into the Airmar Data
Converter or Airmar Combiner.
Connecting to an NMEA 0183 instrument
• Cut off the connector and discard.
• The white, blue, red, black, and bare wires are not needed.
Cut them off flush with the cable jacket.
• Protect the cable’s foil shielding from causing a short circuit
by covering the cable jacket with heat-shrink tubing where
the wires emerge from the cable. The tubing must overlap the
wires a minimum of 6mm (1/4"). Use a heat gun to shrink the
tubing.
• Connect the following wires:
grey
A/+ NMEA output
purple
B/- NMEA output
yellow
A/+ NMEA input
orange
B/- NMEA input
7. Fasten all the cables in place.
Parts
Obtain parts from your sensor manufacturer or marine dealer.
Gemeco
Tel: 803.693.0777
(USA)
Fax: 803.693.0477
email: [email protected]
Airmar EMEA
Tel: +33.(0)2.23.52.06.48
(Europe, Middle East, Africa)
Fax: +33.(0)2.23.52.06.49
email: [email protected]
NMEA 2000
®
is a registered trademark of the National Marine
Electronics Association.
AIRMAR
®
TECHNOLOGY CORPORATION
35 Meadowbrook Drive, Milford, New Hampshire 03055-4613, USA
www.airmar.com
Copyright © 2008 - 2013 Airmar Technology Corp. All rights reserved.
NOTE: Lubricate
the gasket with the
silicone lubricant
supplied
underside of cover
Figure 7. Lubricate the gasket
Copyright © 2008 - 2009 Airmar Technology Corp.
4