Airmar B66VL User Manual
Installation instructions owner’s guide, Thru-hull triducer, Multisensor with strap
17
-1
18
-0
3 re
v.
0
4
06
/27
/11
WARNING: B744V and B744VL
These models must be installed with a fairing (Standard or
High-Performance). If the multisensor is installed without a
fairing, there is insufficient surface area to seal the multi-
sensor to the hull. Water may leak into the hull causing
damage to the boat or possibly sinking.
WARNING: B744V, B744VL
with a High-Performance Fairing
These models must be installed following the supplemental
instructions that came with the
High-Performance Fairing
. A
High-Performance Fairing
requires an anti-rotation bolt. Failure
to install the anti-rotation bolt may result in the fairing rotating
while the boat is underway. The effect may be violent
movement and loss of steering. This could result in serious
injury or death to passengers and/or damage to the boat or
other property.
CAUTION: Never Use Solvents!
Cleaners, fuel, paint, sealants, and other products may
contain strong solvents, such as acetone, which attack
many plastics greatly reducing their strength.
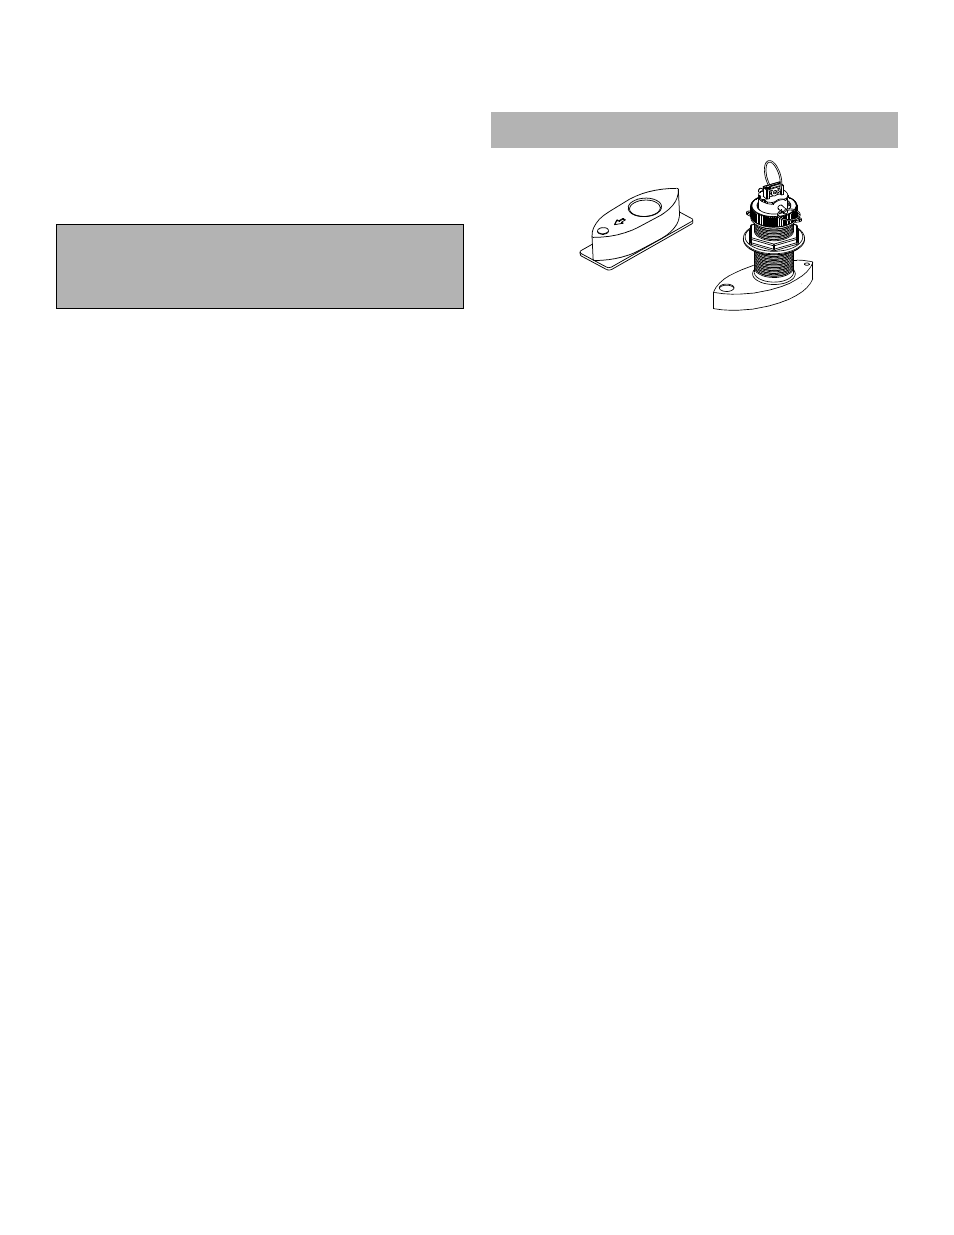
Thru-Hull
TRIDUCER
®
Multisensor with Strap
Models: B66V, B66VL, B744V, B744VL
Applications
• Bronze housings recommended for fiberglass or wood hulls.
Caution: Never install a bronze housing in a metal hull because
electrolytic corrosion will occur.
• Caution: Never install a metal housing in a vessel with a
positive ground system.
Pretest
Connect the multisensor to the instrument and spin the
paddlewheel. Check for a speed reading (and the approximate air
temperature if applicable). If there is no reading or it is inaccurate,
return the instrument to the place of purchase.
Identify Your Model
The model name is printed on the cable tag.
Tools and Materials
Fairing (mandatory for B744V, B744VL)
Safety goggles
Dust mask
Digital level (installation with fairing)
Band saw (installation with fairing)
Rasp or power tool (installation with fairing)
Electric drill
Drill bit: 3mm or 1/8"
Hole saw: 51mm or 2"
Sandpaper
Mild household detergent or weak solvent (alcohol)
Marine sealant (suitable for below waterline)
Slip-joint pliers
Zip-ties
Water-based antifouling paint (mandatory in salt water)
Installation in a cored fiberglass hull (see page 4):
Hole saw for hull interior: 60mm or 2-3/8"
Cylinder, wax, tape, and casting epoxy
Mounting Location
Acoustic Noise
Acoustic noise is always present and these sound waves can
interfere with the operation of the transducer. Background noise
from sources such as: waves, fish, and other vessels cannot be
controlled. However, carefully selecting the multisensor’s
mounting location can minimize the affect of vessel generated
noise from the propeller(s) and shaft(s), other machinery, and
other echosounders. The lower the noise level, the higher the
echosounder gain setting that can be used.
Placement
Choose a location where:
• The water flowing across the hull is smoothest with a minimum
of turbulence and bubbles (especially at high speeds).
• The multisensor will be continuously immersed in water.
• There is a minimum deadrise angle.
• The transducer beam will be unobstructed by the keel or
propeller shaft(s).
• There is adequate headroom inside the vessel for the height of
the housing, tightening the nuts, and removing the valve
assembly and insert.
Caution: Do not mount the multisensor:
Near water intake or discharge openings
Behind strakes, fittings, or hull irregularities
Behind eroding paint (an indication of turbulence)
IMPORTANT: Please read the instructions completely
before proceeding with the installation. These
instructions supersede any other instructions in your
instrument manual if they differ.
Record the information found on the cable tag for future reference.
Part No._________________Date___________Frequency________kH
B744V
B744V
Standard Fairing
INSTALLATION INSTRUCTIONS
OWNER’S GUIDE &