Remko, Flange heating cartridge – REMKO Flange Heating Cartridge User Manual
Page 10
10
REMKO
FLANGE HEATING CARTRIDGE
REMKO
FLANGE HEATING CARTRIDGE
Installation may only be performed
by authorised specialists.
NOTE
Installing the flange heating cartridge
■
Check the contents of the packaging
for completeness and check the
unit for visible transport damage.
Immediately notify your contract
partner of any deficiencies.
Install the flange heating cartridge as
follows:
1.
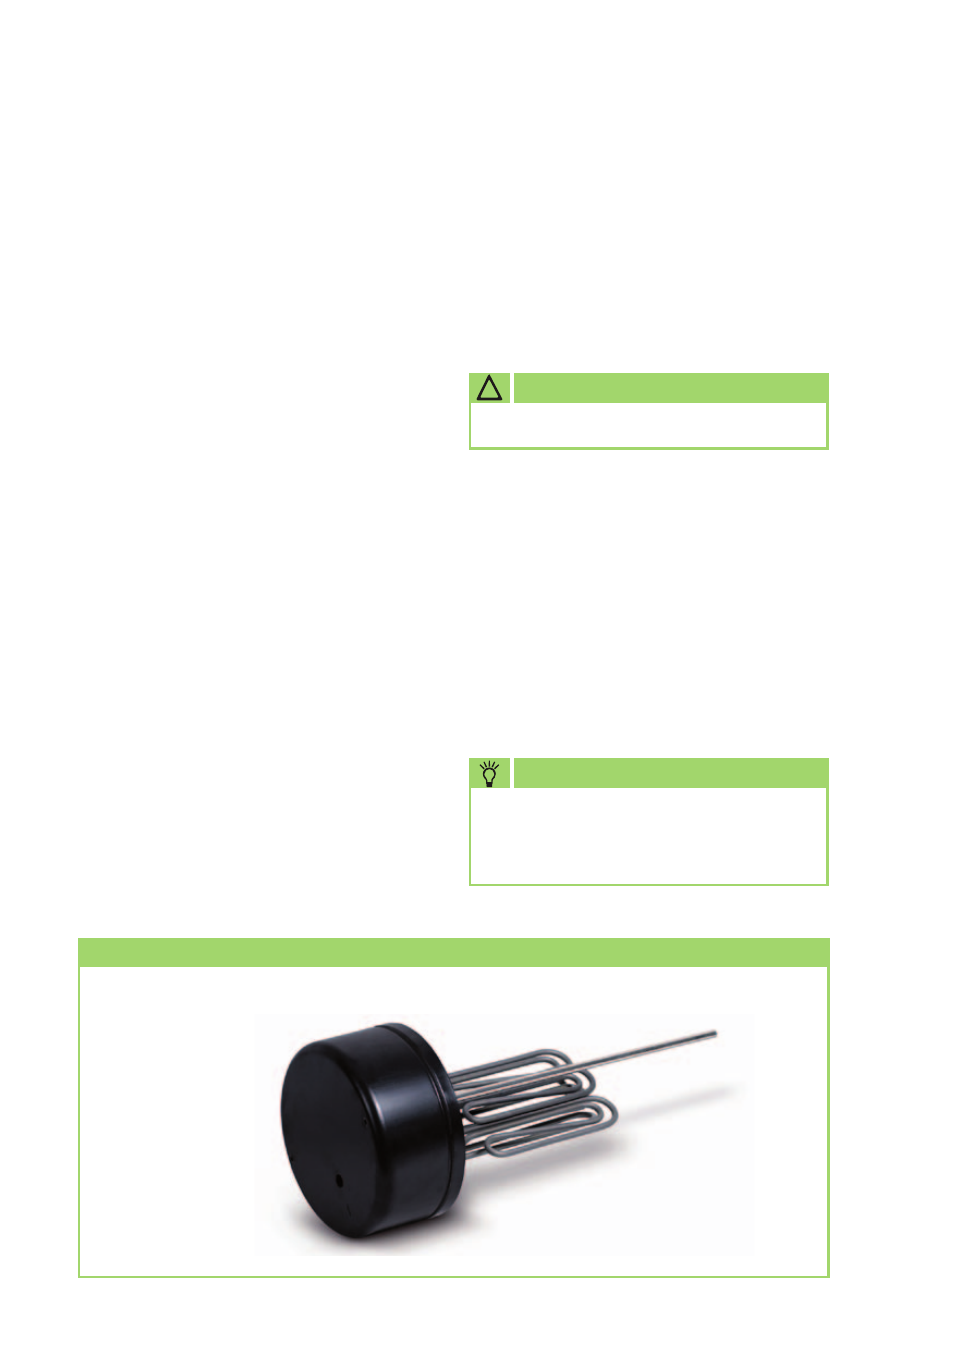
Remove the protective cap 1.
2. Install the heating flange 2 with the
seal 3 into the boiler.
The temperature regulator's sensor
protection tube must lie above the
tube heating elements.
3. Fasten the heating flange 2 with the
M 12 flange bolts (the max. torque is
22 Nm).
Tighten the flange bolts diagonally.
Check the bolt fittings for the
heating elements and tighten
them as necessary to a torque of 2-3 Nm.
4. Establish the electrical connection as
shown in the circuit diagram.
!
CAUTION
Connect the earth conductor!
5. Replace the protective cap 1 and
fasten it with nuts.
6. Put the included regulator knob 4 in
place.
7. Do not commission until the
container has been filled with water.
Exploded view of the unit
Protective cap
Seal
Heating flange
Regulator knob