Wait state jumper, Ac input filter, Installing the cio-pdiso8 – Measurement Computing CIO-PDISO8 User Manual
Page 11
CIO-PDISO8 User's Guide
Installing the CIO-PDISO8
10
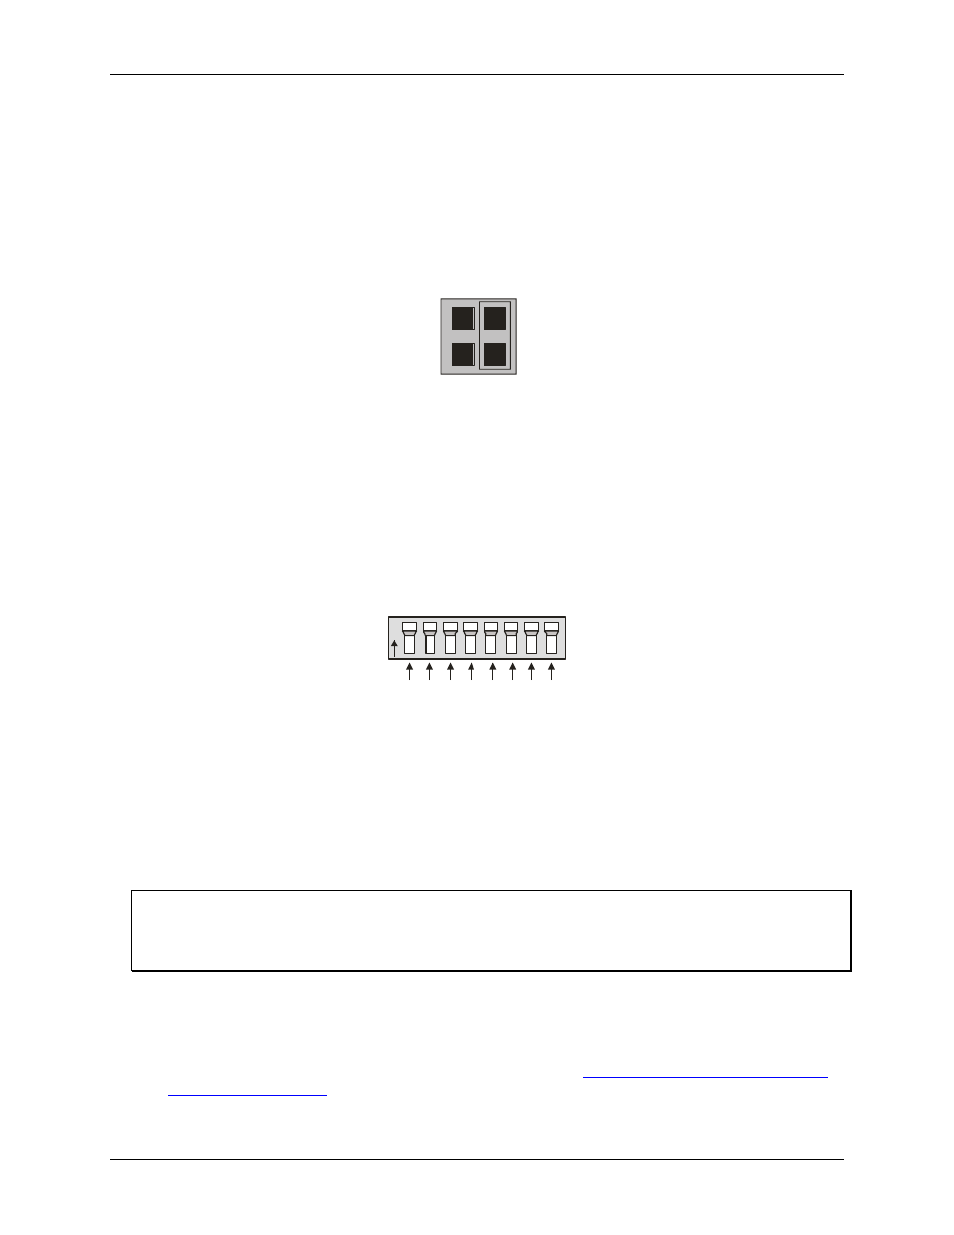
Wait state jumper
The CIO-PDISO8 board has a wait state jumper which you can set to enable an on-board wait state generator. A
wait state is an extra delay injected into the processor's clock via the bus. This delay slows down the processor
when the processor addresses the CIO-PDISO8 board so that signals from slow devices (chips) will be valid.
The factory default is wait state disabled (Off). You will probably never need the wait state because PC
expansion slot busses are limited to 8 or 10 MHz. If you get intermittent operation, try enabling the wait state to
see if that solves the problem.
O
N
O
F
F
Figure 3. Wait State jumper
AC input filter
The inputs are eight individual, optically isolated (500 V) inputs that can be read back as a single byte. The
inputs are not polarity sensitive, and may be driven by either AC (50 - 1000 Hz) or DC. Each input has a
switchable low-pass R-C filter having a time constant of 5 ms (200 Hz).
The switch which controls the input filters is shown in Figure 4. The filters must be used for AC inputs, and
should be used for DC inputs.
0
N
3 2 1
4
7 6 5
0
Figure 4. AC input filter switches
Unless you have reason to turn off a filter, you should enable it (switch up). With the filter on, an AC voltage
within the specified frequency range present on the input produces a constant high signal to the opto-isolator.
Installing the CIO-PDISO8
After you configure the board's switches and jumper, you can install the CIO-PDISO8 into your computer. To
install your board, follow the steps below.
Install the MCC DAQ software before you install your board
The driver needed to run your board is installed with the MCC DAQ software. Therefore, you need to install the
MCC DAQ software before you install your board. Refer to the Quick Start Guide for instructions on installing
the software.
1. Turn your computer off, open it up, and insert your board into an available ISA slot.
2. Close your computer and turn it on.
3. To test your installation and configure your board, run the InstaCal utility you installed in the previous
section. Refer to the Quick Start Guide that came with your boar
for information on how to initially set up and load InstaCal.