Kuvat 32 - 37 – Kemppi DC 3500W User Manual
Page 15
9901 / 1916110E / 15
English
2
PULSE
ON /
OFF
PULSE
RATIO
BACK.
FREQUENCY
OFF
HOT
START
SOFT
START
+50%
-70%
2
2
0 - 10 s
SPOT
WELD
kuvat 32 - 37
The selection and adjustment of the Minilog operation
is done by means of the potentiometer. When the po-
tentiometer is in the OFF position, the operation is not in
use. The welding current is selected from the current
knob like usually. The Minilog knob is used to select a
basic current, the minimum of which is 80 % below the
welding current and the maximum is 20 % above the
current level. During the adjustment, you can see the
set value of current in amperes in the current display.
You can move from the welding current to the basic
current by quickly pressing the torch.
By quickly pressing it again, you move back to the
welding current. The signal lights on the panel show
you the current level you are on.
You can stop the welding by a longer pressing of the
torch switch (> 0.7 s).
The Minilog operation can be used to adjust the heat,
if the work piece is overheated or if you need more
heat for a moment.
With the Minilog operation you can go to a lower cur-
rent level for example when you change the position or
the grip of the filler material wire without having to stop
the welding to do that.
A lower current can also be used as the crater filling
current if you do not want to use the down-slope time
for that.
Pulse welding (only with the pulse panel)
1. Switch the pulse welding on by means of the pulse-
section key ON/OFF.
2. Adjust the average current that you want from the
current adjustment knob. The current display will
show you the average current.
3. Press the key BACK. FREQUENCY once. The text
bAc of the right-hand display shows you that now
you can adjust the background current from the
current knob. The background current is propor-
tional to the average current, but it is shown in the
current display in amperes.
4. Press the key BACK. FREQUENCY again. The text
FrE of the current display shows that now you can
adjust the pulse frequency. The pulse frequency is
shown in Hz.
5. Press the key PULSE RATIO once. You will see
the pulse current in the current display. The right-
hand display reads PUL. You can also adjust the
pulse current, but please note that this will change
the average current.
6. When you press the key PULSE RATIO again, you
can adjust the pulse ratio, rAt. The pulse ratio is shown
as a percentage of the total length of the cycle.
7. When you press either of the parameter keys a
third time, the adjustment goes back to the aver-
age current AvE.
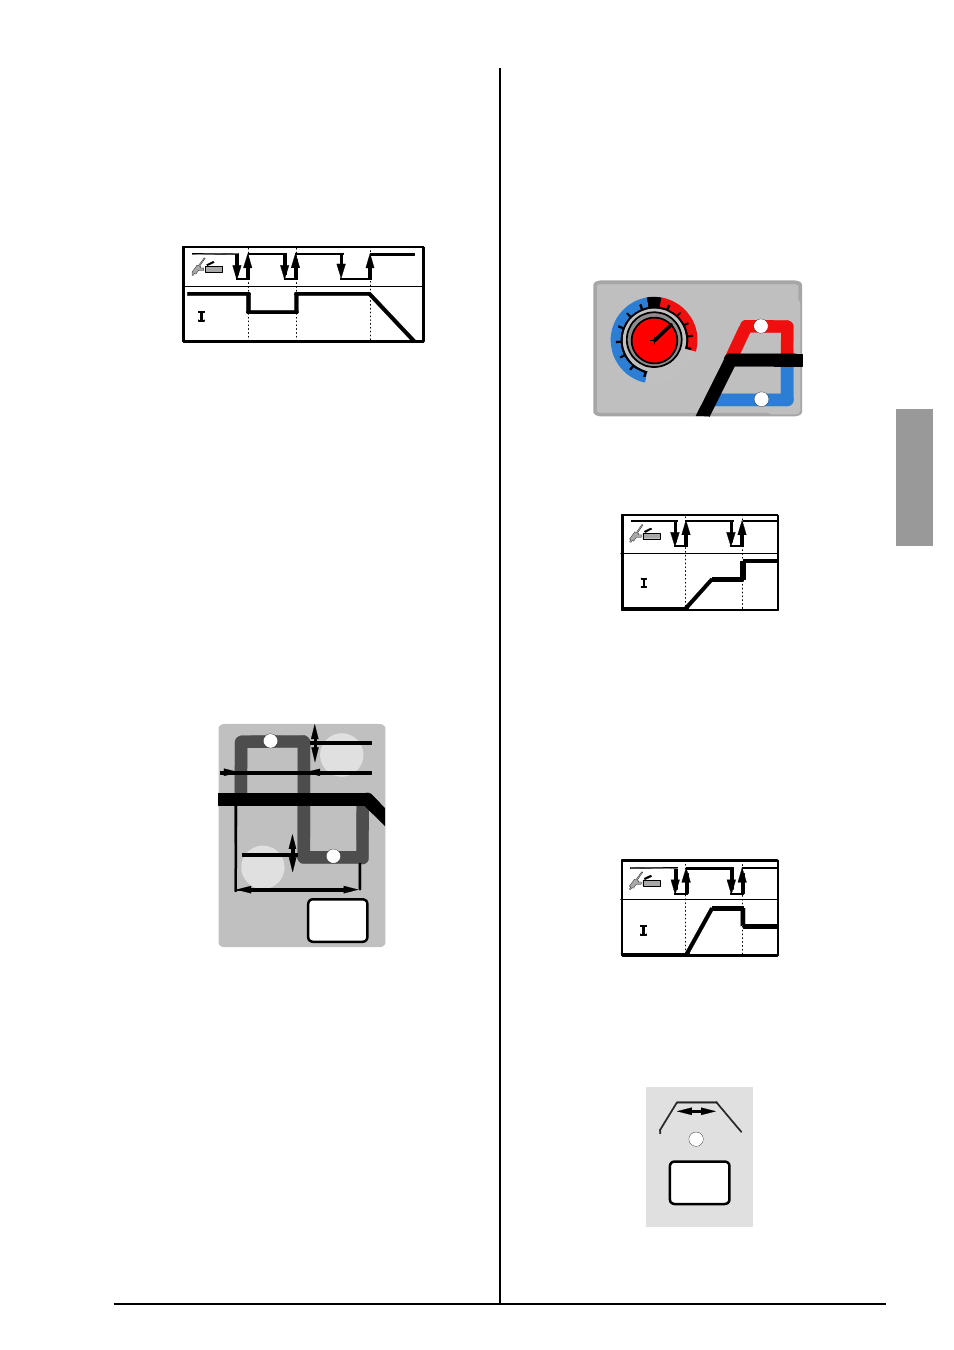
Control of the start current (only with the pulse
panel)
By means of the control potentiometer of the start cur-
rent you can select either a soft, normal or hot start.
The start current is available only with a 4-function torch
switch operation.
By turning the potentiometer to OFF, you have a nor-
mal start (see the use of the torch switch / 4-function)
By turning the potentiometer to the left, you get a soft
start (SOFT START). When you raise the torch switch,
the current rises in accordance with the up-slope of
the start current to the start current, which is smaller
than the welding current.
From the start current, you can move to the welding cur-
rent by pressing the torch switch for a short moment.
The start current is proportional to the welding current.
You can see the value of the start current in the nu-
merical display during the control.
When you turn the potentiometer to the right, the start
current is higher than the welding current (HOT
START). Otherwise the start is made in the same way
as with a soft start.
Fusion spot welding (only with a pulse panel)
Select fusion spot welding by pressing the special op-
eration key SPOT WELD. To show that you have se-
lected fusion spot welding, the signal light next to the