JIMS Box 2 1208-1352 (all models of 120, 131, or 135 Alpha, Beta and Evo Mount Engines) User Manual
Page 6
555 Dawson Drive, Camarillo, CA 93012 Phone 805-482-6913 • Fax 805-482-7422
5
Rev I
8-12
No.1208-1352
A Division of Thiessen Products, INC
IIn
ns
st
tr
ru
uc
ct
tiio
on
n S
Sh
he
ee
et
t F
Fo
or
r B
Bo
ox
x 2
2 1
12
20
0”
”,, 1
13
31
1”
” o
or
r 1
13
35
5”
”
E
En
ng
giin
ne
e A
As
ss
se
em
mb
bl
liie
es
s O
Or
r E
En
ng
giin
ne
e R
Ra
ac
ce
e K
Kiit
ts
s
STEP 4: End Gap Adjustment:
• It is unlikely you will need to adjust the first and oil control ring end gaps. However it is likely
you will have to adjust the second ring end gap, if you do, the amount will be very small. Please
do not hurry the procedure and remove only a little material at a time.
• For the best result, use a piston ring gap tool to remove metal from the ends of the rings.
• Do not work near the open engine.
Piston ring gap tool:
• Determine how much material must be removed from the ends of the ring.
It will probably be only a few thousandths of an inch. If, say, a 2nd compres-
sion ring’s end gap was .013” then you would need to remove a total of
.004” from the ends to meet the minimum gap standard of .017”.
• Remember, JIMS
®
No.1255 piston ring end gap tools file both ends of the
ring, and material removal can be very rapid.
• Fit the ring into the tool according to the tool’s instructions.
• Gently rotate the cutter and remove a very small amount of ring material.
See Fig. 14.
• Remove and clean the ring. Deburr if needed. Then, re-insert it into the bore.
Square it using the piston as before and measure the end gap.
• Check the end gap often as you work, especially when you work with your
first ring.
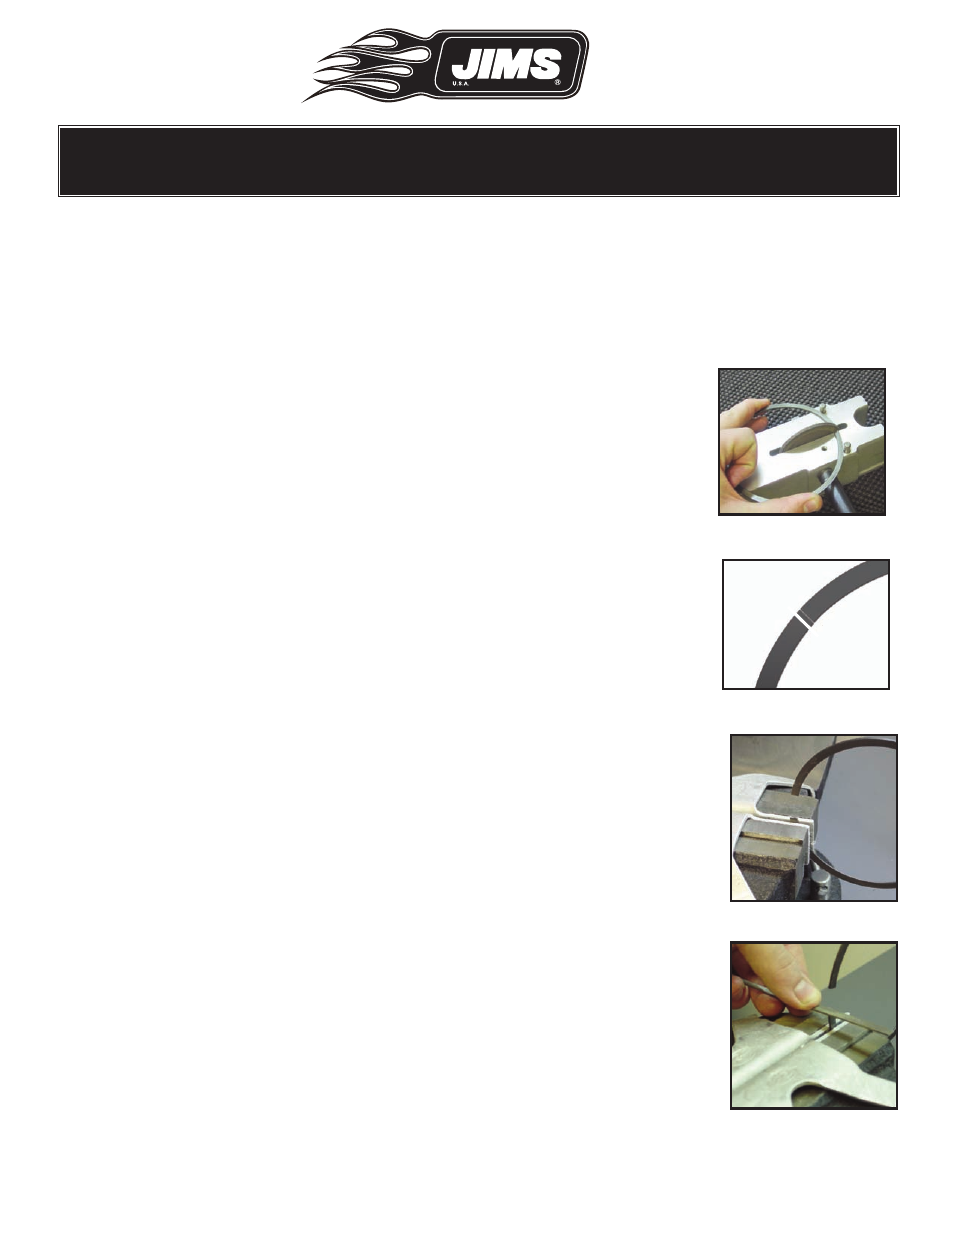
Flat jeweler’s file:
• It is not necessary to remove material from both ends.
• It is important to get the filed end square. When the two ends are brought
together, they should be as nearly parallel as possible. See Fig.15.
• Devise a method to clamp or control the piston ring as you file it. You could
use a clean smooth-jawed vise, with soft jaws or a machinist’s vise. See Fig.
16.
• An alternate method might be to use a flat, hard, sharp cornered object like
a thick glass plate or even a piece of hard wood. Place the ring end over the
edge of this piece and hold it in place with the pressure of your hand as you
gently remove a bit of material with the file.
• Do not be tempted to do the work in the air using your hand as the vise.
• As you start to file, be sure the file is at right-angles to the end of the ring.
Make the angle between file and ring square from both the top and side.
See Fig. 17.
Fig.14 - Rotary ring cutter
Fig.15 - Square ring ends
Fig.16 - Clamp securely
Fig.17 - Square ring end