JIMS Box 2 1208-1352 (all models of 120, 131, or 135 Alpha, Beta and Evo Mount Engines) User Manual
Page 4
555 Dawson Drive, Camarillo, CA 93012 Phone 805-482-6913 • Fax 805-482-7422
3
Rev I
8-12
No.1208-1352
A Division of Thiessen Products, INC
IIn
ns
st
tr
ru
uc
ct
tiio
on
n S
Sh
he
ee
et
t F
Fo
or
r B
Bo
ox
x 2
2 1
12
20
0”
”,, 1
13
31
1”
” o
or
r 1
13
35
5”
”
E
En
ng
giin
ne
e A
As
ss
se
em
mb
bl
liie
es
s O
Or
r E
En
ng
giin
ne
e R
Ra
ac
ce
e K
Kiit
ts
s
• The rear piston has a notch on the bottom of the intake side of its skirt.
See Fig.6.
• The rear piston’s notch goes toward the front, or intake side of the
engine.
• The front piston’s intake valve relief points toward the rear of the engine.
See Fig.7.
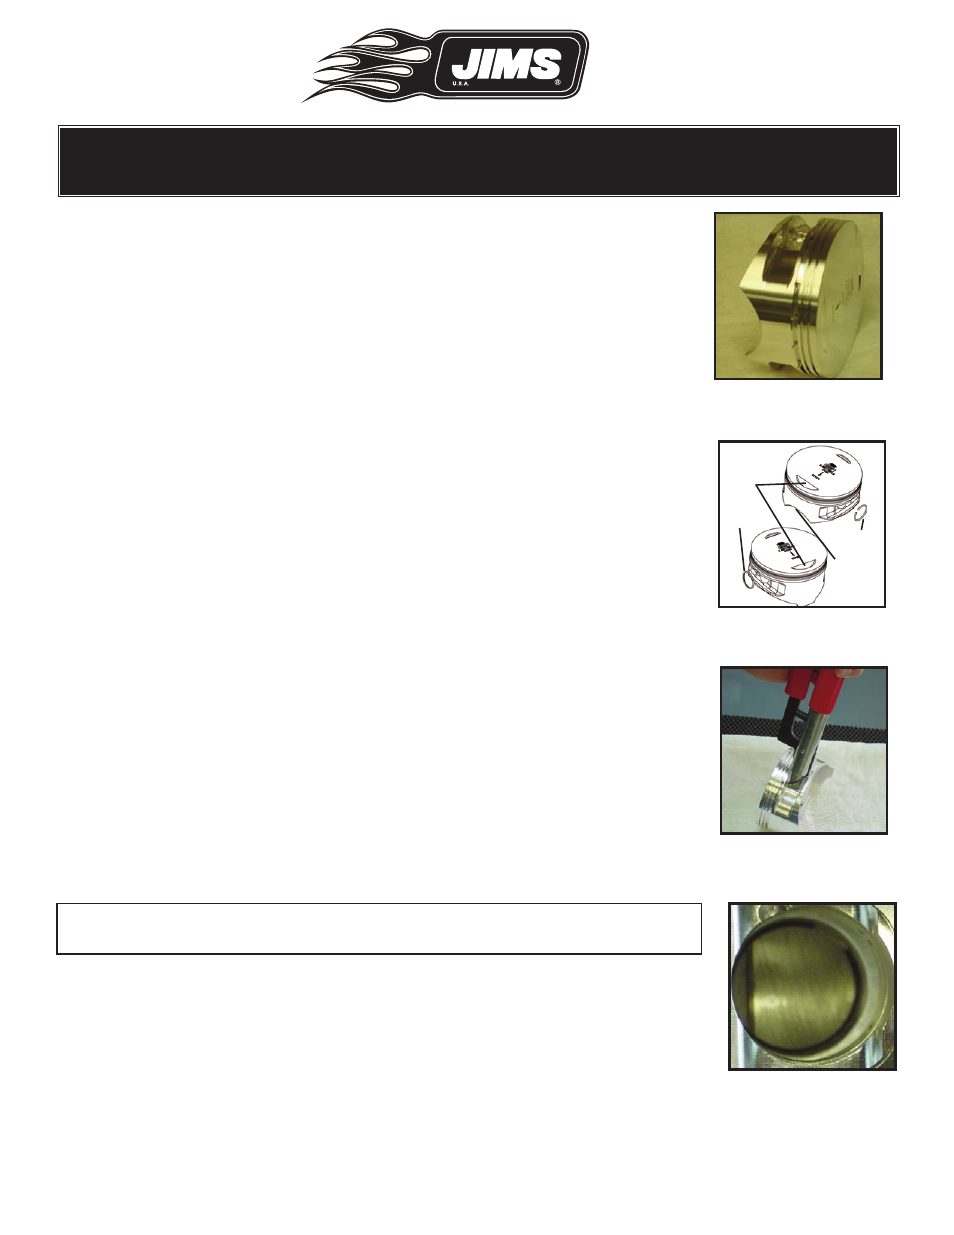
STEP 2: Piston Pin Clip Insertion
IMPORTANT NOTE:
• Piston pin clip insertion must be done carefully to avoid damaging the
corners of the piston pin hole.
• A crushed corner is a collection of cracks. At the high stress levels this
engine was designed to withstand, one or more of those cracks could
grow and eventually result in piston failure and severe engine damage.
• Use Harley-Davidson tool No.42317 or JIMS Tool No.769 Piston Pin
Circlip Remover / Installer if you have one. This is an excellent tool and
makes the task simple and safe for the pistons. This tool can only be used
for left side of piston.
• Lock ring is to be installed on the left side at this time. See Fig 7
• It is very important you do not scratch or gouge the piston pin bore.
• Place the piston on the clean pad. If using the Harley tool, follow the
directions in your Harley shop manual to insert a piston pin clip into the
left side of each piston. See Fig 8 & 9.
• Check to make sure the wrist pin clip is fully seated in its groove.
STEP 3: Piston Ring Inspection and Preparation Preparation
• Wipe excess oil from the piston rings.
• Run the rings through your fingers to feel for any burrs.
NOTE: If burrs are discovered, see Appendix 1 (pg.18) for instructions
on deburring. You must Wash rings after deburring.
• Lightly lubricate with clean H-D 20W-50 oil and slip one piston pin
into a piston (either piston will do).
Rear Piston
Front Piston
Notch
Marked
Intake
1st Clip
Left Side
1st Clip
Left Side
Fig.6 - Rear only piston notch
Fig.8 - Install left clip
Fig.9 - Fully seat left clip
Fig.7 Front Intake Marked