Time - time – Highgear AltiTech 1 User Manual
Page 5
TIME - Time
Setting Up:
The first time you use the AltiTech and anytime you change time zones, you’ll need
to set the time. First, make sure the Time is displayed. If you’ve just reset the AltiTech,
time mode will be selected (if not, see Changing Modes above). You can also switch
to TIME mode automatically from any other mode by holding down B1 until the
display shows TIME.
Using Both Times
The AltiTech can keep track of two dates and times at once, T1 and T2. The primary
time is T1. T1 or T2 is displayed in the upper left corner. To change between T1 and
T2, you can press B2 to display the alternate time or Hold B2 for 2 seconds to change
the display to the alternate time.
Assuming you’re setting up the AltiTech for the first time, you’ll want to set your
current time for T1. Make sure the T1 icon is displayed and continue with the
directions. The directions are the same for setting T2, just make sure that T2 is
displayed on the screen when you begin.
Setting the Time and Date.
1. Press and Hold B4, the orange button. The display will change to
Adjust Hold. Continue to hold B4 until the time is displayed and the
word Hour appears. Release B4
2. The AltiTech prompts you to set the hour. Use B2 and B3 to change
the hour. Notice that B2 decreases the hour and B3 increases the
hour. Adjusting the hour also changes the AM/PM setting (shown by
an A or P directly above the hour). Be sure to adjust the hour so that
the AM/PM setting is correct.
3. Press B1 to move to the minutes. Now use B2 (-) and B3 (+) as
above, press B1 again to enter the next setting.
4. Repeat for Seconds, Year, Month, Day and Time Format. 12H Time
Format uses AM/PM while 24H (also called Military Time) does not.
Use B1 to move to the next setting each time.
5. When you have made the necessary adjustments, press B4 again to
leave the setting mode.
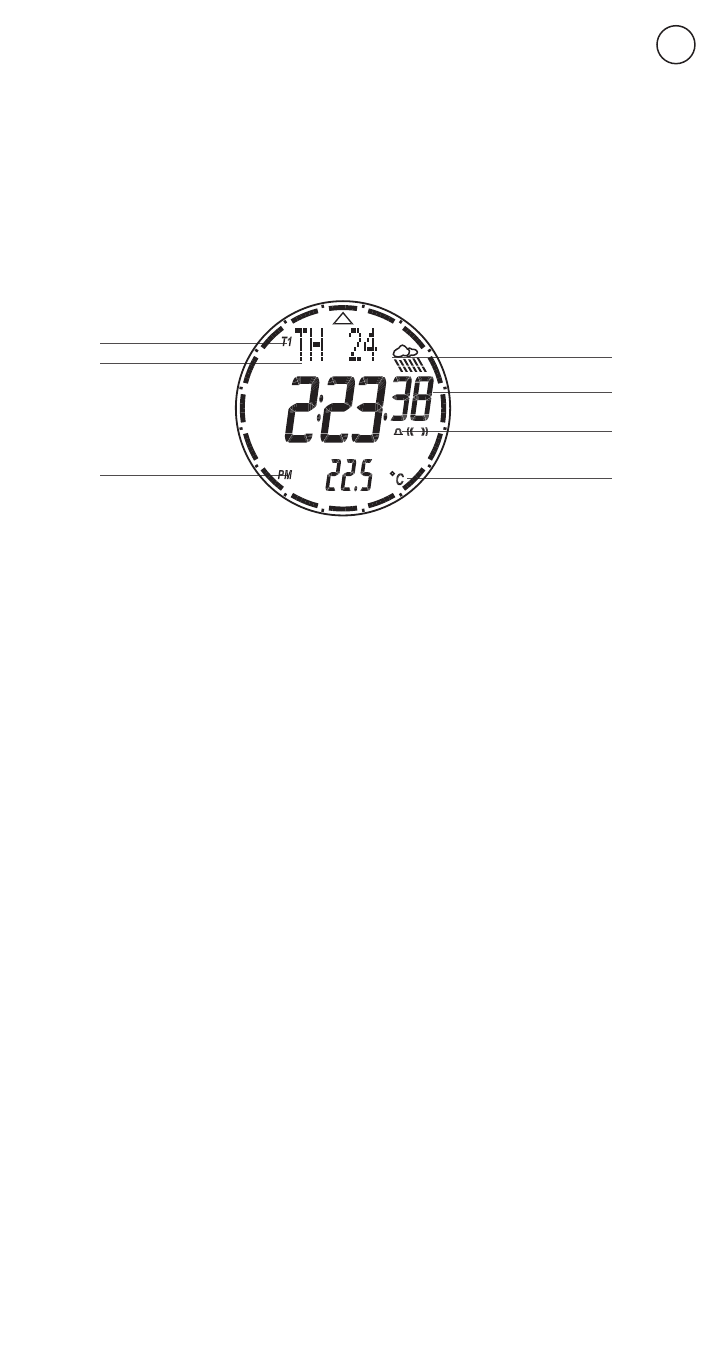
Weather
Seconds
Alarm
Fahrenheit / Celsius
T1/T2 Dual Time
PM Indicator
Day & Date
4