D-Link DES-1228P User Manual
Page 16
1
1
2
2
Install the Switch in a site free from strong electromagnetic field
generators (such as motors), vibration, dust, and direct exposure to
sunlight.
Leave at least 10cm (about 4 inches) of space to the front and rear
of the Switch for ventilation.
Install the Switch on a sturdy, level surface that can support its
weight, or in an EIA standard-size equipment rack. For information
on rack installation, see the next section, Rack Mounting.
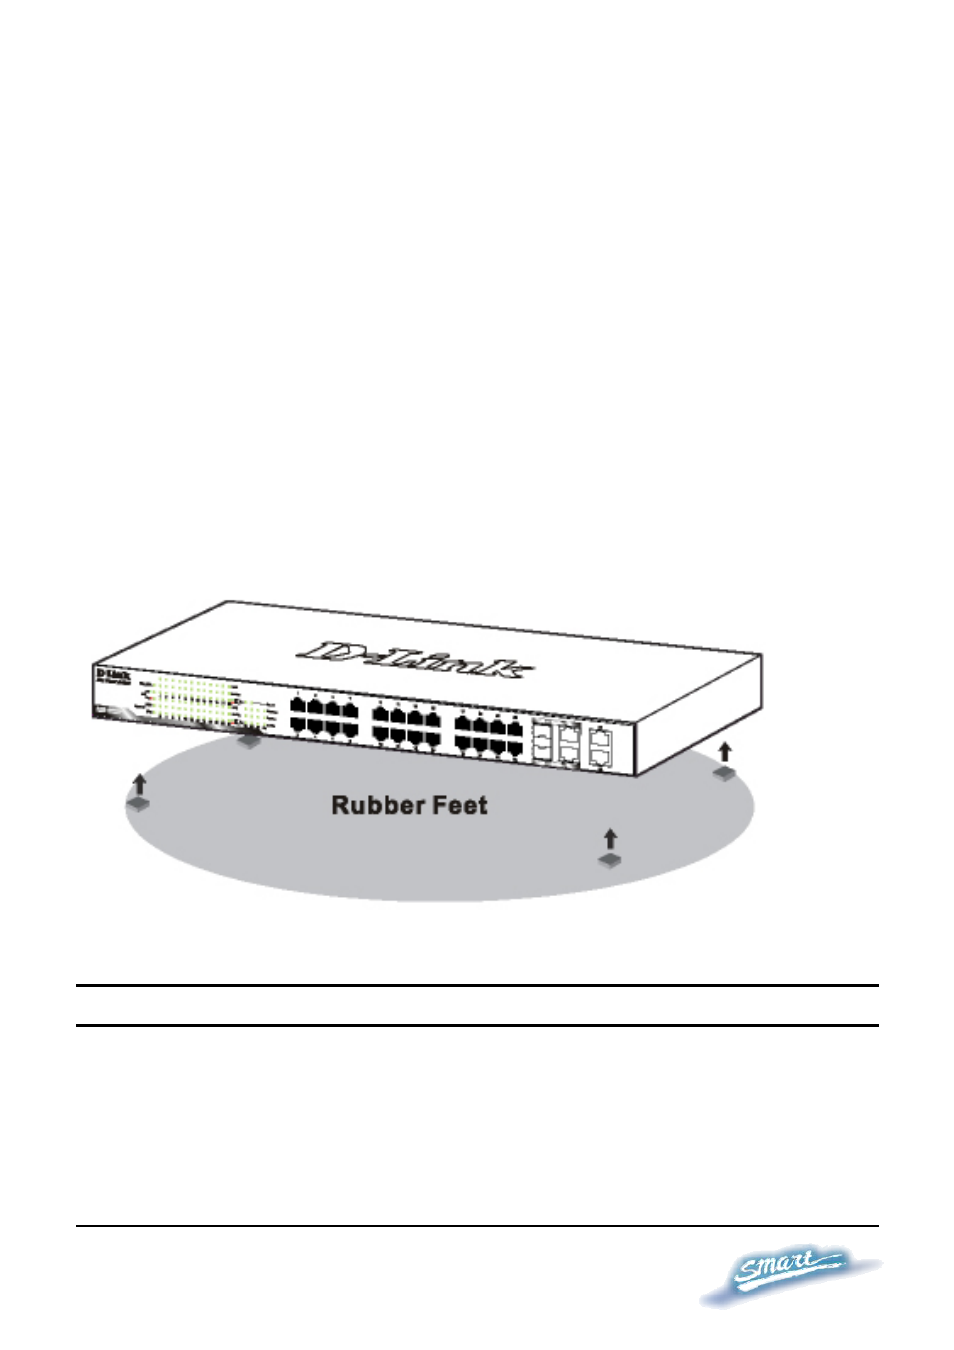
When installing the Switch on a level surface, attach the rubber
pads (feet) to the bottom. The rubber feet cushion the switch and
helps protect the case from scratches.
Figure 1 – Attach the adhesive rubber pads to the bottom
Rack Mounting
The Switch can be mounted in an EIA standard-size, 19-inch rack or
chassis, which can be placed in a wiring closet with other equipment.
Attach the mounting brackets to both sides of the Switch (one on each
side), and secure them with the provided screws.