BrightSign Network WebUI User Guide v.3.9 User Manual
Page 20
16
from a predefined set of colors in the dropdown
menu or by entering t
of the color
you wish to use.
b.
Language: Select the language of the
presentation.
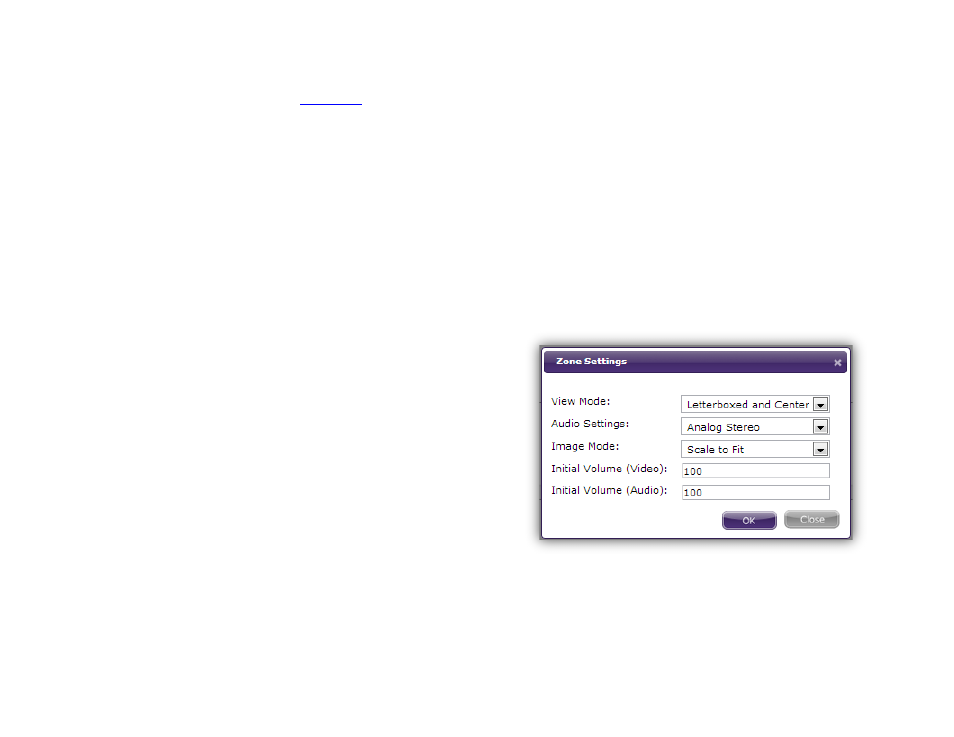
4. Click
Zone Settings to change the properties of the
Video or Images zone:
a.
View mode: Use the dropdown list to specify a
setting for videos.
i.
Scale to fit: Scales the video to fill the screen
without maintaining the aspect ratio. The
video may appear stretched.
ii.
Letterboxed and centered: Centers the
video and adds black borders on the top and
bottom. The aspect ratio is maintained.
iii.
Fill screen and centered: Centers the video
and fills the screen. The aspect ratio is
maintained.
b.
Audio settings: Use the dropdown list to
specify the type of audio you want to use in the
zone.
c.
Image mode: Use the dropdown list to specify a
setting for images.
i.
Center image: Centers the image without
scaling. This may result in cropping if the
image is too large.
ii.
Scale to fit: Scales the image to fit the zone.
The image is displayed as large as possible
with the correct aspect ratio.
iii.
Scale to fill and crop: Scales the image to
completely fill the zone while maintaining the
aspect ratio.
iv.
Scale to fill: Scales the image to fill the zone
without maintaining the aspect ratio.
d.
Initial volume (Audio): Sets the initial volume
for audio files (0-100).
e.
Initial volume (Video): Sets the initial volume
for video files (0-100).
5. Drag the desired image, video, and audio files from
the
Library and drop them into the presentation
playlist field.
6. Edit the ordering of the presentation playlist by
dragging a thumbnail to a desired position or by