Installing, Table top mounting, Rack mounting – Analog Way Smart Booster - SMB413 User Manual
Page 5: Starting, Chapter 2 : installing
SMART BOOSTER™ Chapter 2 : INSTALLING
PAGE 5
Chapter 2 : INSTALLING
2-1. TABLE TOP MOUNTING
The SMART BOOSTER
™
can be used directly on a table. The unit is delivered with 4 plastic feet.
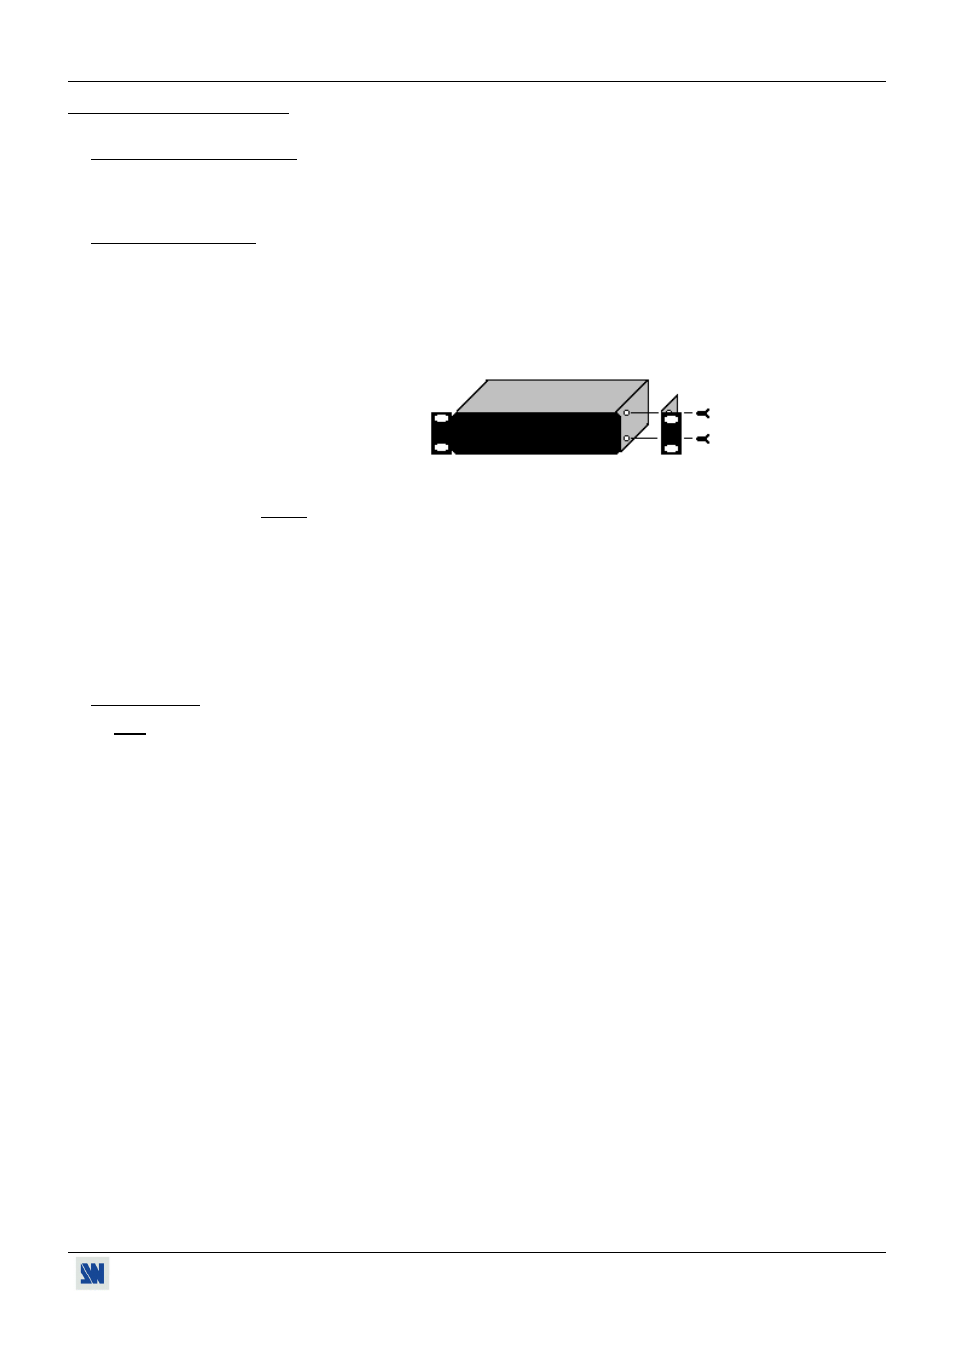
2-2. RACK MOUNTING
The SMART BOOSTER
™
is compatible with a 19" enclosure. Please follow the instructions below to install the
SMART BOOSTER
™
into a 19” rack:
• Screw the supplied 19" brackets to the sides of the SMART BOOSTER
™
.
• Put the SMART BOOSTER
™
into the rack.
NOTE: The 19" front panel screws are not included.
• Be sure that no weight is added on the SMART BOOSTER
™
in excess of 2 kg (4.4 lbs.).
• The maximum ambient operating temperature must not exceed 40 °C (104 °F).
• The rack and all mounted equipment in it must be reliably grounded to national and local
electrical codes.
2-3. STARTING
Note : All devices must be OFF before connecting.
c Connect the AC Power Cord to the rear of the SMART BOOSTER
™
and to a power outlet.
d Connect your Video & Computer Sources to the INPUTS.
e Connect your corresponding Video / Data Display Devices (TV, VCR, Data Projector, Plasma Screen, LCD
Screen, ….) or SMART CUT 2
™
to the OUTPUTS (up to 3 for each Input).
f Turn ON your Display Devices and all of your Input Sources.