Thrustmaster F1 Alonso Wireless Gamepad User Manual
Page 8
7/12
PROGRAMMING THE OPTICAL WHEEL AND TRIGGERS
The 2 directions of the optical wheel and the 2 progressive triggers can be programmed using the
MAPPING button (7).
•
Examples of possible applications:
Programming a button, direction of a mini-stick or of the D-Pad:
- onto the “up” or “down” direction of the optical wheel
- onto the “right trigger” or “left trigger”
•
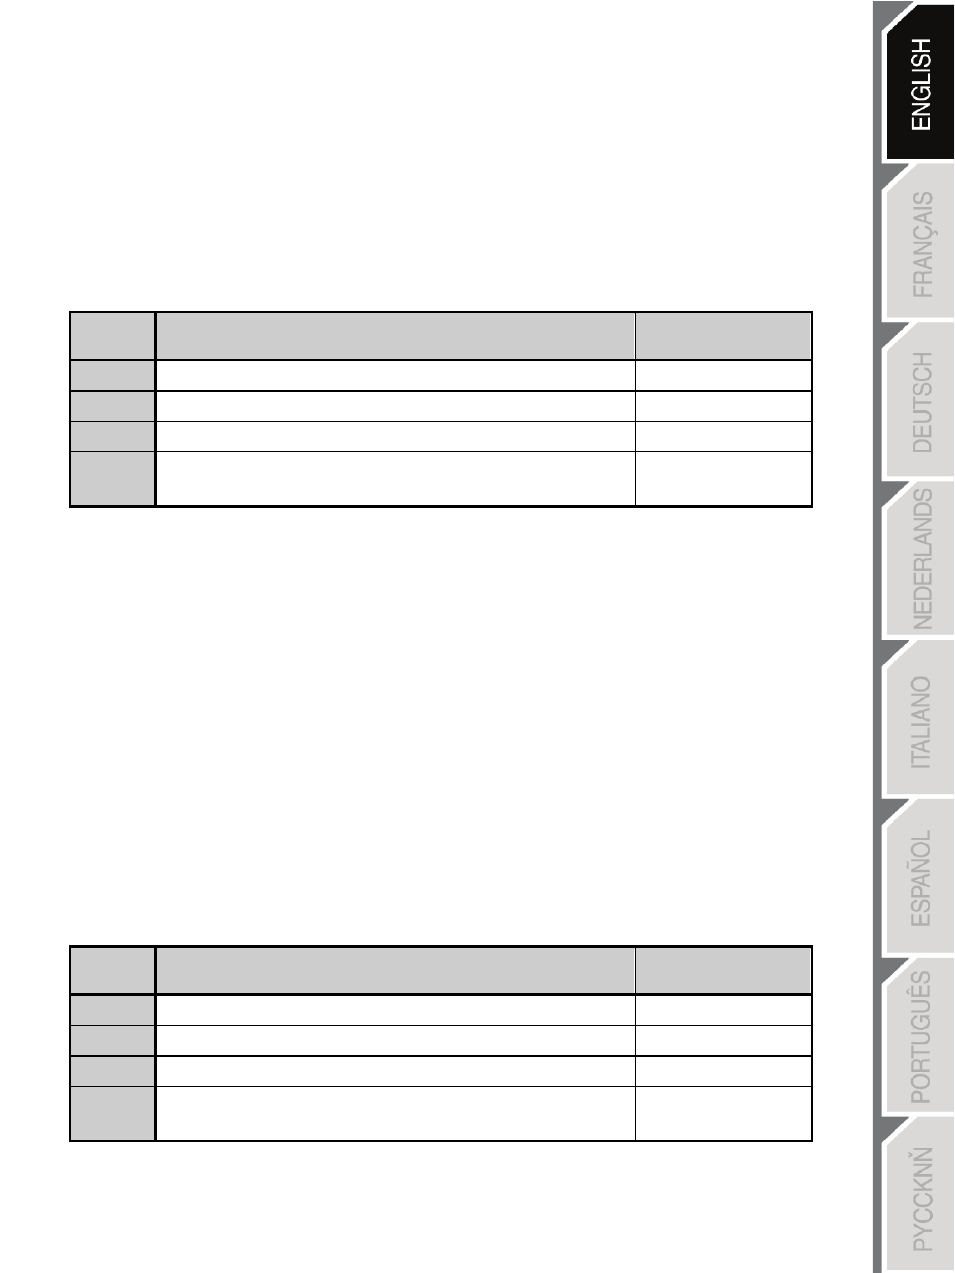
Programming procedure on optical wheel and triggers:
Steps
Action
PRESET button
color
1
Enable “MANUAL PRESET” (8) by pressing the button.
Lit up green
2
Press and release the MAPPING button (7).
Lit up red
3
Press and release the button or direction to program.
Flashes red
4
Raise or lower the direction on the optical wheel
or press the trigger onto which you wish to place your function.
Lit up green
Your “MANUAL PRESET” is now enabled and up to date
(with your programming applied to the optical wheel or triggers)
SWITCHING BUTTONS/MINI-STICKS/D-PAD
All buttons, as well as directions of the mini-sticks and of the D-Pad can be switched using the MAPPING
button (7).
•
Examples of possible applications:
- Switch buttons between themselves
- Switch the 2 mini-sticks
(in this case, you will to have to map the 4 directions of the first mini-stick to the 4 directions of the
second mini-stick)
- Switch the D-Pad with a mini-stick
(in this case, you will have to map the 4 D-Pad directions to the 4 directions of the mini-stick in
question).
•
Procedure for switching buttons, mini-sticks and D-Pad
- Does not work for the triggers.
- Works for the optical wheel but only on PC and in “7 axes” mode.
Steps
Action
PRESET button
color
1
Enable “MANUAL PRESET” (8) by pressing the button.
Lit up green
2
Press and release the MAPPING button (7).
Lit up red
3
Press and release the button or direction to switch.
Flashes red
4
Press and release the button or direction onto which you wish to
place your function.
Lit up green
Your “MANUAL PRESET” is now enabled and up to date (with the 2 functions switched).