X*ap rm – Junger Audio X*AP RM1 User Manual
Page 7
X*AP RM
1
3
Control concept
The communication between the X*AP RM
1
remote panel, devices, setup and operating tools, is based on
TCP/IP over Ethernet.
The setup GUI utilizes web technology. The functionality of the web GUI is developed
for Mozilla Firefox > 10 and Google Chrome > 15.
An SNMP agent is also available on the device and may be explored by a monitoring system.
Getting started – IP setup in general
The X*AP RM
1
remote panel as well as the remote unit (e.g. D*AP8, V*AP, M*AP) must have unique IP
addresses and the same network mask in order to "talk" to each other as well as to other devices / PCs
within a Local Area Network segment. If the X*AP RM
1
sits in an other network segment a suitable gateway
address is mandatory. The X*AP RM
1
remote panel may (for now) control up to 4 units, one at a time.
The process of installing a X*AP RM
1
into an IP network is as follows :
1. Ask the system service people for a unique IP addresses of the network,
the netmask and the gateway address.
2. Assign the X*AP RM
1
remote panel an IP address the netmask and if necessary a
gateway address.
4. Attach a device to the X*AP RM
1
remote panel.
! Important Note: If you are not familiar with setting up devices for IP communication, we highly recommend
to consult your system service or IT department to assist you.
Getting started – IP setup of the X*AP RM
1
remote panel
By pressing the red
button from the main display, you will enter the X*AP RM
1
"Remote Panel Menu" page 1/3 to set up the IP configuration of the X*AP RM
1
Remote panel and to attach
up to 4 devices to this remote panel :
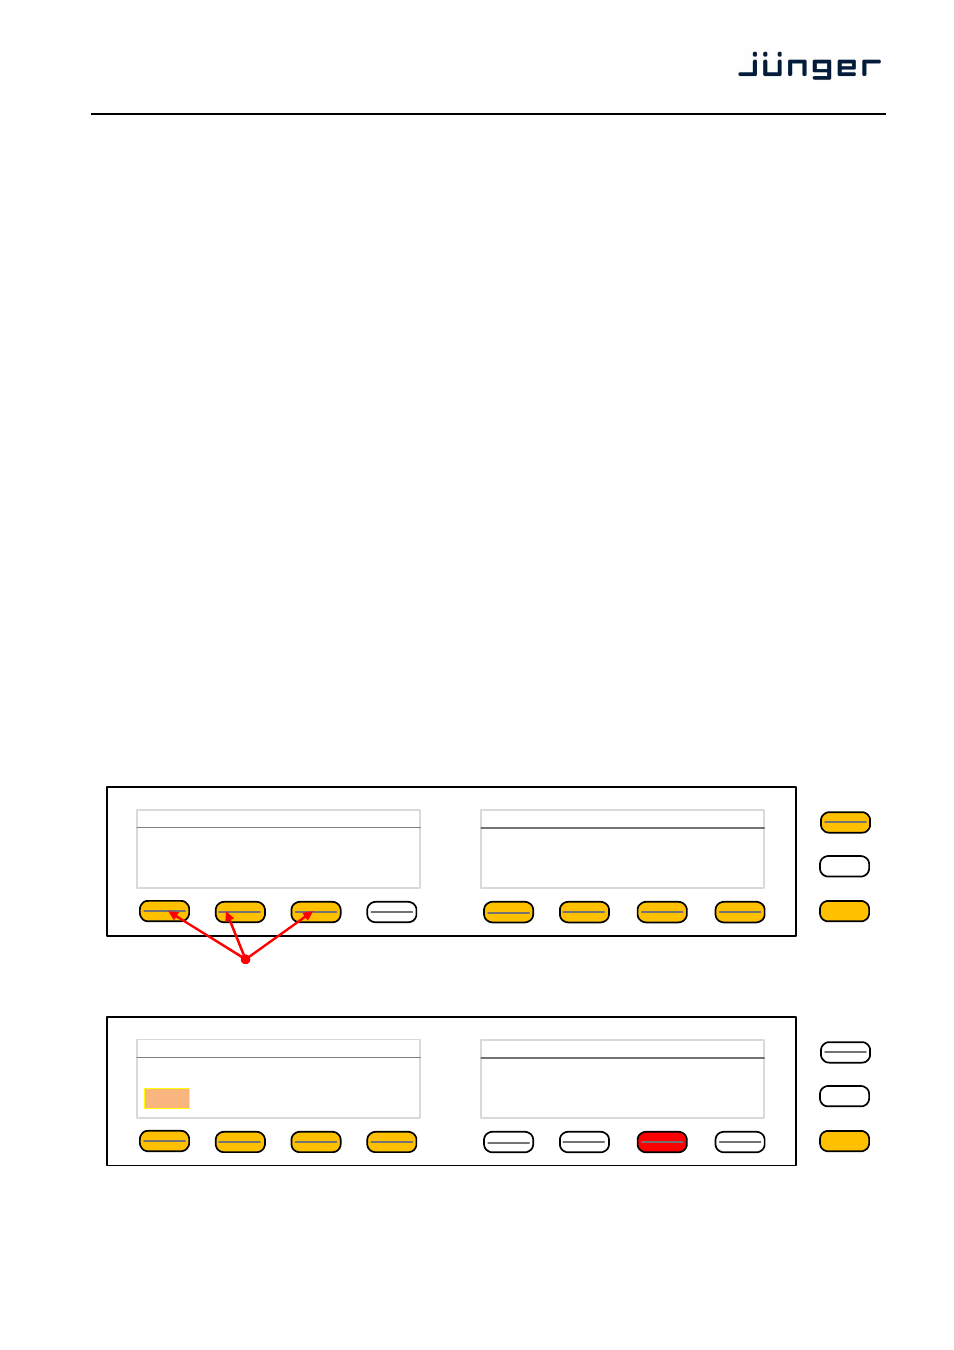
You may press the respective
that part of the IP configuration. Here an example for the IP address field :
Here you must press one of the respective
Encoder. Now you can change the value by turning the knob. When the setting of all fields is finished, you
must press
MENU
ESC
Remote Panel Menu
IP Configuration
Address
10.110.56.7
Netmask
16
Gateway
10.110.100.1
Attach To Base Units (ON = Enables Remote Control)
Device 1
ON
Device 2
OFF
Device 3
OFF
Device 4
OFF
1/3
MENU
ESC
Remote Panel Menu :: IP Configuration
Address
. 110 . 56 . 78
SAVE
10