2 user program modes, Calibration mode, Caution – Casella CEL Apex personal sampling pumps User Manual
Page 20
20
8.
Press any key to return to Hold Mode.
The whole duration is stored as a single “sample” (run) with each ON / OFF sequence of the pump
included as a discrete “event”.
4.2
User Program Modes
This allows complex sampling schedules (created using the Pump Manager PC software and downloaded
via the infrared transducer) to be run by the pump. Two user programs can be stored: Pr1 and Pr2.
This mode is ideal for taking samples where an operator spends time working in different parts of the site
and a separate exposure at each location must be determined. For example, an operator may spend 4 hours
working in a quarry, take 1 hour for lunch, work 3 hours near a crusher and a final 1 hour in a workshop. The
work schedule can be set as a user program, with samples taken and stored for the separate periods.
1.
Enter Configuration Mode, select Program Mode / ON and accept it
as described in Section 2.4.
The instrument reverts to Hold Mode.
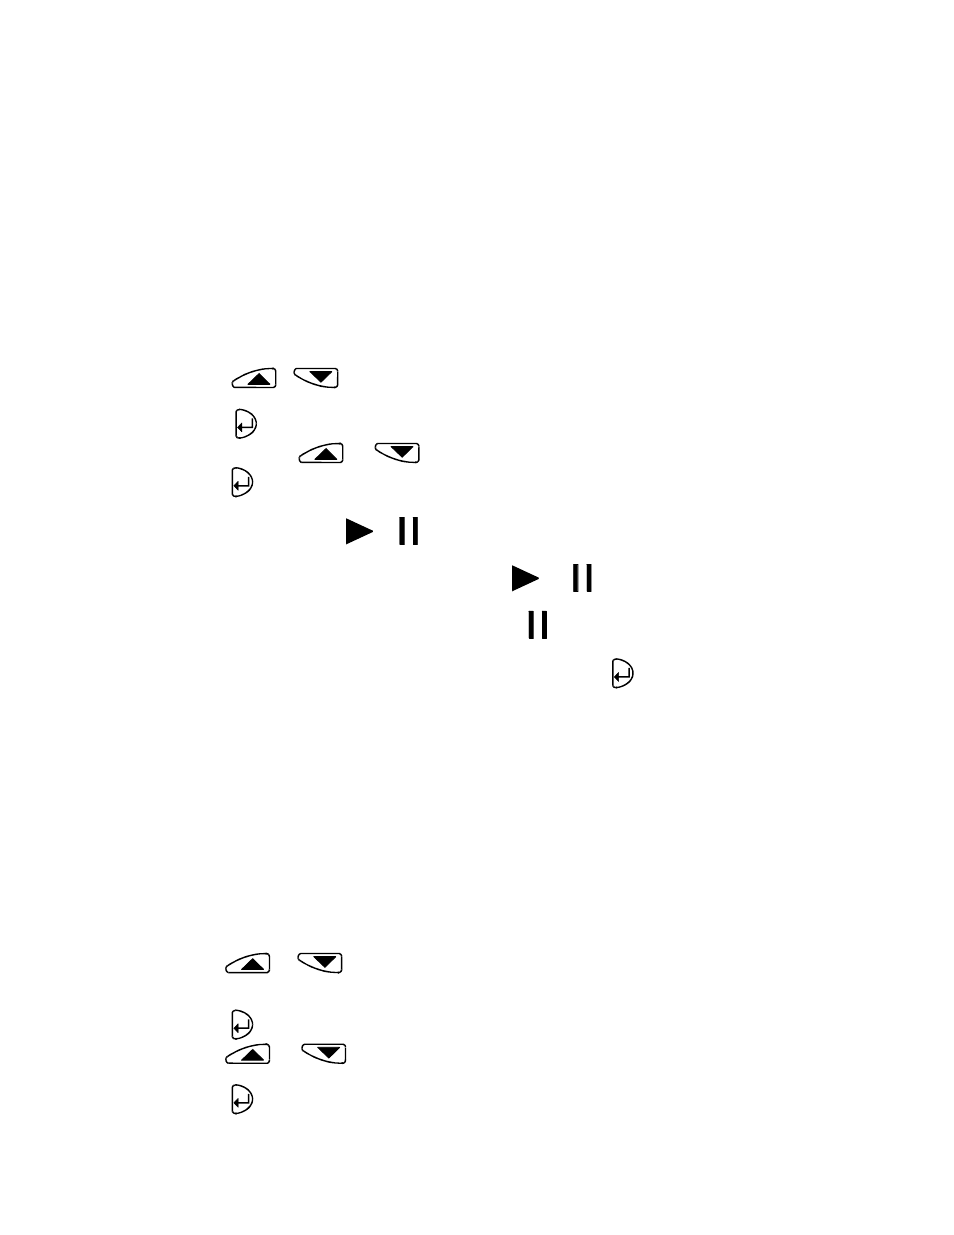
2.
Press
or
several times until the required program, Pr1 or Pr2 blinks on the
display.
3.
Press
to select the program.
4.
If required press
and
to view the various steps in the program.
5.
Press
again to accept the program and start it running.
In addition to the usual
and
symbols the display shows PROG. to indicate that a program
is active.
During OFF-times (when the motor is not running)
and
are displayed to show the unit is
paused.
Once the run is completed, the display will show the
symbol and a PROGEnd message.
6.
Press any key to return the pump to Hold Mode.
7.
When it is required to terminate the program early, press and hold
to show the STOP option,
then keep the key pressed until the pump reverts to Hold Mode.
The whole duration is stored as a single “sample” (run) with eachON / OFF sequence of the pump
included as a discrete “event”.
5.
CALIBRATION MODE
This mode is intended primarily for factory use during manufacture and servicing. This is a two point
calibration which ensures that any selected flow rate will be as close as possible to the true value.
It is suggested that this procedure might be employed by the user ONLY when it is suspected that the
primary calibration has been disturbed. Therefore only a brief description of the procedure will be given.
Caution !
Use this procedure with caution, it changes the basic calibration for the ENTIRE
flow range of the pump.
Attach a sampling head and flowmeter to the pump’s inlet nozzle to measure the actual flow as shown in
Figures 6 - 8 in Section 2.3.
1.
Enter CAL SET from Configuration Mode.
A display message asks for the lower calibration point to be set.
2.
Use
and
to set the flow required at the calibration point.
The instrument will restrict the actual range in which the lower
calibration can be set.
3.
Press
to accept the setting. The pump will start.
4.
Use
and
to adjust the actual flow measured by the flow meter to match the set
point.
5.
Press
to accept the lower setting. The pump will stop.